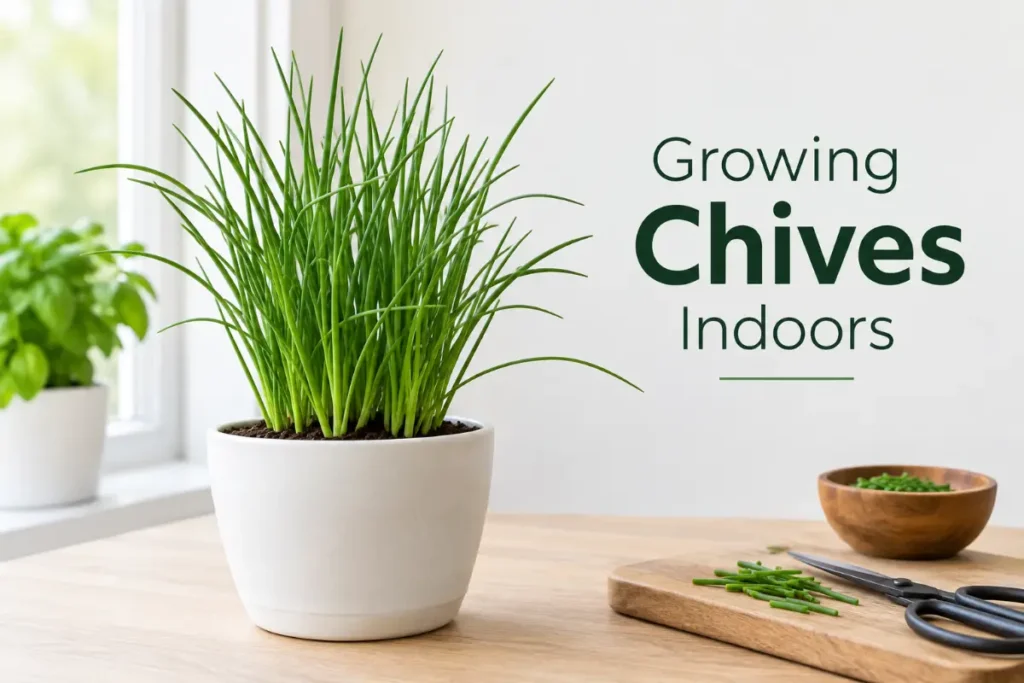
Growing chives indoors is the most forgiving and most persistently productive indoor herb project in this entire cluster. Unlike cilantro that bolts within weeks, basil that collapses from cold, or Mediterranean herbs that die from overwatering, chives are genuinely perennial plants that continue producing fresh harvest year after year from the same established clump with minimal care. If you grow only one indoor herb, chives deliver the most consistent, lowest-maintenance fresh herb supply available from any kitchen plant.
The mild onion flavor of fresh chives is one of the most versatile in cooking — finishing eggs, potatoes, soups, salads, and savory dishes the way that more intense alliums like garlic and onion cannot in raw applications. Fresh chives have a bright, clean, mildly pungent character that dried chives replicate poorly, making the fresh version genuinely superior in almost every application.
Quick Answer
Growing chives indoors requires bright indirect to direct east-facing window light (four to six hours), consistent moisture keeping the top inch moist, temperatures between 60 and 75 degrees Fahrenheit, standard potting mix with 15% perlite, biweekly balanced fertilizer at half rate through spring and summer, regular harvesting by cutting to one inch above the soil to stimulate regrowth, and dividing the root clump every six to twelve months when it becomes crowded. One established chive plant maintained correctly provides weekly harvests for years.
Why Chives Are the Ideal Starting Indoor Herb
For anyone new to indoor herb growing, chives provide the most reliable and most rewarding entry point for several specific reasons.
Perennial persistence: Unlike annual herbs including basil and cilantro that complete their life cycle within months, chives are hardy perennials that grow back year after year from the same root clump. The productive life of a well-maintained indoor chive plant is measured in years rather than weeks or months.
Forgiving of imperfect care: Chives tolerate a wider range of light conditions, occasional missed waterings, and less-than-perfect temperatures than most other culinary herbs. They recover from mild neglect that would permanently damage more sensitive herbs.
Immediate utility: Chives are used in more everyday cooking applications than almost any other fresh herb. Finishing dishes with fresh chives is a technique so common across so many cuisines that having a consistent fresh supply immediately changes daily cooking habits.
Attractive purple flowers: Mature chive plants produce attractive purple-pink globe flowers in spring that are edible with a mild onion flavor. These flowers make the plant ornamentally interesting as well as culinarily productive.
Low space requirement: A single six-to-eight-inch pot provides sufficient space for a productive chive plant. The entire indoor herb garden contribution of chives fits on a small area of a kitchen windowsill.
Step 1: Source Chive Plants Correctly
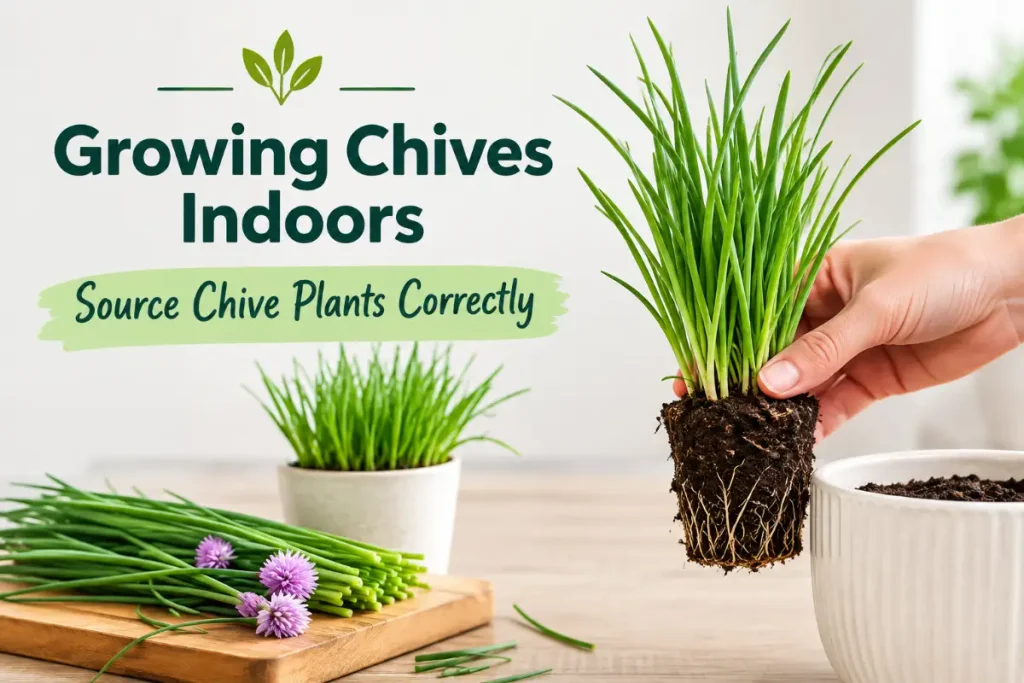
Purchasing established plants: The fastest path to productive indoor chives is purchasing a small clump from a garden center herb section. A four-inch pot of chives transplanted into a six-to-eight-inch container begins producing harvestable quantities within two to three weeks.
Dividing outdoor chives: If you have an established outdoor chive planting, dividing a clump in fall before bringing it indoors is the most economical starting point. Dig a fist-sized clump of chive roots with adequate root system attached, pot in fresh potting mix, and transition to indoor conditions. Fall-divided outdoor chives may go through a brief dormancy adjustment before resuming indoor growth.
Starting from seed: Chive seeds germinate readily in moist growing medium at room temperature within ten to fourteen days. Sow seeds thinly across the surface and cover lightly with a thin layer of medium. The seedling stage is slow — chives from seed take three to four months to reach harvestable size. Purchasing a small plant provides immediately productive results and is recommended for growers who want fresh chives quickly.
Grocery store chive bunches: Unlike green onions that can be regrown from cut bunches in water, chives are leaf tissue without the root base needed for regrowth. Grocery store cut chive bunches do not produce new plants. Purchase a rooted potted plant or divide from an outdoor planting.
Step 2: Choose the Right Container
Container size: Six to eight inches in diameter suits a single-clump indoor chive plant well. This provides enough soil volume for the shallow, fibrous root system of chives without excess soil that stays wet between waterings.
Depth: Four to six inches is adequate for chive roots. Chives do not root deeply and do not benefit from very deep containers.
Drainage: Standard drainage holes throughout the container base. Chives prefer consistent moisture but rot quickly in waterlogged anaerobic conditions.
Material: Standard plastic or ceramic pots both work well for chives. Unlike the terracotta preference of drought-tolerant Mediterranean herbs, chives’ moisture preference makes the slower-drying plastic pot acceptable. Terracotta is also fine since chives tolerate more moisture variation than succulents and cacti.
Planning for division: Choose a container that allows for the annual or biannual division that keeps chives productive. A container that is easy to remove the root ball from makes the division process simpler. Thin-walled plastic pots are easier to flex and release compact root balls than rigid ceramic.
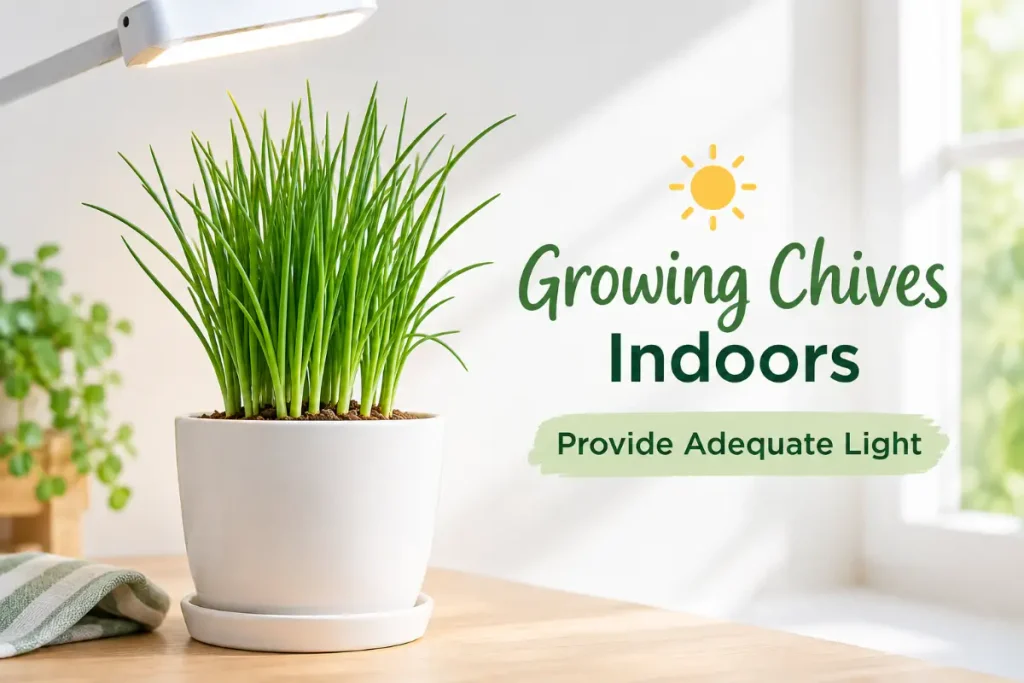
Step 3: Provide Adequate Light
Chives are more light-flexible than most culinary herbs, making them genuinely practical for the range of kitchen window positions available in most homes.
Best position: Bright indirect light to some direct morning sun from an east-facing window. Four to six hours of this light quality produces vigorous, flavorful chive growth with adequate leaf production for regular harvesting.
Acceptable positions: South-facing indirect light (not direct afternoon sun, which can scorch the delicate hollow leaves). North-facing windows with adequate ambient room light from nearby windows. West-facing morning to midday light before the intense afternoon sun.
What low light produces: Slower growth with more widely spaced, paler leaves that are less intensely flavored. Chives in genuinely low light continue producing but at significantly reduced rates. A north-facing window with minimal ambient light is the lower limit for functional chive production without supplemental grow lighting.
Grow lights: A modest grow light running 12 to 14 hours daily produces vigorous chive growth in any position. Chives do not require the high-output lighting needed for fruiting crops and respond well to even modest grow light intensity.
Rotating for even growth: Like all plants in a fixed window position, chives benefit from rotating a quarter turn weekly. The cylindrical hollow leaves of chives lean noticeably toward the light source without regular rotation, producing an increasingly one-sided clump.
Step 4: Water Consistently
Chives prefer consistently moist soil — more moisture than Mediterranean herbs but less than mint. Their hollow, grass-like leaves lose moisture moderately and show drought stress through leaf tips browning before the rest of the leaf shows any problem.
The correct check: Water when the top inch of soil feels dry. In typical indoor conditions with moderate light this means every four to six days. Under grow lights or near sunny windows every three to four days.
Consistency over precision: Chives tolerate occasional missed waterings without dramatic distress, which is part of what makes them so forgiving. However, consistent moisture produces better leaf quality and more continuous growth than the occasional drought and recovery cycle.
Signs of underwatering: Brown leaf tips progressing from the tip downward. Leaves that feel slightly papery rather than plump. Growth slowing or stopping between waterings.
Signs of overwatering: Yellow leaves starting from the oldest growth at the base. Soft, mushy stem bases near soil level. A musty soil smell. Chives in chronically waterlogged soil develop crown rot that kills the plant from the base upward.
Step 5: Fertilize Through the Growing Season
Chives benefit from moderate regular fertilizing that sustains the continuous leaf production that makes them most useful as a kitchen herb.
What to use: A balanced liquid fertilizer at half rate every two to three weeks through spring and summer. Nitrogen supports the grass-like leaf growth that is the primary chive harvest. Balanced fertilizing that includes phosphorus and potassium alongside nitrogen maintains overall plant health and supports the spring flowering that chive plants produce.
Organic options: Worm casting tea applied every two to three weeks provides gentle, balanced nutrition with soil biology benefits appropriate for the perennial root system that chives maintain year-round. For the complete organic fertilizer guide covering perennial herb applications, worm castings for indoor plants covers every method with timing guidance for year-round perennial growing.
Fall and winter: Reduce to monthly fertilizing or stop entirely as growth naturally slows through the shortest days of winter. Indoor chives in warm, well-lit positions continue producing through winter but at a reduced rate that does not require the biweekly summer fertilizing schedule.
Starting fresh after division: Wait four to six weeks after dividing and repotting before resuming regular fertilizing. The divided root system needs establishment time before additional nutritional inputs accelerate growth.
Step 6: Harvest Correctly for Continuous Production
The harvesting technique for chives is different from most other herbs and specifically designed to maximize the regrowth rate from the perennial root clump.
The correct cut: Using clean scissors, cut the entire clump to one inch above the soil surface rather than cutting individual leaves from tips. Cutting to one inch removes the mature leaf material efficiently while leaving the growth meristems at the base of each leaf intact for rapid regrowth.
Why one inch above the soil: Cutting below one inch damages the basal growth tissue that produces new leaves. Cutting too high (leaving three or more inches) reduces the productive life of each leaf between harvests and allows the leaves to become increasingly tough and less flavorful as they age.
Harvest frequency: Every two to three weeks when leaves reach six to eight inches tall in appropriate growing conditions. More frequent harvesting is possible but less efficient — leaving leaves to reach six to eight inches before cutting produces more total harvestable material per cycle than cutting more frequently at smaller sizes.
Using the harvest: The one-to-two-inch stubs left after cutting are not harvestable but are the engine of the next round of production. Resist the urge to cut these stubs further to get a little more from each harvest — they need to remain intact for regrowth.
Immediate use: Fresh chives have the most intense flavor immediately after cutting. Chopped fresh chives begin losing volatile aromatic compounds within an hour of cutting. For maximum flavor impact, cut and use immediately rather than cutting ahead of time.
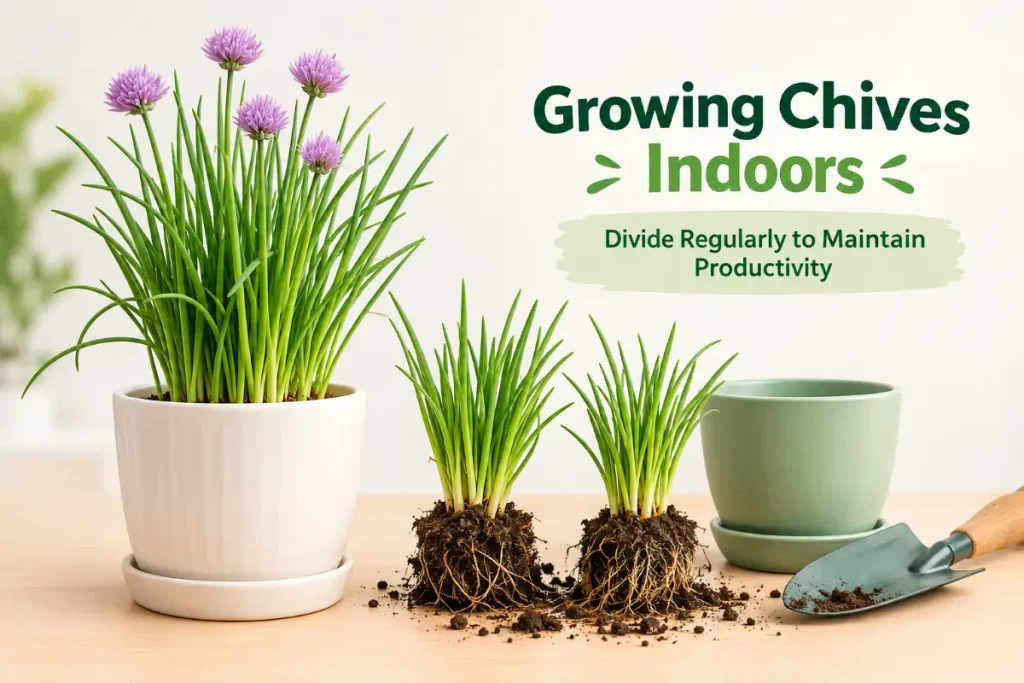
Step 7: Divide Regularly to Maintain Productivity
This is the management practice that distinguishes a productive multi-year indoor chive plant from one that becomes increasingly crowded, less productive, and eventually declines.
Why division is necessary: Chives grow from a fibrous root clump that expands steadily as the plant produces new tillers (individual grass-like shoots) over months and years. In a container, this expanding clump eventually fills the available soil volume, competing with itself for water, nutrients, and space. A crowded chive clump produces thinner, smaller leaves and slower regrowth after harvesting than a freshly divided clump with adequate root space.
Signs that division is needed: New leaves emerging thinner and more sparse than earlier in the plant’s life. The plant drying out within two days of thorough watering indicating root mass has displaced most soil. Noticeably slower regrowth after harvesting than previously. Roots emerging from drainage holes in quantity.
How to divide: Remove the root ball from the container. Using your hands or a clean knife, separate the root ball into two to four sections each with multiple shoots and a portion of the root system. Each section is replanted in fresh potting mix in an appropriately sized container. Each division resumes vigorous growth within two to three weeks of replanting.
Frequency: Every six to twelve months for actively growing indoor chives. More frequently for very warm, well-lit positions where growth is most vigorous.
The propagation opportunity: Each division produces a new independent plant. The divisions beyond the one you replant in the primary container can be potted individually as additional kitchen herb plants, shared with friends and family, or transitioned to outdoor garden use in appropriate climates.
For the complete guide to building a comprehensive indoor kitchen herb garden that places chives in the context of complementary herbs including mint, basil, and Mediterranean varieties, indoor herb garden covers the full herb grouping, compatibility, and management approach that makes chives the most reliable anchor of any indoor herb collection.
Chive Flowers: An Overlooked Kitchen Resource
Mature indoor chive plants produce attractive globe-shaped purple-pink flowers on tall stems in spring that most indoor growers remove for aesthetic or practical reasons without realizing they are discarding one of the most useful fresh edible flowers available from any kitchen plant.
Flavor: Chive flowers have a mild, sweet onion flavor that is less pungent than the leaves. They are excellent as edible garnish on salads, soups, deviled eggs, and compound butter where the flavor contribution and visual impact both justify their use.
Infused vinegar: Packing chive flowers into white wine vinegar for two to three weeks produces a beautiful pink-purple infused vinegar with a mild onion flavor that is excellent in vinaigrettes and finishing sauces. The color of the vinegar alone makes it a standout condiment.
Deadheading for continued leaf production: Once chive flowers are harvested or have faded, cut the flower stems to the soil level alongside the normal leaf harvest. This prevents the plant from investing energy into seed production and maintains focus on the vegetative leaf growth that is most useful for regular kitchen use.
Managing the flowering period: Chive flowers appear in late spring or early summer on plants that have had adequate light and temperature variation. Indoor chive plants in consistent warm conditions may produce fewer flowers than outdoor chives experiencing natural seasonal variation. A brief period in a cooler position (55 to 60 degrees) for two to four weeks in late winter mimics the seasonal change that triggers spring flowering in outdoor chives.
Common Indoor Chive Problems and Solutions
Brown leaf tips: Most commonly caused by fluoride accumulation from tap water, low humidity, or mild underwatering. Switch to filtered water. Increase ambient humidity. Check that top inch of soil is moist before each potential watering. Trim brown tips cosmetically with scissors angled to match the natural leaf shape.
Yellow leaves from the base up: Overwatering causing root stress. Allow soil to dry to one inch before the next watering. Improve drainage if the mix stays wet for more than a week after watering. Divide if the root ball is severely compacted and retaining moisture.
Very slow regrowth after harvesting: Insufficient light, temperature too cool, or root crowding from a clump that needs division. Improve light first since this is the most common cause. Divide if the clump has not been divided in more than twelve months.
No new growth for weeks: Normal winter dormancy behavior in plants that have experienced cooler temperatures. Also occurs in genuinely low-light positions. Improve light and ensure temperatures are above 60 degrees. New growth resumes within two to three weeks of improved conditions.
Conclusion
Growing chives indoors delivers the most consistent, lowest-maintenance, and most persistently rewarding fresh herb supply of any plant in this cluster. A single established clump in a six-to-eight-inch pot, cut to one inch every two to three weeks, fertilized lightly through the growing season, divided annually to maintain vigor, and positioned in bright indirect light provides fresh chives for daily cooking for years without the bolting, cold sensitivity, or watering precision that other kitchen herbs require.
For any grower uncertain where to start with indoor herbs, chives are the answer. They survive care mistakes that kill more sensitive herbs, recover from irregular watering that would stress Mediterranean herbs or collapse basil, and produce harvests every two to three weeks continuously for a longer productive life than any other herb in this cluster.
Frequently Asked Questions
How often should I harvest indoor chives?
Every two to three weeks when leaves reach six to eight inches tall. Cut the entire clump to one inch above the soil surface rather than cutting individual leaves. The clump regrows to harvestable size within two to three weeks in adequate light and warm conditions. More frequent cutting at smaller leaf sizes is possible but less efficient per harvest cycle.
Why are my indoor chive leaves turning yellow?
Yellow leaves starting from the oldest growth at the base of the clump most commonly indicate overwatering or a root-bound clump needing division. Allow the top inch to dry between waterings. If the clump has not been divided in more than twelve months, divide and repot in fresh potting mix. Yellow leaves can also indicate nitrogen deficiency — begin or resume fertilizing with a balanced formula at half rate every two to three weeks.
Can chives grow in low light indoors?
Chives tolerate medium indirect light from north-facing windows better than most other culinary herbs, producing acceptable harvests in positions where Mediterranean herbs and basil would decline significantly. In genuinely low light below comfortable reading level, growth slows substantially. A modest grow light running 12 to 14 hours daily maintains productive chive growth in any room.
How do I divide indoor chive plants?
Remove the root ball from the container. Separate into two to four sections using your hands or a clean knife, ensuring each section has multiple shoots and adequate root material. Replant each section in fresh potting mix in appropriately sized containers. Water thoroughly and place in the growing position. New growth resumes within two to three weeks.
Are chive flowers edible?
Yes. Chive flowers have a mild, sweet onion flavor and are excellent as edible garnish on salads, eggs, and savory dishes. They can also be packed into white wine vinegar for two to three weeks to create a beautiful pink-purple flavored vinegar. After the flowers fade, cut stems to soil level to direct energy back to leaf production.
How long does an indoor chive plant live?
Indefinitely with appropriate division every six to twelve months. Chives are perennial plants that continue growing from the same root system year after year. The limitation in a container is root crowding rather than age — dividing the clump annually resets the vigor of the root system and maintains productive leaf growth for as long as you continue the division practice. Well-maintained indoor chive plants regularly produce for five or more years.