
Compost for indoor plants is one of the most beneficial soil amendments available, but the practical reality of bringing compost indoors stops many plant owners from using it. The concerns are understandable: compost can smell, attract pests, introduce weed seeds, and create the kind of mess that belongs in a garden bed rather than a living room. Every one of these problems is real and every one of them is avoidable when you use compost in the right form, at the right time, and through the right application method.
This guide covers 7 practical ways to use compost for indoor plants that deliver its genuine nutritional and soil biology benefits without the downsides that make most people avoid it indoors.
Quick Answer
Use compost for indoor plants as compost tea applied every two weeks, as a 20 to 25% component mixed into potting soil when repotting, as a thin top dressing worked into the soil surface, or as vermicompost (worm castings) which delivers the same benefits without the smell, pest attraction, or mess risks of traditional compost. Always use fully finished compost only since unfinished compost damages roots and attracts pests. Avoid adding compost directly to the soil surface of indoor pots in thick layers.
What Makes Compost Beneficial for Indoor Plants
Compost improves indoor plant health through three distinct mechanisms that work simultaneously.
Nutrition: Finished compost contains nitrogen, phosphorus, potassium, calcium, magnesium, and a broad range of trace minerals in forms that become available to plant roots as soil microorganisms continue breaking down the organic matter. The nutrient release is gradual and sustained over months rather than delivered all at once like synthetic fertilizers.
Soil structure: Compost humus binds with soil particles and creates stable aggregates that improve the balance between moisture retention and drainage. Potting mix amended with compost drains more freely while holding moisture longer than unamended mix, which reduces both waterlogging and the rapid drying that stresses roots in small pots.
Soil biology: Finished compost contains billions of beneficial bacteria, fungi, and other microorganisms per gram. These colonize potting mix and improve nutrient cycling, suppress harmful soil pathogens, and create the living soil ecosystem that supports long-term plant root health in ways no synthetic fertilizer can replicate.
Fully Finished Compost: The Non-Negotiable Requirement
Every application method below requires fully finished compost. Using unfinished or partially composted material indoors causes specific problems that finished compost does not.
Unfinished compost continues its active decomposition process in the pot, which consumes oxygen from the soil, generates heat, and produces compounds toxic to plant roots during the initial breakdown stages. It also has a strong unpleasant smell that finished compost does not, and it contains the weed seeds and pest eggs that hot composting temperatures would normally destroy if the process had run to completion.
How to identify finished compost: It looks and smells like dark, rich earth rather than rotting food. You cannot identify individual ingredients in it. It crumbles easily in your hand without feeling slimy or wet. It has a pleasant earthy smell rather than a sour or ammonia odor. Any bagged compost from a garden center labeled as finished or cured meets these standards. Home compost is finished when it has been sitting inactive for at least two to three months after the last active heating phase.
7 Ways to Use Compost for Indoor Plants
Method 1: Compost Tea
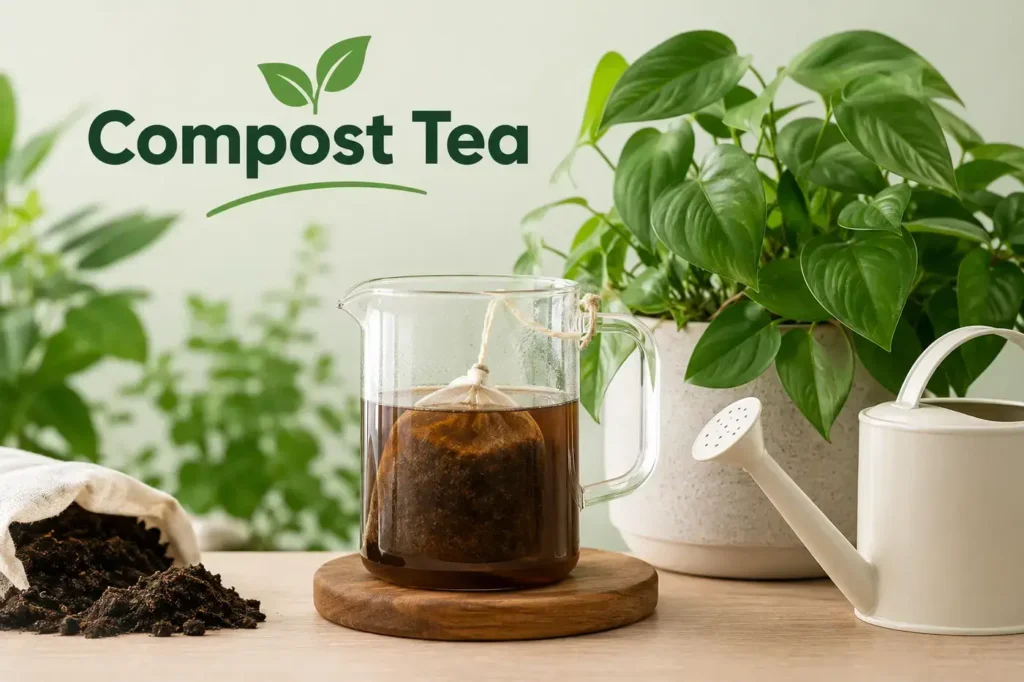
Compost tea is the most practical form of compost for indoor use because it delivers the nutritional and microbial benefits of compost with zero mess, zero pest attraction, and no direct handling of compost inside the home during application.
How to make it: Place one cup of finished compost in a mesh bag or cheesecloth. Steep in one gallon of dechlorinated water for 24 to 48 hours. Aerate with an aquarium air pump and airstone throughout the steeping period since aeration multiplies the beneficial microbial population dramatically. Strain all solid material completely before use.
How to apply it: Use the strained tea as a regular watering, applying it at the base of plants to soak the root zone. Use immediately since the microbial population declines rapidly after aeration stops.
How often: Every two weeks through spring and summer. Monthly in fall for plants still showing active growth.
Best for: All houseplant types. Particularly beneficial for plants in older potting mix that has lost biological activity.
Method 2: Potting Mix Amendment When Repotting
Incorporating compost into fresh potting mix during repotting is the most effective distribution method since it places the compost throughout the root zone rather than only at the soil surface.
How to do it: Mix finished compost into your standard potting mix at a ratio of 20 to 25% compost to 75 to 80% potting mix. For most tropical houseplants, also add 15 to 20% perlite to maintain adequate drainage since compost increases moisture retention. Fill pots with this amended mix and repot as normal.
Why this ratio works: At 20 to 25%, compost improves soil structure and nutrition without making the mix too dense or moisture-retentive for most houseplant root systems. Higher ratios can create waterlogging problems in pots since compost holds more moisture than standard potting mix ingredients.
Best for: All repotting situations. Particularly beneficial when moving into a new pot after a plant has been in the same soil for more than a year.
Method 3: Thin Top Dressing
Top dressing with compost adds nutrition and microbial life to established plants without disturbing the root system. The key word is thin: a layer no more than half an inch deep worked gently into the top inch of existing soil is the correct application for indoor pots.
How to apply it: Scrape away the top inch of existing soil surface. Add a half-inch layer of finished compost across the entire soil surface. Mix gently with the existing soil using a finger or small fork. Water thoroughly to begin moving nutrients and microorganisms down through the root zone.
Why thin matters: Thick compost layers on indoor pot surfaces stay moist and create ideal conditions for fungus gnats and mold growth in the enclosed indoor environment. At a half-inch depth incorporated into existing soil, these problems do not develop. For understanding how soil surface conditions connect to fungus gnat infestations, bugs in indoor plant soil covers this relationship with specific treatment guidance.
How often: Every six to eight weeks through the growing season.
Method 4: Vermicompost (Worm Castings)
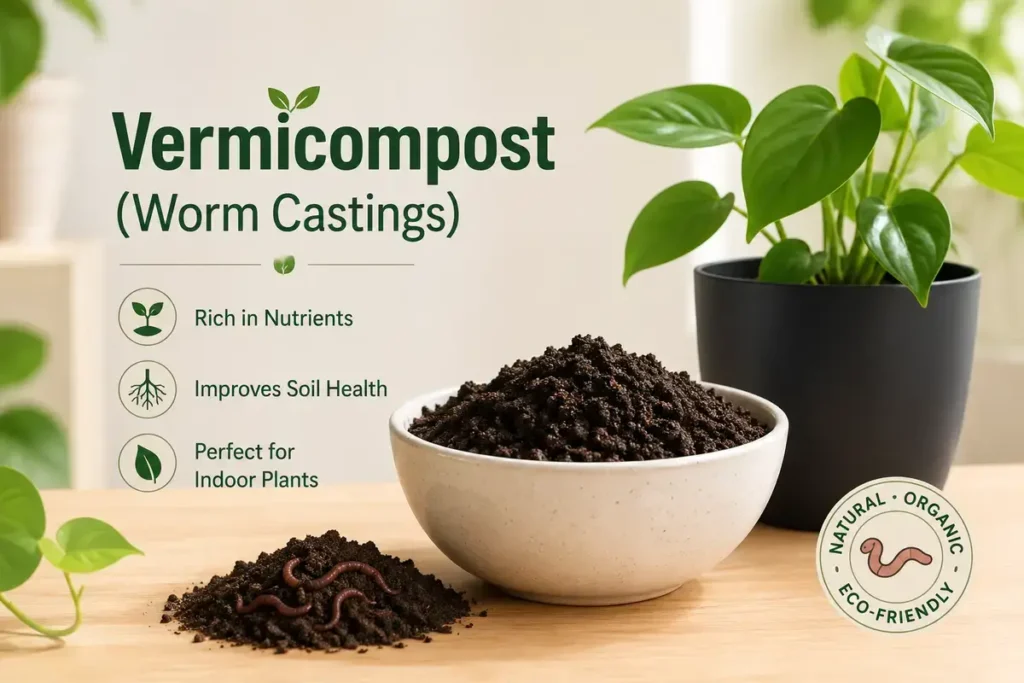
Vermicompost produced by earthworms is a specific form of compost that eliminates every practical concern about using compost indoors. Worm castings have no unpleasant smell, do not attract pests, do not introduce weed seeds, and are as nutritionally effective as traditional compost while also containing the natural plant growth hormones and concentrated microbial populations that distinguish them from conventionally composted material.
For indoor plant use specifically, worm castings are almost always the better choice over traditional compost because of these practical advantages in an enclosed living space.
How to use them: Top dress at a half-inch layer every six to eight weeks, mix into potting soil at 20% when repotting, or steep in water to make worm casting tea. For the complete guide to every worm casting application method with specific timing and plant-type guidance, worm castings for indoor plants covers everything in full detail.
Method 5: Seed Starting Mix Enhancement
Adding a small amount of finished compost to seed starting medium improves germination rates and early seedling development by providing the trace minerals and beneficial microorganisms that sterile seed starting mixes lack.
How to do it: Add 10 to 15% finished compost or vermicompost to your seed starting medium. Higher ratios can inhibit germination in some sensitive seeds through the allelopathic compounds present even in finished compost. At 10 to 15%, the nutritional and microbial benefits outweigh any germination inhibition risk for most common houseplant and herb seeds.
Important: Use vermicompost or very well-finished traditional compost for seed starting since any residual active compounds in less-finished material will suppress germination more noticeably at this sensitive growth stage than in established plants.
Method 6: Root Zone Drench During Repotting
Applying compost tea specifically at the moment of repotting inoculates the new potting mix with beneficial microorganisms before the roots even begin establishing in their new environment. This head-start approach accelerates the development of healthy soil biology compared to waiting for microorganisms to colonize the new mix naturally over weeks.
How to do it: Make a batch of compost tea the day before repotting. After filling the new pot with fresh amended potting mix, water it with the compost tea until it flows from the drainage holes before placing the plant. The tea inoculates the entire soil volume with beneficial microorganisms that are then in place when the roots begin extending into the new mix.
Follow up: Continue applying compost tea every two weeks through the first growing season after repotting to maintain the microbial population as the root system establishes.
Method 7: Liquid Compost Extract for Foliar Feeding
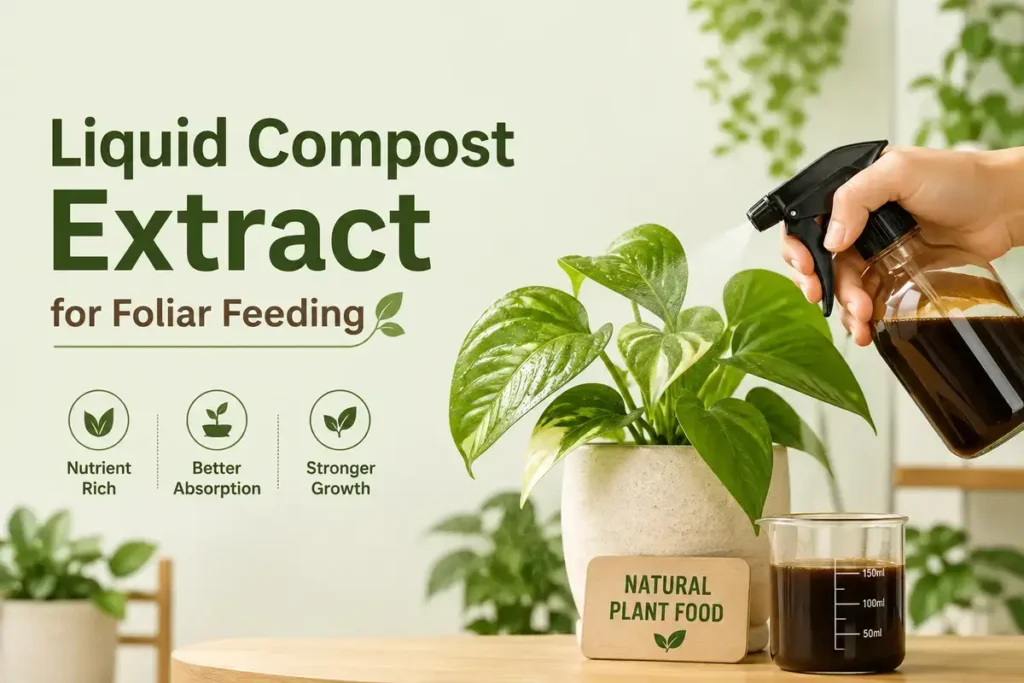
A very dilute compost extract applied as a foliar spray delivers trace minerals and some beneficial microorganisms directly to leaf surfaces where they are absorbed through stomata. This method supplements soil feeding rather than replacing it.
How to make it: Make compost tea at the standard ratio (one cup per gallon) and dilute it further by half with plain dechlorinated water. Strain through a very fine mesh or coffee filter to remove any particles that would clog a spray nozzle.
How to apply it: Spray the diluted extract onto all leaf surfaces in the early morning so leaves can dry before evening. Apply once every four weeks as a supplemental trace mineral treatment alongside regular soil feeding.
Best for: Plants showing signs of trace mineral deficiency despite regular soil fertilization. Plants growing in old, depleted potting mix where the soil application of nutrients is less effective due to degraded soil structure. The most effective liquid fertilizer options for supplementing compost-based feeding with targeted nutrition delivery are covered in best liquid fertilizer for indoor plants.
Choosing the Right Compost for Indoor Use
Not all compost products perform equally for indoor plant applications. Several specific characteristics matter more for pot use than for outdoor garden beds.
Fine texture: Compost destined for indoor pot use should be screened to remove large particle fragments that would create drainage problems in potting mix or block spray nozzles when making tea. Commercial bagged composts are typically fine-screened. Home compost should be sifted through a half-inch screen before indoor use.
Maturity: As covered above, fully finished compost is essential. Look for products labeled as finished, cured, or mature. OMRI-listed products have met organic certification standards that include maturity requirements.
Low salt content: Some composts made from high-salt feedstocks including food processing waste have elevated salt levels that accumulate in potting soil with repeated applications. For indoor pot use where salt cannot leach away as freely as in garden beds, choose composts made from plant-based feedstocks including yard waste, food scraps, and wood-based materials rather than industrial processing waste.
Widely available options: Kellogg Organics, Black Gold, and Coast of Maine Organic Compost are three of the most consistently available finished compost products at garden centers. All three are screened, mature, and appropriate for indoor plant use at the ratios described in the methods above.
Compost and Pest Management Indoors
The most consistent concern about using compost indoors is pest attraction. The concern is valid for unfinished compost and for thick surface applications. For finished compost used at the ratios and through the methods described above, the pest risk is manageable.
Finished compost does not contain the fermenting organic matter that attracts fungus gnats and fruit flies. Its earthy smell does not trigger pest attraction responses the way actively decomposing material does. At the thin top-dress applications described above, the surface stays dry enough between waterings that gnat egg-laying is not significantly more likely than in standard potting mix.
The microorganism community in finished compost also provides direct pest suppression benefits. Trichoderma and Bacillus species present in well-made compost suppress the fungal root rot pathogens that weaken plants and make them more susceptible to secondary pest infestations. Plants growing in compost-amended soil consistently show better resistance to the pest species that target stressed specimens. For a complete guide to identifying and treating the soil pests that occasionally appear even in well-managed compost-amended indoor plant soil, indoor plants insects in soil covers every species with specific identification and treatment guidance.
How Compost Compares to Other Natural Indoor Plant Amendments
Understanding where compost fits relative to other natural soil amendments helps you decide which combination makes the most sense for your specific plant collection and care routine.
Compost vs worm castings: Worm castings are a specific form of vermicompost that delivers similar benefits to traditional compost with significant practical advantages for indoor use. No smell, no pest attraction, no weed seeds, and higher concentrations of plant growth hormones and beneficial microorganisms per unit volume. For purely indoor use, worm castings are almost always the better practical choice. Traditional compost is more economical per volume for large-scale applications and for gardeners who produce their own.
Compost vs peat moss and coco coir: Peat moss and coco coir improve moisture retention and physical soil structure but provide minimal nutrition or biological benefit. Compost improves nutrition and biology but contributes less to physical drainage and aeration structure than perlite or the fiber-based amendments. The most effective indoor potting mixes combine all three categories: perlite or coarse sand for drainage, coco coir for moisture retention, and compost or worm castings for nutrition and biology.
Compost vs liquid fertilizers: Compost releases nutrients gradually over months as microorganisms continue processing the organic matter. Liquid fertilizers deliver nutrients immediately in water-soluble form. For most indoor plant situations the combination of both produces the best results: compost or worm castings mixed into the potting soil as a slow-release background nutrition source, combined with liquid fertilizer applied every two weeks through the growing season for immediate nutrient availability when plants are actively growing and demanding nutrition quickly.
For the complete guide to building soil mixes that incorporate compost alongside peat moss, coco coir, perlite, and worm castings in ratios suited to every common indoor plant type, soil mixture for indoor plants covers every recipe with exact measurements. And for the DIY liquid fertilizer options that pair most effectively with compost-amended soil as the fast-delivery complement to slow-release compost nutrition, diy fertilizer for indoor plants covers every homemade recipe with preparation guidance and plant-specific recommendations.
Conclusion
Compost for indoor plants delivers genuine, measurable benefits to plant nutrition, soil structure, and soil biology that no synthetic fertilizer can fully replicate. The practical concerns about smell, pests, and mess are real but entirely manageable through the right application methods. Compost tea eliminates every indoor practical concern while delivering the full microbial benefit. Thin incorporated top dressings provide nutrition without pest attraction. Mixing into potting soil at 20 to 25% during repotting delivers the most complete and evenly distributed benefit of any method. And vermicompost (worm castings) provides all of compost’s benefits with none of its indoor practical limitations.
Start with compost tea if you want to try compost benefits without handling it inside your home. Move to potting mix incorporation at the next repotting for any plant that has been in the same soil for more than a year. Use worm castings as the ongoing indoor maintenance form of compost that requires no preparation, produces no smell, and attracts no pests. Those three approaches together cover the full range of compost benefits for your indoor plant collection through every stage of the growing season.
Frequently Asked Questions
Can I add compost directly to indoor plant pots?
Yes, but only in thin amounts incorporated into the soil surface rather than as a thick layer on top. A half-inch layer of finished compost mixed into the top inch of existing potting soil every six to eight weeks is safe and effective. Thick surface layers of compost in indoor pots stay moist and create conditions that attract fungus gnats and encourage mold growth.
Is compost better than fertilizer for indoor plants?
Compost and fertilizer serve related but different purposes. Compost improves soil structure, biology, and nutrition simultaneously over a long time frame. Fertilizer delivers targeted nutrition quickly and precisely. For most indoor plant collections, using compost as a soil amendment and background nutrition source alongside a liquid fertilizer applied every two weeks through the growing season produces better results than either alone.
How much compost should I add to indoor plant soil?
Mix finished compost into potting soil at 20 to 25% of total volume when repotting. For top dressing, apply no more than a half-inch layer incorporated into the top inch of soil every six to eight weeks. For compost tea, use one cup of compost per gallon of water and apply the strained liquid every two weeks through the growing season.
Does compost attract bugs to indoor plants?
Fully finished compost used in the thin applications described above does not significantly attract bugs compared to standard potting mix. Unfinished compost, thick surface applications, and moist conditions created by overwatering do attract fungus gnats and other soil-dwelling insects. Using only finished compost, keeping applications thin, and allowing soil to dry appropriately between waterings prevents the conditions that drive pest attraction regardless of whether compost is present.
Can I use homemade compost on indoor plants?
Yes, provided it is fully finished. Home compost is finished when it looks and smells like dark earth, you cannot identify individual ingredients, and it has been sitting inactive for at least two to three months after the last active heating phase. Sift it through a half-inch screen to remove large particles before using it in potting mix or for top dressing. Half-finished home compost should be left to mature further outdoors before bringing it inside.
How often should I add compost to indoor plants?
Apply compost tea every two weeks through spring and summer. Top dress with a thin layer of finished compost or worm castings every six to eight weeks through the growing season. Incorporate compost into potting mix when repotting every one to two years. Reduce all compost applications to monthly or stop entirely during fall and winter when most houseplants slow their growth and cannot use the nutrients provided.
Pingback: Do You Need Nutrients After Repotting Indoor Plants? - Plant Quill
Pingback: 7 Best Slow Release Fertilizers for Indoor Plants - Plant Quill