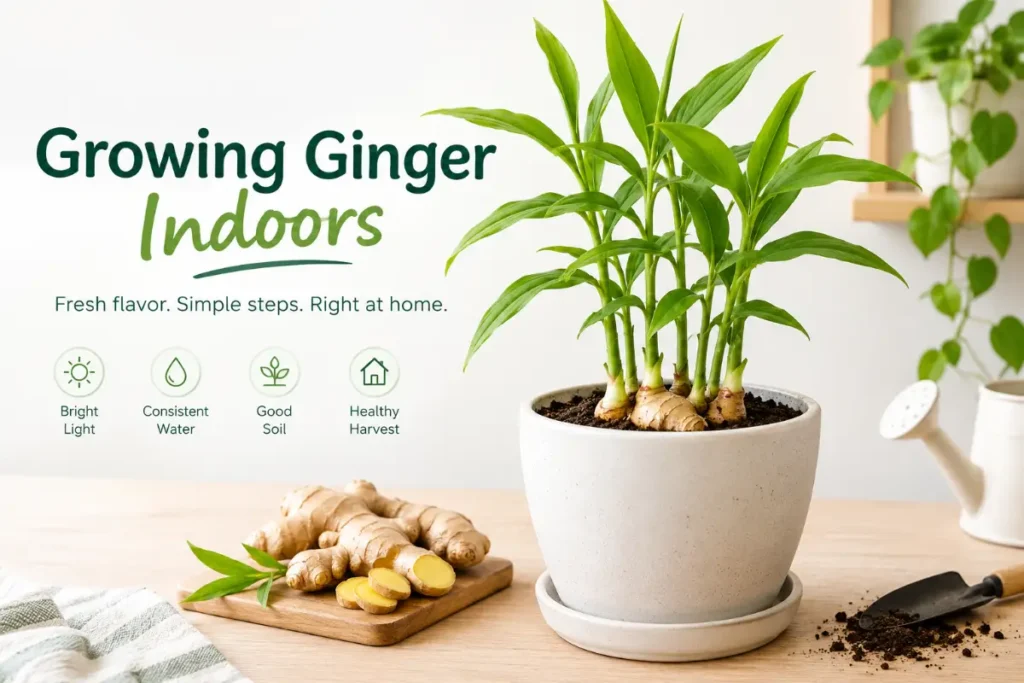
Growing ginger indoors is one of the most satisfying and most underappreciated indoor food growing projects. Fresh ginger root from a kitchen pot tastes measurably more intense and aromatic than grocery store ginger that has been stored for weeks or months after harvest. It is also one of the most accessible food crops to start since the rhizome you plant comes directly from the grocery store produce section at minimal cost.
The care approach is completely different from the fruiting crops earlier in this cluster. Ginger does not need maximum direct sun, does not require hand pollination, and does not need grow lights to produce a useful harvest. It is a tropical understory plant that grows well in the warm, humid, moderately lit conditions that most homes naturally provide in ways that tomatoes and peppers cannot.
Quick Answer
Growing ginger indoors: soak a fresh grocery store ginger rhizome in water overnight, plant it two to three inches deep in moist potting mix with growth buds facing up, place in bright indirect light with consistent warmth above 65 degrees Fahrenheit, water when the top inch dries, fertilize every two to four weeks through the growing season, and harvest at eight to ten months when leaves yellow naturally or take partial harvests at four to six months by gently digging the edge of the pot.
Understanding Ginger as an Indoor Crop
Ginger (Zingiber officinale) is a tropical plant native to Southeast Asia where it grows as a forest understory plant in warm, humid, dappled-shade conditions. This origin immediately distinguishes it from the full-sun crops that dominate the growing food indoors cluster. Ginger evolved to grow in filtered forest light rather than direct intense sun, which makes it significantly more compatible with typical indoor light conditions than fruiting crops like tomatoes and peppers.
The part we eat is the rhizome, an underground horizontal stem that the plant uses to store energy and spread laterally. The aboveground portion consists of upright leafy stems that emerge from the rhizome and reach two to four feet in height during the active growing season. The leafy portion is attractive and aromatic, making ginger a dual-purpose plant that contributes visual interest alongside culinary utility.
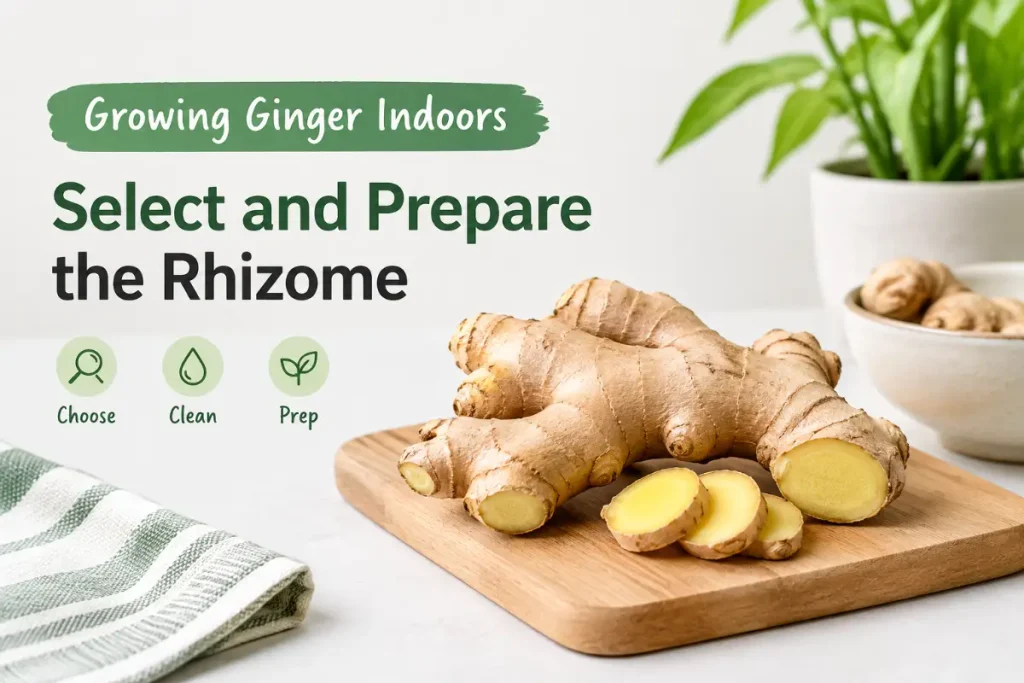
The grocery store starting point: Most ginger sold in US grocery stores is Zingiber officinale from Hawaii or overseas production. This is the same species appropriate for indoor growing. The key is selecting rhizomes that are fresh, firm, and showing visible growth buds (the slightly lighter, rounded protrusions on the rhizome surface). Shriveled, soft, or heavily treated (sometimes sprayed with growth inhibitors) rhizomes germinate less reliably than fresh, firm ones.
Step 1: Select and Prepare the Rhizome
What to look for at the grocery store: Plump, firm rhizomes with visible growth buds. Buds appear as lighter-colored, slightly swollen nodules along the rhizome surface. Rhizomes with multiple visible buds give more stem emergence points and therefore more above-ground growth and more harvestable area.
Fresh versus old: Fresh ginger from a grocery store with high turnover is more reliably viable than ginger that has been sitting in the refrigerated display for weeks. If the ginger smells strongly aromatic when you break a small piece, it is fresh and viable. Weak aroma or dried-out cut surfaces suggest older stock with lower germination reliability.
Preparing the rhizome: Soak the selected rhizome in room temperature water for eight to twelve hours before planting. This hydrates the outer tissue and may help break any dormancy or growth inhibitor treatments. After soaking, allow to dry briefly for thirty minutes before planting. If the rhizome is a large piece (over four inches), it can be cut into sections of two to three inches each with at least one visible bud, allowing multiple plants from a single rhizome purchase.
Organic ginger: If concerned about growth inhibitor treatments that some commercial ginger receives, purchase organic ginger from the grocery store or a specialty food retailer. Organic ginger is less likely to have been treated with growth inhibitors and typically shows higher germination rates for indoor growing.
Step 2: Set Up the Right Container and Soil
Ginger’s horizontal rhizome growth habit means it needs wide, shallow containers rather than the deep narrow containers appropriate for deep-rooted plants.
Container width: Twelve to fourteen inches wide minimum for a single rhizome planting. The rhizome spreads horizontally as it grows and needs lateral space. A wider window box or trough container allows the most rhizome development and therefore the largest harvest.
Container depth: Eight to ten inches is adequate. Ginger rhizomes grow horizontally near the soil surface rather than deeply, so depth beyond ten inches does not increase yield.
Drainage: Essential. While ginger prefers consistently moist soil, anaerobic waterlogged conditions cause rhizome rot. Multiple drainage holes throughout the container base.
Soil: Standard potting mix without significant amendment suits ginger well. Unlike the fast-draining mixes needed for succulents and citrus, ginger benefits from the moisture retention of standard potting mix since it prefers consistently moist rather than rapidly-drying soil conditions. Adding 15 to 20% perlite improves drainage slightly while maintaining adequate moisture retention.
Step 3: Plant Correctly
Planting depth: Two to three inches below the soil surface. Bury the rhizome horizontally with growth buds facing upward. This orientation allows the emerging shoots to push directly upward through the soil rather than navigating sideways from the wrong starting position.
Spacing: If planting multiple rhizome sections, space them four to six inches apart in the container to allow lateral growth without immediate overcrowding.
Initial moisture: Water thoroughly after planting and place in a warm position above 70 degrees Fahrenheit. Consistent warmth accelerates germination significantly. A seedling heat mat beneath the container maintains 70 to 75 degrees in the root zone even if ambient air is cooler.
Germination timing: Shoot emergence typically occurs two to four weeks after planting in warm conditions. In cooler conditions below 65 degrees, germination may take six to eight weeks or fail entirely. The soil should remain moist but not waterlogged during this waiting period.
The patience requirement: Do not dig to check on the rhizome during the germination waiting period. The disturbing of the rhizome before roots are established damages the emerging root system. Trust the process and check only by watching for shoot emergence above the soil surface.
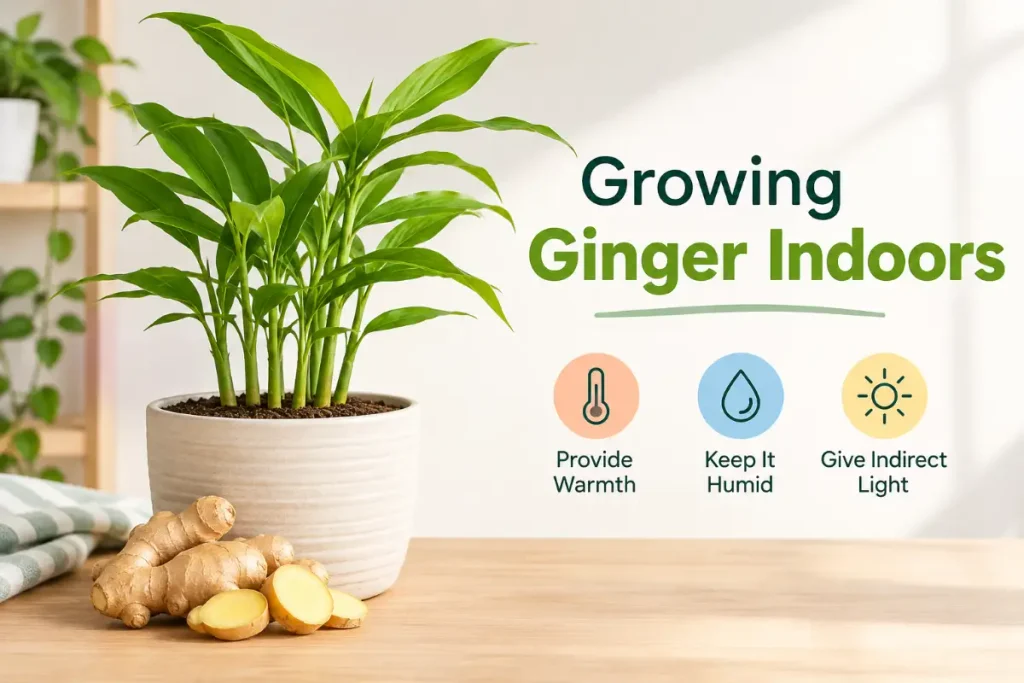
Step 4: Provide Warm, Humid, Indirect Light
This is where ginger differs most from the other food crops in this cluster. Ginger does not need the intense direct sun of tomatoes, peppers, and citrus.
Light requirement: Bright indirect light from an east or north-facing window. Morning sun from an east-facing window followed by bright indirect light through the afternoon is excellent. Medium indirect light from a north-facing window produces acceptable but slower ginger growth. Ginger in full south-facing afternoon direct sun may show leaf bleaching and stress that slows growth.
The forest understory advantage indoors: Ginger’s adaptation to filtered forest light means it performs well in the medium indirect light of typical indoor rooms that is inadequate for fruiting food crops. This makes ginger one of the most accessible indoor food crops for homes without south-facing windows or grow light investment.
Temperature: Above 65 degrees Fahrenheit minimum, with active growth between 70 and 85 degrees. Ginger is one of the most heat-tolerant indoor food crops and produces most vigorously in the warm conditions of summer and heated indoor spaces.
Humidity: Ginger prefers humidity above 50%, which suits its tropical forest origin. In dry heated winter homes, grouping with other tropical plants or running a small humidifier nearby reduces the leaf tip browning that indicates chronic low humidity in growing ginger.
Step 5: Water and Fertilize Through the Growing Season
Watering: Water when the top inch of soil feels dry. Ginger prefers consistently moist soil but not waterlogged conditions. In warm summer conditions this typically means watering every four to six days. In cooler winter conditions every seven to ten days as growth slows.
The seasonal pattern: Ginger grows most actively through spring and summer in a growth cycle that naturally mirrors the tropical wet season rhythm. Growth slows in fall and the above-ground stems naturally yellow and die back in late fall to winter as the plant enters dormancy and concentrates energy in the rhizome.
Active season fertilizing: Every two to four weeks through spring and summer with a balanced liquid fertilizer at half rate. The nitrogen component supports the vigorous leaf stem production that drives the photosynthesis powering rhizome development below. Reducing nitrogen and increasing phosphorus and potassium in midsummer supports rhizome development specifically.
Organic options: Worm casting tea applied every three to four weeks provides gentle organic nutrition with soil biology benefits that support the rhizome growth environment. For the complete organic fertilizer guide, worm castings for indoor plants covers every method with guidance for root crop applications.
Fall and winter: Stop fertilizing when the above-ground growth begins yellowing naturally in fall. The dormancy period requires no nutritional input. Resume fertilizing when new growth emerges in spring.
Step 6: Harvest Correctly for Maximum Yield
Ginger offers two distinct harvesting approaches with different yield timelines.
Partial early harvest (four to six months): Gently push aside soil at the container edge and cut small sections of the outer rhizome with a sharp knife without removing the plant from the container. The cut triggers the rhizome to callus over and continue growing. This produces fresh young ginger with thin skin and mild, less fibrous texture — similar to the baby ginger occasionally available at Asian grocery stores. Replant any cut areas with fresh soil and continue watering normally.
Full harvest (eight to ten months): When the above-ground leaves yellow naturally in fall, stop watering entirely and allow the soil to dry for two weeks. Then tip the container and shake out the entire root ball. The rhizomes have typically expanded to several times their planted size. Brush off soil, rinse, and allow to dry briefly before use or storage.
What you get at full harvest: The original planted rhizome plus the new rhizome growth that developed through the season. A single four-inch grocery store rhizome planted in spring typically yields a pound or more of fresh ginger at fall harvest from an appropriately sized container in good growing conditions.
Saving rhizome for replanting: Reserve the freshest, plumpest sections of the harvested rhizome with visible growth buds for replanting the following spring. These saved sections start the next season’s growth cycle without requiring a new grocery store purchase.
Step 7: Manage Dormancy and Plan the Next Season
Fall dormancy management: As days shorten and temperatures cool in fall, ginger naturally enters dormancy with yellowing and eventual die-back of the above-ground stems. This is normal and expected rather than a sign of care failure. Stop watering when stems begin yellowing. Do not cut the stems until they are fully yellow and dry — the dying stems transfer remaining energy back to the rhizome before they are fully spent.
Storage options during dormancy: Leave the rhizome in its container with dry soil in a cool position (50 to 60 degrees) through winter dormancy. Alternatively, harvest entirely at dormancy, store the best rhizome sections in a paper bag in the refrigerator crisper drawer, and replant in fresh potting mix in spring.
Spring restart: In late winter or early spring, plant the saved rhizomes two to three inches deep in fresh potting mix and resume the cycle. The established rhizomes from the previous season germinate faster than first-year planted grocery store rhizomes, typically showing shoots within seven to fourteen days rather than two to four weeks.
The perennial potential: In USDA zones 8 through 12 where winter temperatures stay above freezing, ginger grown indoors can be transitioned to outdoor garden beds in spring where it grows as a perennial, spreading rhizomes indefinitely. For indoor growers in colder climates, the annual harvest-and-replant cycle maintains a productive ginger operation year after year.
For the companion guide to growing mint indoors — which shares ginger’s preference for moist soil, indirect light, and warm temperatures while providing a completely different culinary flavor profile that complements ginger in cooking — growing mint indoors covers the care approach for this tropical moisture-loving herb that pairs naturally with ginger in the same indoor growing conditions.
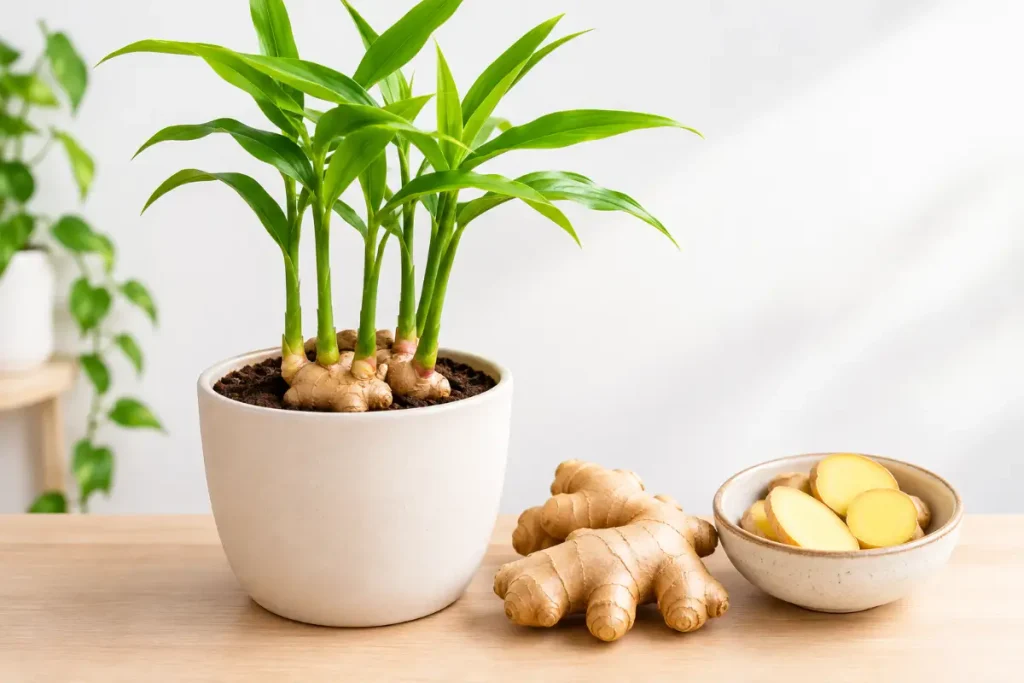
Using Fresh Indoor Ginger
Fresh ginger from an indoor plant differs from grocery store ginger in both intensity and texture that make the growing effort genuinely worthwhile.
Young ginger (harvested at four to six months): Thin-skinned, mild, and tender with no significant fibrous content. Can be sliced and eaten raw, pickled, or grated without peeling. Excellent in fresh cocktails, tea, and raw preparations where grocery store ginger would be too fibrous and intense.
Mature ginger (harvested at eight to ten months): Similar in character to grocery store ginger but noticeably more intensely aromatic when cut. The essential oil concentration in freshly harvested mature ginger is higher than in stored ginger, producing a more vivid flavor in cooking.
Ginger tea: Slice three to four thin rounds of fresh ginger into a mug, pour boiling water over, and steep for five minutes. Add honey and lemon to taste. Fresh indoor ginger tea made this way is noticeably more aromatic and more effectively warming than tea made from dried or powdered ginger.
Ginger in cooking: Freshly grated indoor ginger adds to stir-fries, curries, marinades, and baked goods the same way grocery store ginger does but with more intensity per unit used, meaning smaller quantities deliver equivalent flavor impact.
Common Indoor Ginger Problems and Solutions
No shoots after four weeks: Soil temperature below 65 degrees is the most common cause. Provide a heat mat. Check that the rhizome was planted with buds facing upward. If rhizome shows softening or rot, it was not viable — start fresh with a new grocery store rhizome.
Yellow leaf tips: Low humidity or fluoride in tap water. Increase humidity and switch to filtered water. Normal in mild form during dry winter heating season.
Pale, stretched stems: Insufficient light. Move to a brighter indirect position with more ambient window light.
Leaves yellowing in fall: Normal dormancy progression. Stop watering and allow to proceed naturally.
Rhizome rot at harvest: Overwatering during the growing season. Adjust watering frequency going forward using the top-inch check before each watering.
Conclusion
Growing ginger indoors delivers fresh ginger root with significantly better flavor than grocery store ginger, from a plant that suits the warm, moderately lit conditions of most home interiors better than fruiting crops that need maximum direct sun and grow light investment. A grocery store rhizome planted in spring produces a meaningful harvest by fall with care requirements that are genuinely simpler than tomatoes, peppers, or citrus.
Warm soil, bright indirect light, consistent moisture without waterlogging, light seasonal fertilizing, patience through the full growing cycle, and correct dormancy management in fall and winter. Those seven practices produce the indoor ginger harvest that makes fresh home-grown ginger a genuinely practical kitchen resource rather than just a satisfying growing experiment.
Frequently Asked Questions
Can you grow ginger from a grocery store rhizome indoors?
Yes. Grocery store ginger rhizomes are the same species appropriate for indoor growing and produce viable plants when fresh and firm with visible growth buds. Soak overnight in water before planting, plant two to three inches deep with buds facing up in a wide, shallow container, and place in warm bright indirect light. Shoots typically emerge within two to four weeks in warm conditions.
How long does it take to grow ginger indoors?
Eight to ten months from planting to full harvest when leaves yellow naturally at the end of the growing season. Partial harvests of young ginger are possible at four to six months by digging carefully at the container edge without removing the plant. The full seasonal cycle from spring planting to fall harvest produces a pound or more of fresh ginger from a single grocery store rhizome in good indoor conditions.
Does indoor ginger need direct sunlight?
No. Ginger is a tropical forest understory plant that prefers bright indirect light and can handle medium indirect light. This distinguishes it from the fruiting food crops covered earlier in this cluster that require direct south-facing sun or grow lights. An east or north-facing window with adequate ambient light suits ginger well. Intense direct afternoon south-facing sun may bleach and stress ginger leaves.
How do I harvest ginger from an indoor pot?
For partial early harvest at four to six months, push soil aside at the container edge and cut outer rhizome sections without removing the plant. For full harvest at eight to ten months when leaves yellow, stop watering and allow to dry for two weeks, then tip the container and shake out the entire root ball. Rinse and use, reserving the plumpest sections with visible growth buds for replanting the following spring.
Does indoor ginger go dormant?
Yes. As days shorten in fall, ginger naturally yellows and the above-ground stems die back as the plant concentrates energy in the underground rhizome for dormancy. This is normal behavior rather than a care problem. Stop watering when yellowing begins, allow stems to fully dry before cutting them, and either leave the rhizome in dry soil through winter or harvest and store in the refrigerator for spring replanting.
What temperature does indoor ginger need?
Above 65 degrees Fahrenheit for active growth, with most vigorous growth between 70 and 85 degrees. Ginger is one of the most heat-tolerant indoor food crops and grows actively in the warm conditions of summer and heated indoor spaces. Below 60 degrees growth slows significantly. Below 50 degrees cold damage begins. The warm indoor temperatures of most US homes through spring and summer are ideal for indoor ginger production.