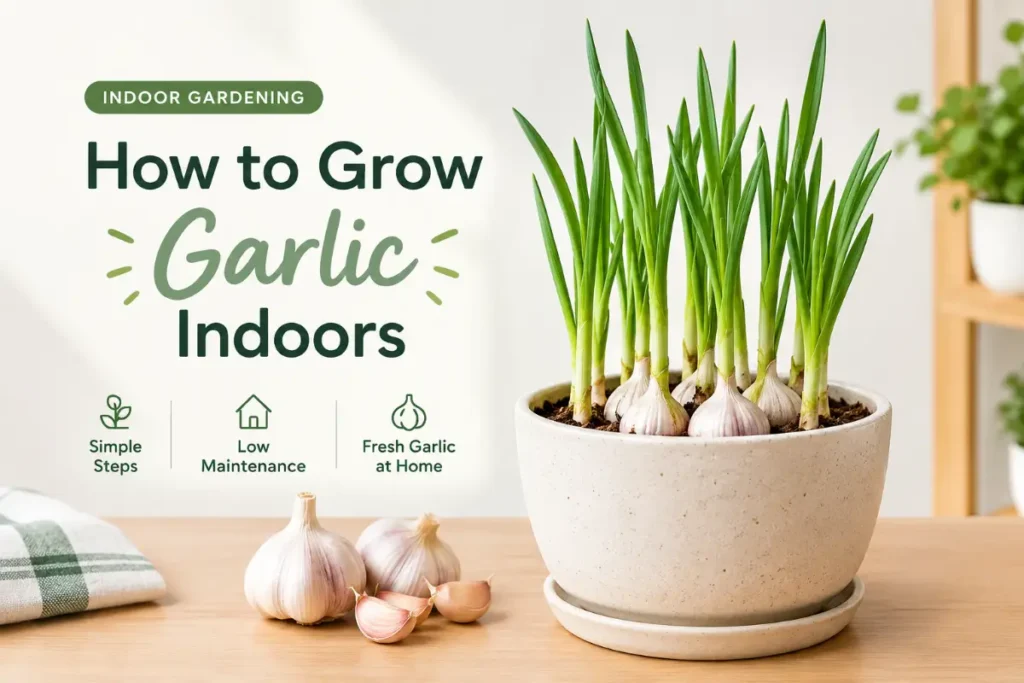
How to grow garlic indoors is one of the most practical food growing questions in the kitchen herb category because garlic is used in almost every savory culinary tradition and the fresh green tops of growing garlic plants deliver a mild, versatile garlic flavor that grocery stores rarely offer as a fresh product. Most people who search this topic want one of two things: a continuous supply of garlic greens for cooking, or the full experience of growing garlic bulbs from cloves to harvest.
This guide covers both approaches honestly. Growing garlic greens indoors is straightforward and produces results quickly. Growing full garlic bulbs indoors to harvest is more challenging, requires a cold vernalization period, and produces smaller bulbs than outdoor growing. Understanding which goal you are pursuing from the start shapes every care decision.
Quick Answer
To grow garlic indoors for greens: plant individual cloves one inch deep in a container with the pointed end up, water consistently, and harvest the green shoots that emerge within one to two weeks by cutting to one inch above the soil. For full garlic bulbs indoors: plant vernalized cloves (cold-treated for eight to ten weeks at 40 degrees) in deep containers, provide maximum south-facing sun or grow lights, and harvest when leaves yellow at eight to ten months. Garlic greens are the most practical indoor garlic project for most growers.
Understanding the Two Indoor Garlic Approaches
Before committing time and container space, understanding the difference between these approaches prevents disappointment.
Garlic greens (green garlic or garlic chives): Planting a clove and harvesting the green shoots before any bulb development occurs. These thin green shoots taste like mild garlic and function like scallion tops in cooking. The greens regrow after cutting two to three times before the clove exhausts its stored energy. This is the fastest and most practical indoor garlic project.
Full bulb development: Planting a vernalized clove and growing it through to bulb formation and harvest. This takes eight to ten months, requires a preliminary cold treatment, needs deep containers and maximum sun, and produces significantly smaller bulbs than outdoor growing. It is a worthwhile project for dedicated food growers who want the full experience, but not the right approach for someone wanting quick fresh garlic for cooking.
Part 1: Growing Garlic Greens Indoors
Why Garlic Greens Are Ideal for Most Kitchen Growers
Garlic greens represent one of the fastest and most immediately useful indoor food growing results available. A container of planted garlic cloves produces harvestable green shoots within seven to fourteen days, making it faster than almost every food crop except radish microgreens. The greens have a mild, approachable garlic flavor that suits salads, scrambled eggs, soups, stir-fries, and any dish where you want garlic presence without the intensity of raw cloves.
They are also one of the most economical indoor food crops since the cloves you plant are available from any grocery store year-round at minimal cost. A single head of garlic provides six to twelve cloves, each producing a green shoot, filling a six-to-eight-inch container with enough material for several harvests.
Selecting Cloves for Green Growing
Grocery store garlic: Works perfectly for green growing since you are not relying on the cloves to form new bulbs but simply to fuel green shoot growth from their stored energy. Any firm, unsprouted garlic clove from any grocery store variety produces green shoots reliably.
Sprouted cloves: Cloves that have already begun sprouting in the grocery store or in your pantry are actually ideal for green growing since the sprouting process is already underway. Plant immediately for the fastest results.
What to avoid for greens: Soft, shriveled, or moldy cloves that lack the stored energy reserves needed for green shoot production.
Planting for Greens
Container: A wide, shallow container at least three inches deep suits garlic green growing. A standard six-inch pot holds six to eight cloves. A ten-inch window box holds fifteen to twenty cloves for more abundant harvests.
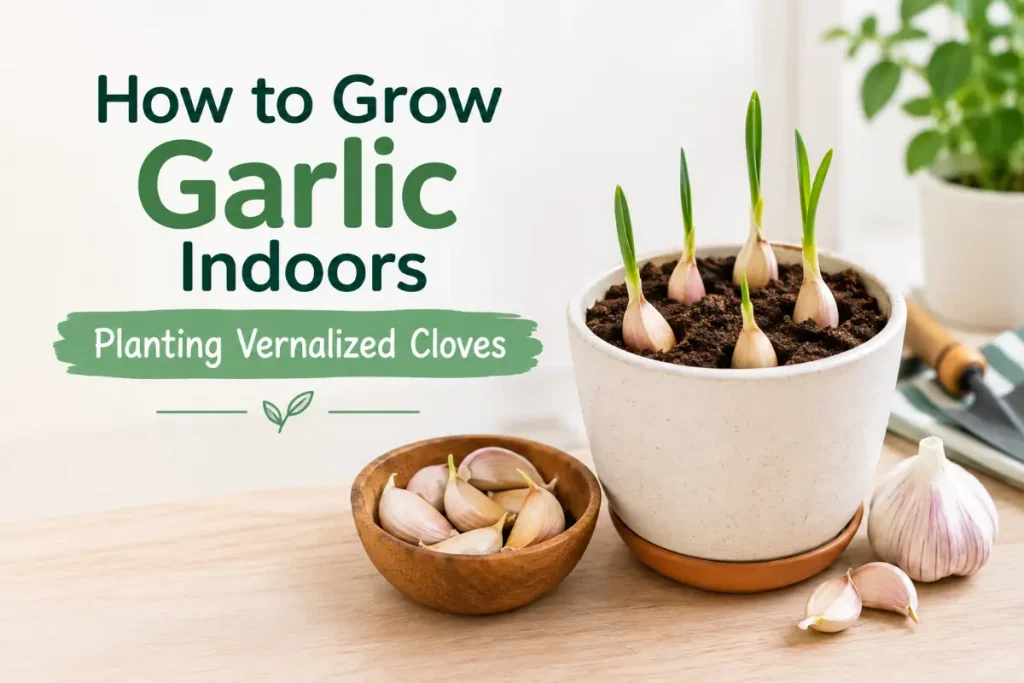
Planting: Push each clove into moist potting mix with the pointed end up and the flat root end down. Plant one inch deep. Space cloves two inches apart for green growing (tighter than bulb growing since you are not allowing full development).
Soil: Standard potting mix. No amendments needed for the short-term green production goal.
Harvesting Garlic Greens
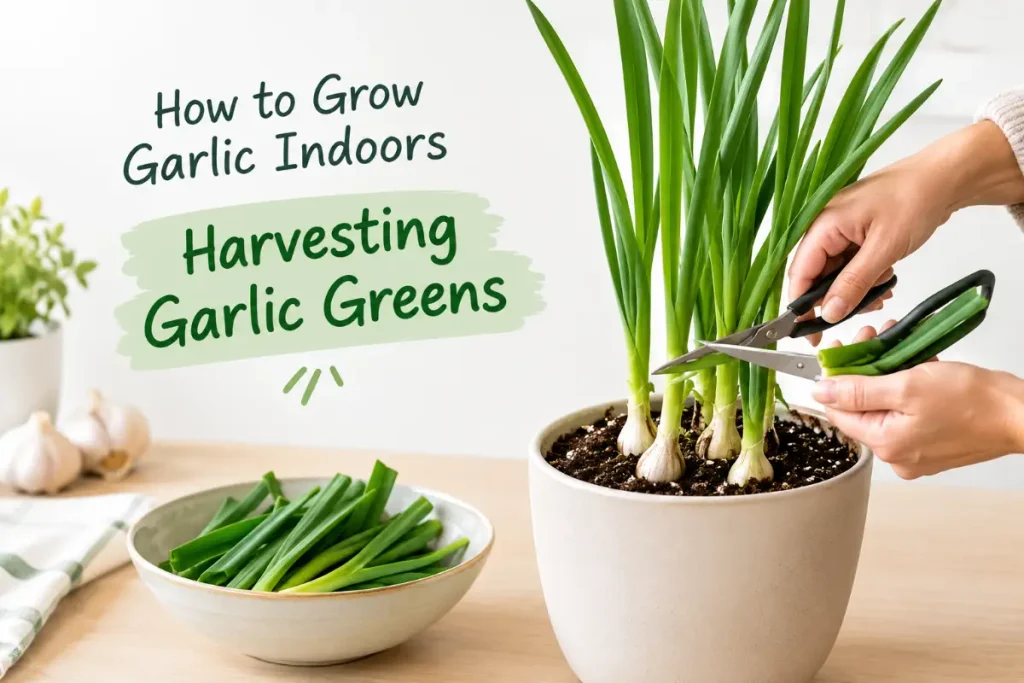
First harvest: When shoots reach four to six inches tall, cut them to one inch above the soil with clean scissors. The cut triggers regrowth from the clove’s stored energy. Most cloves regrow two to three times before exhausting themselves.
Flavor note: Garlic greens have the most intense flavor immediately before the first harvest. Subsequent harvests from the same clove produce slightly milder greens as the clove depletes its energy reserves.
Cut-and-come-again: After each harvest, the clove regrows within five to seven days in warm conditions. Two to three harvests per clove are typical before replanting with fresh cloves.
Succession planting: Plant a new batch of cloves every two to three weeks to maintain a continuous supply of fresh garlic greens rather than having all cloves exhaust simultaneously.
Part 2: Growing Full Garlic Bulbs Indoors
The Vernalization Requirement
Garlic needs a period of cold temperatures to initiate bulb formation. This cold treatment (vernalization) replicates the winter conditions that outdoor garlic experiences naturally and is essential for bulb development. Without vernalization, planted cloves produce only greens and never develop the swollen bulb that is the primary harvest goal.
How to vernalize: Place individual cloves (still in their papery wrapper) in a paper bag or mesh bag in your refrigerator (not freezer) at 35 to 45 degrees Fahrenheit for eight to ten weeks. The crisper drawer where temperatures are typically coldest works well. This mimics the winter cold period that outdoor garlic experiences naturally.
When to start: Plan backward from your intended planting date. If you want to plant in January, begin refrigerator vernalization in late October or early November.
Choosing Varieties for Full Bulb Indoor Growing
Softneck varieties are the most practical for indoor bulb growing. They do not require as prolonged a cold period as hardneck varieties, store longer after harvest, and generally adapt better to the somewhat abbreviated vernalization that indoor growing typically provides. California Early, Silverwhite, and Inchelium Red are softneck varieties with good indoor track records.
Hardneck varieties produce larger, more flavorful individual cloves and the edible scapes (flower stalks) that are a bonus harvest in outdoor growing. They require a more extended cold period than softneck types and are slightly more challenging indoors, but deliver excellent flavor if the vernalization is adequate.
Containers and Soil for Full Bulb Growing
Container depth: At least eight to ten inches deep. Garlic bulbs develop below the soil surface and need adequate depth for the root system and bulb expansion. Shallow containers produce significantly smaller bulbs even with adequate care.
Container width: One clove per six-inch pot or one clove every six inches in a wider container. Unlike green growing where tight spacing is fine, bulb growing needs adequate spacing for full bulb development.
Soil: Standard potting mix with 20% perlite for improved drainage. Garlic bulbs developing in waterlogged soil rot before they mature. Good drainage is the most important soil characteristic for full bulb growing.
Step 1: Provide Maximum Available Light for Bulb Development
Full garlic bulb development requires significantly more light than garlic green production. This is the primary factor that limits the practicality of indoor full-bulb garlic in most homes.
For greens: Bright indirect light from an east or south-facing window is adequate. Garlic greens grow in medium indirect light without etiolation significantly affecting their culinary utility.
For bulbs: Direct south-facing window sun for at least six hours daily or grow lights delivering 400 or more PPFD for 14 to 16 hours daily. In insufficient light, garlic produces green tops but the underground portion never bulks into a full head.
The realistic expectation: Indoor full-bulb garlic in a south-facing window position produces bulbs approximately one-quarter to one-half the size of outdoor summer garlic. This is genuine, usable garlic with authentic flavor but not the large heads of outdoor summer crops. For the complete guide to grow light setup that supplements south-facing window light for maximum indoor food production, grow lights for indoor tomato plants covers the PPFD specifications and grow light selection that applies to all high-light indoor food crops including garlic.
Step 2: Planting Vernalized Cloves
After vernalization: Remove cloves from refrigerator and plant within one to two days. Plant in deep containers as described above, pointed end up, one inch below the soil surface.
Initial placement: Begin in a cool, bright position (55 to 65 degrees Fahrenheit) for the first two to four weeks after planting to continue the vernalization response as roots establish. This cooler early period improves bulb initiation.
Transition to warmer conditions: After the initial cool establishment period, move to the warm, bright south-facing window position for active growth through spring and summer.
Step 3: Water and Fertilize Through the Growing Cycle
Watering: Water when the top inch of soil feels dry. Garlic is moderately drought-tolerant but inconsistent moisture causes the stunted, uneven development that produces the smallest bulbs. Consistent moisture without waterlogging throughout the growing period.
Fertilizing for bulbs: A balanced fertilizer every two to three weeks through the active growing period until the leaves begin yellowing toward harvest. Avoid high-nitrogen fertilizing in the final six weeks before harvest since this pushes leafy growth at the expense of the bulb filling and maturation that the end of the growing cycle requires.
The nitrogen timing principle: Nitrogen for leaf growth is appropriate early in the growing cycle when building photosynthetic capacity. Potassium and phosphorus support bulb filling in the final growth stages. Switching to a lower-nitrogen, higher-potassium formula in the last six weeks of growth before harvest improves final bulb size and flavor development.
Step 4: Manage Scapes on Hardneck Varieties
Hardneck garlic varieties produce flower stalks called scapes that curl into a distinctive loop as they develop. Removing these scapes diverts energy from scape development into bulb filling, improving final bulb size.
When to cut: When the scape has made one full loop or curl. Cutting before the scape straightens and flowers produces the largest bulb size improvement.
The culinary bonus: Garlic scapes have a delicious mild garlic flavor and are excellent in stir-fries, pesto, salads, and as a standalone sautéed vegetable. The scape removal that benefits the bulb also provides a bonus fresh harvest approximately six to eight weeks before the main garlic bulb harvest.
Step 5: Recognize Harvest Time
Indoor garlic is ready to harvest when the lower leaves yellow and dry while the upper leaves remain green. This is the same harvest indicator used for outdoor garlic.
Timing: Eight to ten months after planting for most varieties under adequate indoor conditions. This extended timeline is the primary reason most indoor food growers focus on garlic greens rather than full bulbs.
Harvesting: Gently loosen the soil around each plant with a fork or trowel and lift the entire bulb. Brush off excess soil. Do not wash bulbs immediately since this introduces moisture that accelerates decay.
Curing: Allow harvested garlic to dry in a warm, well-ventilated location for two to four weeks before use or storage. Proper curing significantly extends storage life. Uncured garlic is edible immediately but stores for only one to two weeks.
Common Indoor Garlic Problems and Solutions
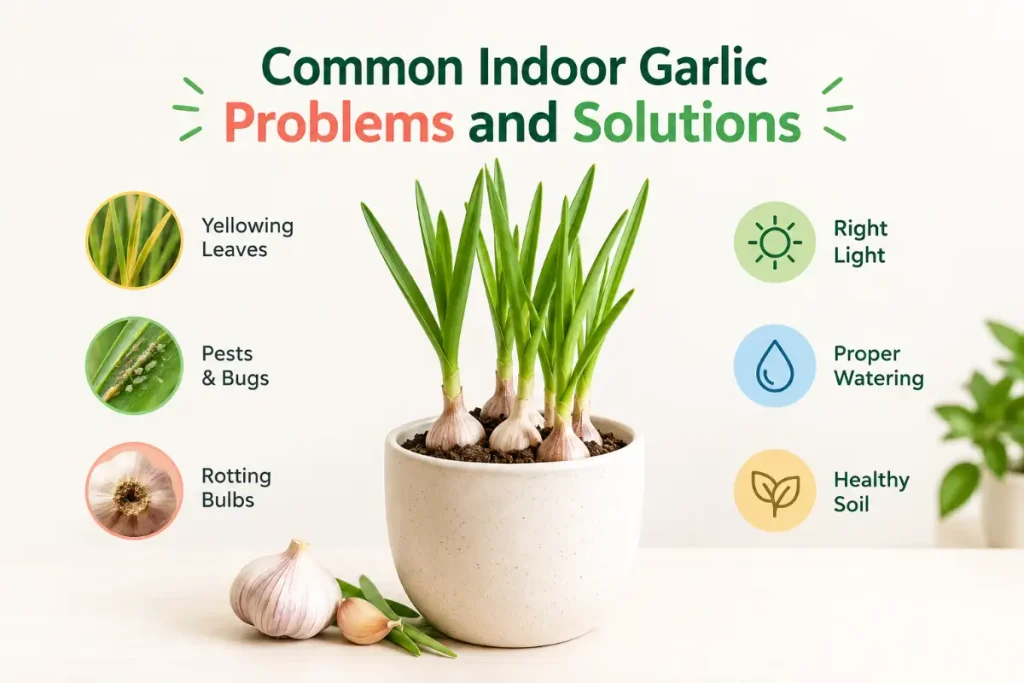
Greens that stop regrowing: The clove has exhausted its stored energy reserves after two to three harvests. Plant fresh cloves for the next succession of greens.
Yellow leaves early in the bulb-growing cycle: Overwatering or insufficient light. Check soil moisture and improve light conditions. Early yellowing distinct from the harvest-ready yellowing of lower leaves that occurs naturally in the final growing stage.
Small bulbs at harvest: Insufficient light, insufficient vernalization, or insufficient growing time. Ensure a full eight to ten weeks of cold treatment, maximum available south-facing sun, and patience through the full growing cycle.
Soft, rotting cloves before shoots emerge: Overwatering in the first two to three weeks after planting. Allow the soil to approach dryness at one inch before watering in the early post-planting period.
Building a Complete Indoor Allium Garden
Garlic, green onions, and chives form a natural indoor allium growing group with overlapping care requirements and complementary flavors that together cover the full range of mild-to-pungent allium flavors in cooking.
Chives (Allium schoenoprasum): The most naturally suited allium for year-round indoor growing. Unlike garlic and onions that require vernalization for full development, chives grow continuously without any cold treatment, producing mild onion-flavored hollow leaves that regrow after cutting for months. A single established chive plant in a six-inch pot provides continuous fresh chive leaves throughout the year. Chives also produce attractive purple flowers that are edible and visually appealing. Start from seed or divide an outdoor chive clump in fall for indoor winter growing.
Green onions (covered in the next post in this cluster): Grown from seed or grocery store bunches planted root-end down, green onions produce harvestable tops within two to three weeks and regrow after cutting from the established root cluster, similar to garlic greens but with milder onion rather than garlic flavor.
Garlic greens: The most intensely flavored of the indoor allium greens, providing genuine garlic flavor in a fresh form unavailable from most grocery stores.
Together, an indoor allium garden of chives in one pot, garlic greens in a second container, and a green onion planting in a third covers virtually every fresh allium flavor that daily cooking requires. The combined space of three six-to-eight-inch containers fits comfortably on a south-facing kitchen windowsill or under a single modest grow light.
Using Indoor Garlic Greens in the Kitchen
The mild garlic flavor of fresh garlic greens makes them one of the most versatile kitchen additions from any indoor growing project. Understanding how to use them builds the cooking habit that makes indoor garlic growing genuinely integrated into daily food preparation rather than an occasional novelty.
As scallion substitutes: Garlic greens function as a more intensely flavored substitute for scallion tops in any recipe calling for green onions as a garnish or addition. Sprinkle over ramen, bibimbap, scrambled eggs, or baked potatoes the same way you would use scallion greens.
In compound butter: Finely chop garlic greens and fold into softened butter with salt and herbs for a compound butter that delivers fresh garlic flavor without the harshness of raw minced garlic. Excellent on bread, steaks, and vegetables.
In egg dishes: Garlic greens added to scrambled eggs, frittatas, and omelets provide a gentle garlic presence that complements eggs naturally without the sometimes-sharp flavor of sautéed garlic cloves.
As a pasta addition: Toss fresh garlic greens into hot pasta with olive oil, salt, and Parmesan for one of the simplest, most immediate uses of a fresh garlic green harvest. The heat of the pasta wilts the greens slightly while preserving their bright flavor.
For the companion guide to growing green onions indoors — the most closely related indoor growing project to garlic greens in terms of technique, container setup, and culinary use — growing green onions indoors covers every step of the green onion approach that complements indoor garlic growing in a complete fresh allium kitchen garden.
Conclusion
How to grow garlic indoors is most rewarding when the goal is clearly established from the start. For quick, practical results that provide fresh garlic flavor within two weeks, garlic greens from un-vernalized cloves in a wide shallow container are the most accessible and most immediately useful approach. For the full garlic growing experience including bulb harvest, vernalization preparation followed by eight to ten months of patient growing in maximum light produces genuine garlic in a container — smaller than outdoor crops but authentic in flavor and deeply satisfying to harvest.
Both approaches from the same ingredient, a garlic clove from your kitchen, represent one of the best entry points to indoor food growing for anyone who wants to connect the food they cook with the plants that produce it.
Frequently Asked Questions
Can you grow garlic from a grocery store clove indoors?
Yes. Grocery store garlic cloves grow garlic greens reliably without any special preparation. Plant cloves one inch deep with pointed end up and harvest the green shoots at four to six inches. For full bulb development from grocery store garlic, refrigerator vernalization for eight to ten weeks is required before planting since grocery store garlic has not experienced the cold period that outdoor garlic gets naturally.
How long does it take to grow garlic indoors?
Garlic greens are ready to harvest in seven to fourteen days after planting. Full garlic bulbs require eight to ten months from planting to harvest, including the cold vernalization period that precedes planting. The long timeline for full bulb development is why most indoor kitchen growers focus on garlic greens rather than full bulbs.
Do you need to refrigerate garlic before planting indoors?
For garlic greens, no refrigeration is needed. Simply plant the clove and harvest the shoots. For full bulb development, yes — cold vernalization in a refrigerator at 35 to 45 degrees Fahrenheit for eight to ten weeks is required to initiate the bulb formation that the cold winter period triggers in outdoor garlic naturally.
How many times can I harvest garlic greens from one clove?
Two to three harvests from each clove, cutting to one inch above the soil each time. After two to three harvests the stored energy in the original clove is depleted and regrowth ceases. Replace with fresh cloves. Succession planting every two to three weeks maintains a continuous supply of fresh garlic greens.
What is the difference between garlic greens and green onions?
Garlic greens are the shoots from garlic cloves with a distinct garlic flavor that is milder than garlic cloves. Green onions (scallions) are the shoots of onion varieties harvested before bulb development, with a mild onion flavor. Both are used similarly in cooking as fresh allium greens, but the flavor is distinctly different. They can be grown using essentially the same indoor method with the same container, soil, and light requirements.
Can I grow garlic indoors year-round?
Garlic greens can be grown year-round by succession planting fresh cloves every two to three weeks continuously. Full garlic bulbs require an eight-to-ten-week cold vernalization period that needs to be planned once or twice per year rather than on a continuous rotation. For practical year-round fresh garlic flavor, garlic greens are the more sustainable indoor approach.