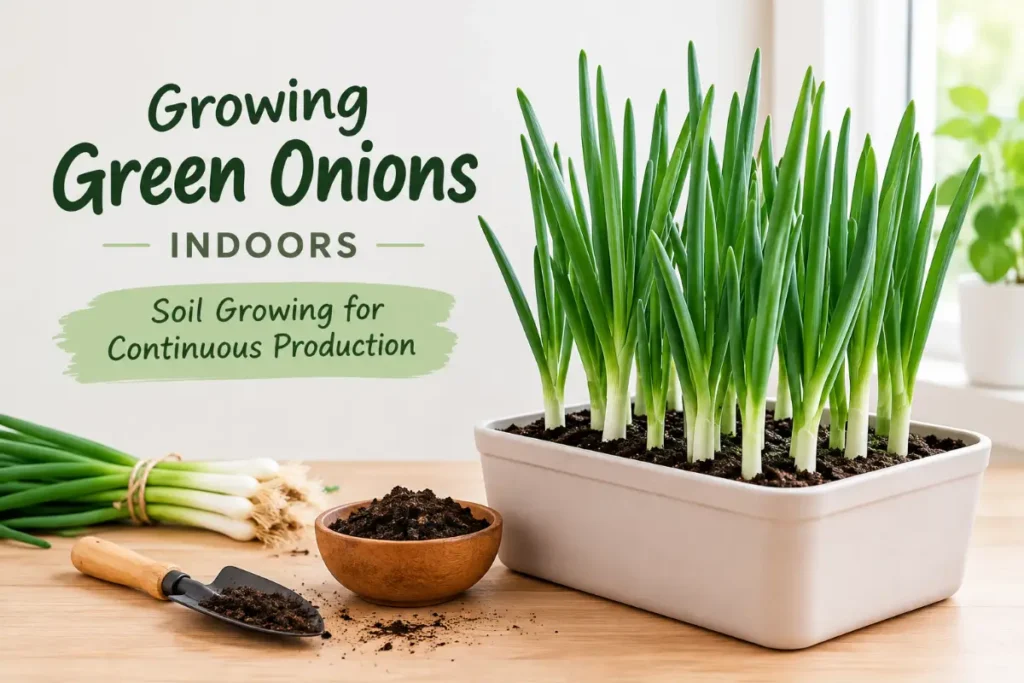
Growing green onions indoors is one of the most immediately satisfying food growing projects available in any kitchen because the results come faster than almost any other crop and the starting material costs nothing. A bunch of green onions from the grocery store, regrowing in a jar of water on the kitchen windowsill, produces new green tops ready for harvest within one to two weeks. No soil required, no grow lights, no special equipment.
This guide covers both the water regrowth method that produces quick results from grocery store scallions and the seed or bulb-set growing method that produces larger quantities and more continuous yields over longer periods. Both approaches have a place in the indoor kitchen garden depending on how much fresh green onion you use and how much space and effort you want to invest.
Quick Answer
To grow green onions indoors: place the root ends of grocery store scallions (the bottom one to two inches with the white root base) in a jar with one inch of water. Place in bright window light. Change water every two to three days. New green tops grow back within one to two weeks and can be harvested repeatedly as they regrow. For larger quantities, plant bulb sets or seeds in a container with six inches of soil depth in a bright indirect window. Harvest by cutting the tops leaving the white base intact for continuous regrowth.
Understanding Green Onion Regrowth Biology
Green onions (Allium fistulosum) are bunching onions that do not form large single bulbs like standard yellow onions but instead produce clusters of shoots from a common root base. This bunching growth habit is exactly what makes them so suited to the cut-and-come-again harvest approach.
When the green tops are cut, the root base and the stored energy in the white lower portion fuel regrowth of new green tops. This regrowth happens quickly — faster than any other commonly grown allium — because the root system and lower plant portion remain intact and actively growing.
The water jar method works because the white base contains enough stored nutrients from its original growing environment to fuel several rounds of regrowth without soil. Eventually that stored nutrition depletes and soil-grown plants outperform water-grown ones for sustained production. Understanding this helps you decide which method suits your needs.
Method 1: Water Jar Regrowth (Fastest Start, Zero Cost)
What You Need
A bunch of green onions from any grocery store. A glass or jar. Water. A bright windowsill.
Step-by-Step Setup
Preparation: When using a grocery store bunch for cooking, cut the green tops above the two-inch white base rather than at the very root end. Leave the bottom one to two inches of the white portion with the roots attached as the piece that goes in the jar.
The jar: Fill with one inch of clean water, just enough to cover the root tips and the very bottom of the white base. Too much water encourages rot of the cut surface rather than root growth.
Placement: A bright windowsill in east or south-facing light produces the fastest regrowth. Even a north-facing window with ambient light produces acceptable regrowth in the water method since the plant is drawing primarily on its stored energy rather than photosynthesizing for growth.
Water management: Change the water every two to three days to prevent bacterial growth that inhibits regrowth and produces unpleasant odors. Keep the water level consistent.
Harvesting Water-Grown Green Onions
First harvest: When new green tops reach four to six inches, cut above the white base leaving one to two inches of the regrown green intact along with the white base. This leaves growth points from which the next round of tops emerges.
How many harvests: Two to four harvests from grocery store roots in water before the stored energy in the original white base is exhausted. After this, the bases become soft and slimy rather than firm and growth ceases.
Transitioning to soil: For growers who want sustained production beyond the water method’s two-to-four harvest limit, transplanting the bases into potting mix when they still have firm, active root growth (after the first or second water harvest) produces a soil-based plant that continues producing indefinitely with appropriate care.
Method 2: Soil Growing for Continuous Production
Starting Options
From grocery store root bases transitioned from water: The most economical starting point. After one to two water-jar harvests, plant the still-firm bases into potting mix with the white portion at soil level and roots buried below. The transition from water to soil produces a few days of adjustment before vigorous new growth resumes.
From bulb sets: Small dry onion sets (immature bulb starters) planted one inch deep in containers produce green onion tops within three to four weeks and can be harvested repeatedly before the bulb eventually enlarges. Available at garden centers in spring. Plant sets two to three inches apart for green onion production rather than the six-inch spacing needed for full bulb development.
From seed: Scallion or bunching onion varieties seeded directly into containers produce harvestable tops in six to eight weeks. Sow seeds one-quarter inch deep and one inch apart. Thin to two inches apart when seedlings reach two inches tall. The thinnings are the first harvest.
Best scallion varieties from seed: Evergreen Hardy White, Tokyo Long White, and He Shi Ko are bunching varieties that stay in the green onion stage without forming large single bulbs, making them ideal for continuous cut-and-come-again production.
Step 1: Set Up the Right Container
Depth: Six to eight inches minimum for soil-grown green onions. Unlike garlic greens that can be grown in three-inch-deep containers, green onions develop more substantial root systems that need adequate depth for sustained production.
Width: As wide as your space allows. More width accommodates more plants and more total harvest. A twelve-inch window box holds fifteen to twenty green onion plants, providing substantial weekly harvest quantities for one to two people.
Drainage: Essential. Green onion roots are susceptible to the rot that develops in waterlogged soil despite the plant’s preference for consistent moisture. Drainage holes throughout the container bottom.
Step 2: Provide Adequate Light
Green onions are among the most light-flexible of the indoor food crops covered in this cluster.
For greens: Bright indirect light from any window direction produces adequate green onion production in soil. East and north-facing windows that would be insufficient for tomatoes, peppers, and most herbs support green onion growing acceptably.
For faster growth: South-facing window light or grow lights running 12 to 14 hours daily produces the most rapid regrowth and the most abundant tops, reducing the time between harvests from ten to fourteen days to seven to ten days.
The low-light advantage: Green onions are one of the best indoor food crops for challenging light positions. They are significantly more shade-tolerant than basil, tomatoes, and Mediterranean herbs, making them practical in the east-facing and north-facing windows that many kitchens have.
Step 3: Water Consistently
The correct approach: Water when the top inch of soil feels dry. In typical indoor conditions with moderate ambient light this means every three to five days. Under grow lights or in brighter windows check every two to three days.
Consistent over copious: Green onions prefer consistent, moderate moisture rather than alternating drought and soaking. Drought stress causes the hollow green tops to become tough and less flavorful. Overwatering causes the crown rot that collapses plants at soil level.
The water change lesson: The water jar method requires frequent water changes for a specific reason — bacterial growth in standing water impairs root health. In soil this is managed by drainage and appropriate watering frequency rather than water changes, but the underlying principle is the same: the root zone needs oxygen alongside moisture.
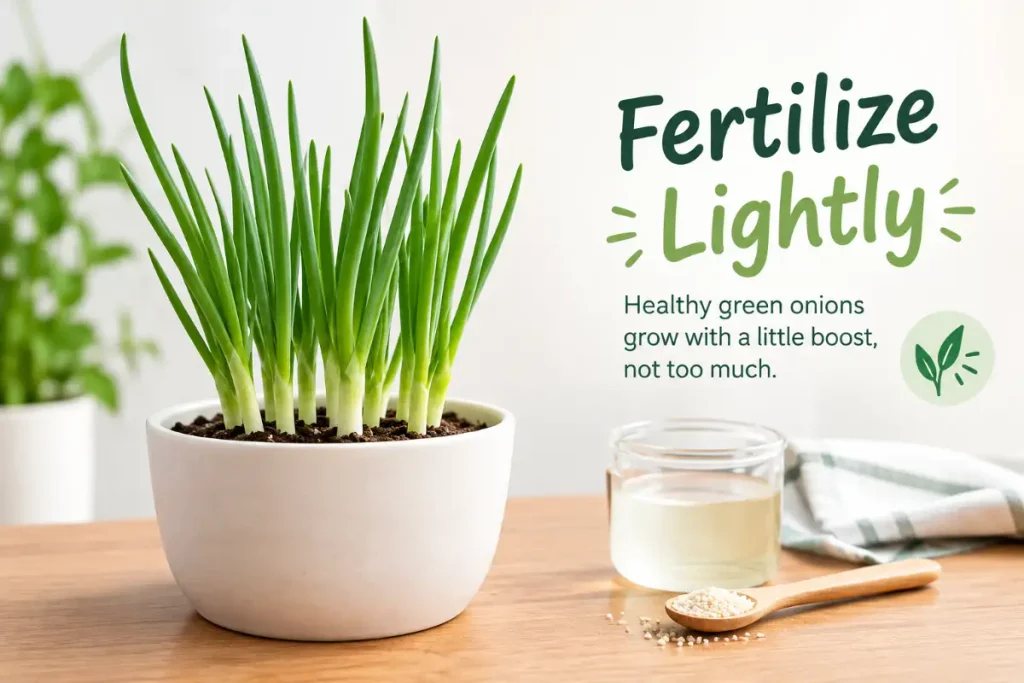
Step 4: Fertilize Lightly
For water-grown plants: No fertilizing. The stored nutrients in the original grocery store base fuel the initial regrowth without addition.
For soil-grown plants: A balanced liquid fertilizer at half rate every three to four weeks through the active growing period. More frequent fertilizing than this drives rapid but weakly flavored growth in the hollow tops.
The nitrogen balance: Nitrogen supports the green top production that is the primary harvest goal. Balanced fertilizers provide adequate nitrogen without the excessive push of high-nitrogen formulas that produce lush but nutritionally diluted growth.
Step 5: Harvest Correctly for Continuous Production
The technique: Cut green tops to within two inches of the soil surface using clean sharp scissors. Cutting rather than pulling preserves the root system and lower white growth point that fuels regrowth.
Harvest timing: When tops reach six to eight inches. Harvesting at this stage produces the most tender, most flavorful tops. Tops left to grow longer become tougher and less palatable.
How often: Every ten to fourteen days in moderate light. Every seven to ten days in bright light or under grow lights as regrowth is faster.
Leaving the base intact: This is the most important practice for continuous production. Green onions cut to two inches above the soil regrow from the intact crown. Green onions pulled from the soil or cut at soil level do not regrow since the growing point is removed or damaged.
Step 6: Manage Root Crowding
Unlike garlic greens where the clove exhausts quickly and replanting is the natural cycle, soil-grown bunching onion plants can produce indefinitely if root crowding is managed.
Signs of crowding: Very rapid drying after watering (roots have displaced most soil). New tops that emerge thinner and less vigorous than early growth. Visible root congestion at container edges and drainage holes.
Dividing crowded plants: Remove the entire root ball, separate it into smaller clusters by hand or with a clean knife, and replant in fresh potting mix. Each divided cluster resumes vigorous production within one to two weeks.
Dividing frequency: Every three to six months for actively growing soil-based green onion plantings.
Step 7: Build a Succession System
A single jar of regrowing scallion roots or a single container of soil-grown green onions provides harvests but not the continuous weekly supply that makes indoor green onions genuinely integrated into daily cooking.
The simple succession: Maintain two to three jars of regrowing grocery store bases at different stages so at least one jar always has tops ready to harvest. Rotate them through start, growth, and harvest-then-replace cycles.
The soil succession: Two to three containers at different planting dates provide continuous soil-grown green onion harvests. As one container is fully harvested, a new planting started three to four weeks earlier is entering its harvest window.
The combined approach: Many kitchen gardeners maintain one soil-based green onion container for ongoing production and one water jar for the impulse harvests that the water method makes immediately available whenever a recipe calls for green onion tops.
For the complete guide to building a comprehensive indoor fresh allium kitchen garden that combines green onions with garlic greens and chives, how to grow garlic indoors covers the garlic greens approach that pairs most naturally with indoor green onion growing in terms of technique, container requirements, and culinary complementarity.
Using Indoor Green Onions in the Kitchen
The most practical outcome of indoor green onion growing is having fresh green onion tops immediately available for daily cooking without relying on grocery store timing.
As garnish: Sliced green onion tops sprinkled over any Asian-inspired dish, soup, egg preparation, or grain bowl. The most common culinary application and the one that benefits most from having fresh tops available at any moment rather than only when you happen to have bought a bunch recently.
In sauces and dressings: The green tops add fresh allium flavor to vinaigrettes, tahini sauces, and yogurt-based dips where the raw bite of yellow onion would be too aggressive.
In stir-fries: Added at the end of cooking to preserve their fresh flavor and texture rather than wilting into the dish. Their mild flavor complements stronger aromatics like ginger and garlic without competing.
The whole plant at harvest end: When a soil-based green onion planting is reaching the end of its productive cycle before replanting, harvest the entire plants including the white base. The full plant including the white portion can be used exactly like grocery store scallions in any recipe.
Green Onions Versus Chives: Choosing the Right Allium for Your Space
Chives and green onions and are both mild alliums grown for their green tops, but they have meaningfully different characteristics that suit different indoor kitchen garden situations.
Green onions: Hollow, tubular tops with a mild but distinct onion flavor. Larger than chive leaves. Used whole or sliced as a garnish and addition to cooked and raw dishes. Faster growing and faster-cycling than chives. More dependent on being restocked from grocery store roots or replanted from sets or seed since individual plants deplete their base energy or become root-bound over months.
Chives (Allium schoenoprasum): Finer, hollow, grass-like leaves with a very mild onion-garlic flavor. Smaller than green onion tops. Used as a finishing herb sprinkled over dishes rather than as a bulk green addition. Grow perennially from an established clump that can be maintained for years with regular division. More self-sustaining than green onions once established indoors.
Which to grow: For maximum immediate harvest quantity, green onions. For the lowest maintenance ongoing production from a single established plant, chives. Many kitchen gardeners maintain both: a rotation of green onion water jars for the quick cut-and-use approach and a chive plant in a pot for the continuous low-maintenance production that chives naturally provide.
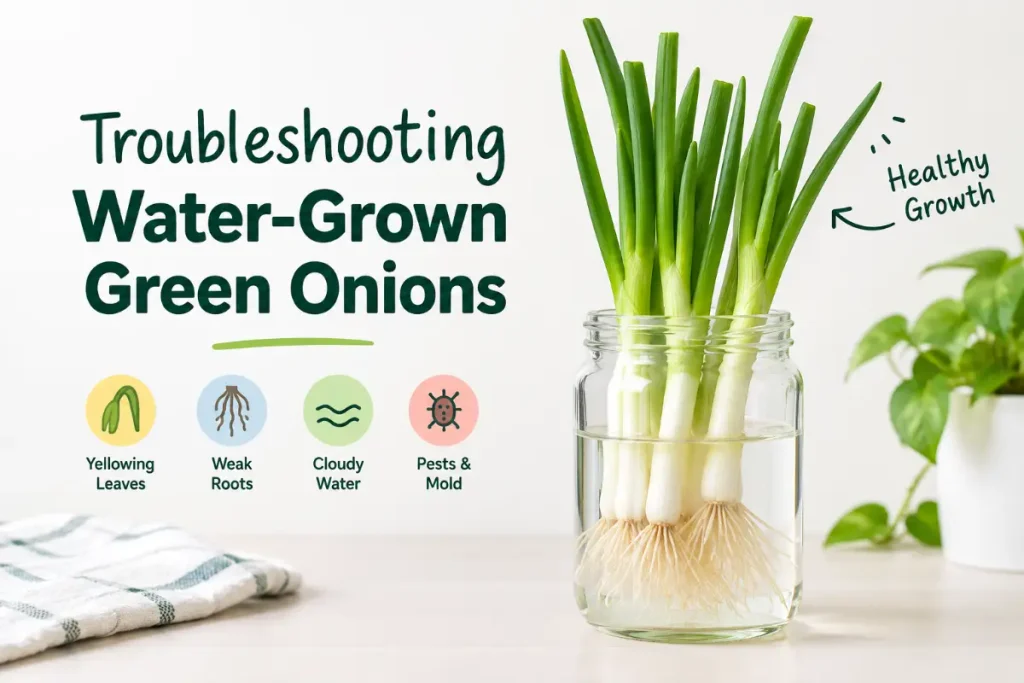
Troubleshooting Water-Grown Green Onions
The water jar method is simple but produces a few specific problems that are worth addressing directly.
Slime on roots: Bacterial growth from water sitting too long without changing. Change water every two days rather than every three to four days. Rinse the glass and roots before refilling.
No regrowth after two weeks: The roots may have been trimmed too short at the grocery store, leaving insufficient base to regrow from. Some grocery store bunches are cut very close to the root. Plant trimmed bases in moist potting mix instead of water since soil provides the nutrients that very short bases need that water cannot supply.
Algae growth in the water: Algae establishes in transparent glass jars exposed to bright light. Switch to an opaque container or wrap the outside of the jar in paper or tape to block light from the water. Changing water more frequently also limits algae development.
Floppy, pale tops: Insufficient light. Move to a brighter window position. Water-jar green onions in very dim light produce pale, weak tops that lack the flavor concentration and structural integrity of well-lit growth.
Roots becoming slimy before tops develop: The water level is too high, submerging too much of the white base. Maintain only one inch of water, just covering the root tips and bottom of the white base. The cut surface above the water line should be exposed to air rather than submerged.
For the complete guide to indoor herb growing that covers the full range of kitchen herbs from the moisture-tolerant mint and green onions discussed here to the drought-preferring Mediterranean herbs that complete a comprehensive indoor kitchen herb collection, how to care for a rosemary plant indoors covers the opposite end of the indoor herb moisture spectrum, helping growers understand why the damp, consistent moisture that green onions prefer would quickly kill rosemary in the same conditions.
Conclusion
Growing green onions indoors is the most immediately accessible food growing project in this entire cluster, requiring nothing more than a grocery store bunch, a jar, and water for the fastest possible results. The water regrowth method delivers harvestable tops within one to two weeks of zero cost and zero effort beyond changing the water every few days.
For growers who want sustained, larger quantities, transitioning to soil in a window box with six inches of depth provides the continuous production over months that the water method cannot sustain. A south-facing or east-facing window, consistent moisture, light fertilizing, and cutting above the base rather than pulling create a green onion production system that supplies fresh allium flavor for daily cooking from the smallest possible kitchen footprint.
Frequently Asked Questions
Can you really regrow green onions in water?
Yes. The bottom one to two inches of grocery store green onions placed in one inch of water in a jar produce new green tops within one to two weeks. Change the water every two to three days to prevent bacterial growth. Most grocery store green onion roots produce two to four harvests in water before the stored nutrients in the white base are exhausted.
How long do indoor green onions take to grow?
Water-regrown green onion tops are ready for first harvest in seven to fourteen days. Soil-grown green onions from grocery store root transplants or bulb sets produce harvestable tops in two to three weeks. Seed-grown scallions take six to eight weeks to first harvest. All methods produce ongoing harvests every seven to fourteen days after the first cut.
Do green onions need sunlight to grow indoors?
Some light is needed but green onions are among the most shade-tolerant indoor food crops. The water regrowth method works in bright ambient indoor light from any window direction. Soil-grown green onions produce best in bright indirect light from an east or south-facing window but grow acceptably in north-facing windows where most other food crops would be insufficient. Grow lights further accelerate growth but are not required for practical indoor green onion production.
Why are my indoor green onion tops turning yellow?
Yellowing tops in soil-grown green onions indicate nitrogen deficiency from depleted potting mix, overwatering causing root damage, or insufficient light. Begin fertilizing with a balanced liquid fertilizer at half rate every three to four weeks. Check that soil is moist but not waterlogged. Improve light if the position is north-facing and growth has been slower than expected. In water-grown plants, yellowing indicates the base has exhausted its stored nutrients and it is time to replace with fresh grocery store roots.
How often should I harvest indoor green onions?
Every seven to fourteen days when tops reach six to eight inches. Harvesting on this schedule maintains the tender, flavorful tops that are most useful culinarily. Tops allowed to grow beyond eight inches become tougher and more strongly flavored. Regular harvesting also prevents the flowering that eventually occurs in any allium allowed to grow to maturity and that signals the end of the vegetative production phase.
What is the difference between green onions, scallions, and spring onions?
Green onions and scallions are the same thing in most US usage — Allium fistulosum or white onion varieties harvested young before bulb formation. Spring onions are slightly more mature with a small visible bulb forming at the base while the tops are still green. All three can be grown using the same indoor methods with the same care requirements. The water regrowth method works identically for green onions, scallions, and spring onions purchased from any grocery store.