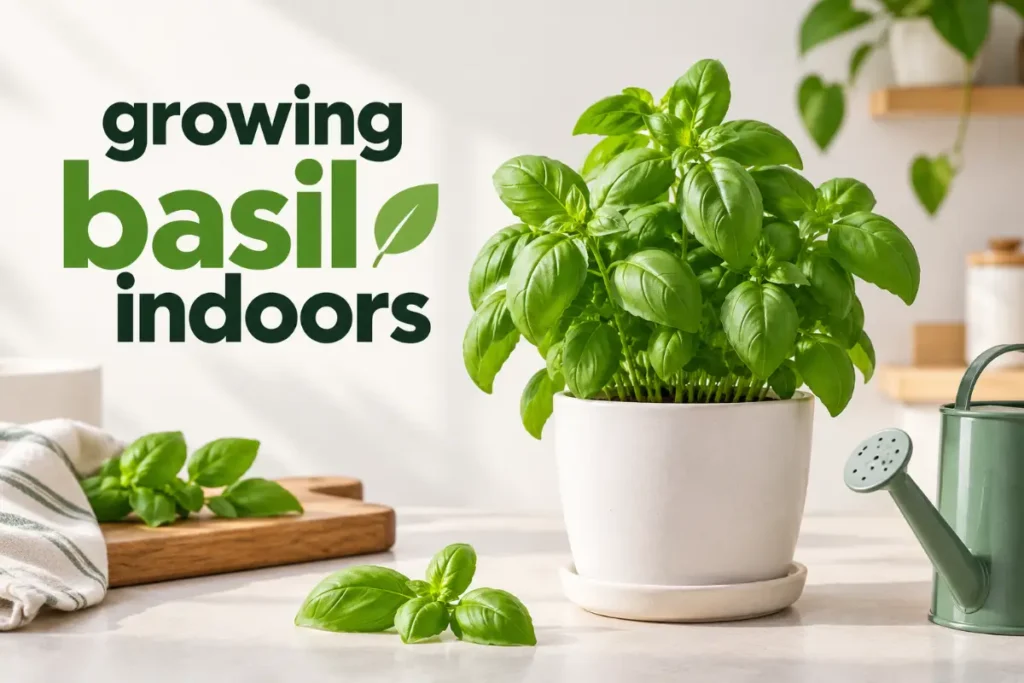
Growing basil indoors is one of the most frequently attempted and most frequently abandoned kitchen herb projects. The pattern is familiar: a grocery store basil plant purchased in a small plastic pot, placed on a kitchen counter, and progressively declining over two to three weeks until it collapses into a brown tangle. The problem is not that basil cannot be grown indoors. It is that grocery store basil is not a sustainable individual plant but rather a dense cluster of seedlings crammed together for a short display period, and that most people underestimate the light basil needs to thrive rather than merely survive.
This guide covers the correct approach from the very beginning, including what to do with a grocery store basil plant immediately after purchase, the light and temperature requirements that most kitchen positions cannot meet without adjustment, and the harvesting technique that is the single most important ongoing practice for productive indoor basil.
Quick Answer
Growing basil indoors successfully requires six or more hours of direct sun from a south-facing window or a grow light running 14 to 16 hours daily, warm temperatures consistently above 65 degrees Fahrenheit, consistent moisture checking the top inch before each watering, correct harvesting by pinching stem tips above leaf nodes rather than pulling individual leaves, and pinching flower buds immediately when they appear. Start from seed or transplant grocery store plants into wider containers with fresh potting mix immediately after purchase.
Understanding Why Most Indoor Basil Fails
Knowing the three specific reasons that most indoor basil attempts fail prevents repeating them:
Reason 1 — Grocery store basil is not a single plant: Standard grocery store basil pots contain fifteen to thirty individual seedlings crammed into a tiny pot for a combined short-term display effect. These seedlings compete intensely for moisture, nutrients, and root space. The pot is designed for immediate use, not sustained growing. The solution is to either split the cluster into three to five groups immediately and repot each into its own container, or to treat grocery store basil as a cut herb to use immediately rather than a plant to maintain long-term.
Reason 2 — Most kitchen windows provide insufficient light: Basil is a warm-season crop from tropical and subtropical climates where it receives intense direct sun. It needs six or more hours of direct sun daily for active, productive growth. A north-facing kitchen window, a shaded counter position, or even a west-facing window with afternoon shade does not provide enough light. The plant stretches and weakens in insufficient light within days.
Reason 3 — Incorrect harvesting removes leaves instead of pruning stems: Taking individual leaves from basil plants removes the oldest, most mature material while leaving the growing tips intact. Growing tips that are never removed become flower stalks. When basil flowers it becomes bitter, tough, and ceases producing useful leaves. The correct harvest removes the growing tips above leaf nodes, which both provides usable basil and prevents flowering while stimulating bushier, more productive growth.
Step 1: Start Correctly From the Beginning
Starting from seed: Basil seeds germinate readily in warm soil above 70 degrees Fahrenheit, typically within five to seven days. Sow seeds in small cells or pots one-quarter inch deep. Provide a heat mat if indoor temperatures are below 70 degrees. Move to bright light or grow lights immediately after germination. Thin to one strong seedling per cell when seedlings reach one inch tall.
Handling grocery store basil: Do not leave grocery store basil in its original pot. Either use it immediately as a cut herb (the most practical approach) or divide it by gently separating the root ball into three to five clusters and repotting each into a six-inch pot with fresh potting mix. Water thoroughly and place in maximum available direct sun. Expect a one-to-two-week transition period as the divided plants recover and resume vigorous growth.
The best starting containers: Six-inch pots for single plants. Eight-to-ten-inch pots for two to three plants together which creates a fuller display while still allowing adequate root space. Ensure drainage holes throughout. Standard potting mix without additional amendments suits basil’s moderate drainage and moisture needs.
Step 2: Provide Maximum Available Light
Basil has higher light requirements than most other culinary herbs and will not produce flavorful, vigorous growth without them.
Minimum requirement: Six hours of direct sun daily through a south-facing window. This is a genuine minimum, not a comfortable baseline. Basil in insufficient light becomes pale, leggy, and weak with dramatically reduced essential oil concentration and therefore dramatically reduced flavor.
South-facing window positioning: Place basil as close to the window glass as practical, within one to two feet, to maximize direct sun exposure duration. Rotate the pot one-quarter turn daily or every other day to ensure even light distribution across all sides of the plant.
Grow lights as the reliable solution: A full-spectrum LED grow light running 14 to 16 hours daily positioned six to twelve inches above the basil produces vigorous, compact, intensely flavored growth regardless of natural light availability. This is the most practical solution for basil growing in kitchens without south-facing windows and for year-round basil production through winter when south-facing window light drops significantly.
What insufficient light produces: Pale green rather than deep green leaves. Long, thin, weak stems with widely spaced leaf nodes. Early and frequent flowering despite regular pinching. Very little essential oil concentration meaning basil that smells and tastes weak compared to well-lit specimens.
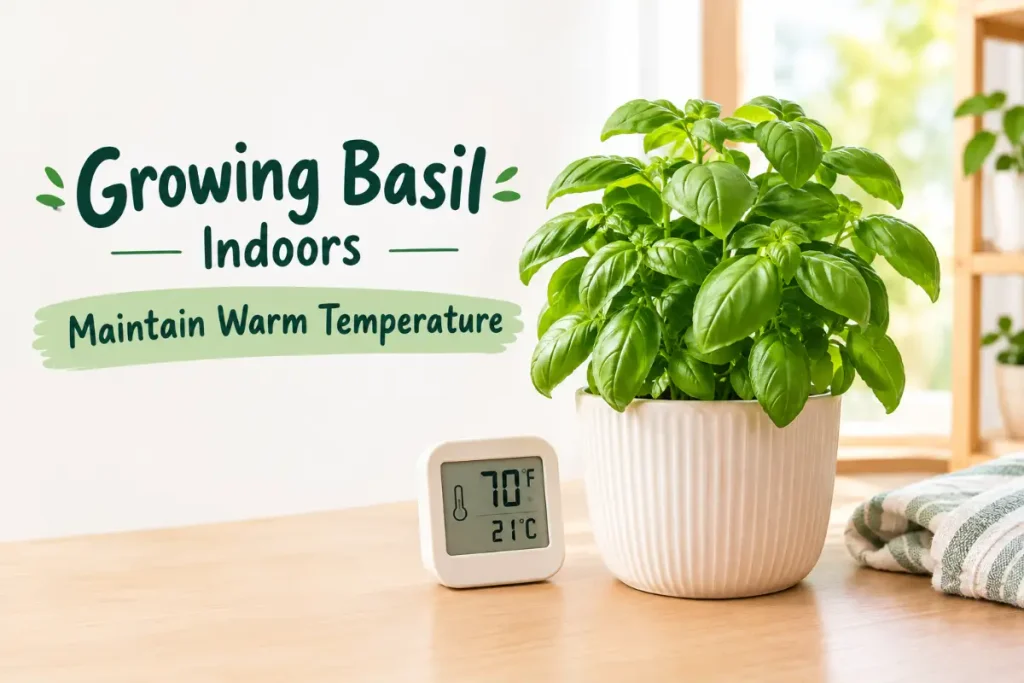
Step 3: Maintain Warm Temperature
Basil is one of the most cold-sensitive common culinary herbs. It wilts, blackens, and dies from cold exposure faster than almost any other plant discussed in this cluster.
Minimum temperature: 60 degrees Fahrenheit. Growth stops below this temperature. Below 50 degrees the plant suffers cold injury within hours. A basil plant touching a cold window in winter or in the path of an air conditioning vent develops black, collapsed leaves within one to two days.
Ideal range: 70 to 85 degrees Fahrenheit. Basil actively grows most vigorously in warm conditions that mirror its tropical origin. The warm kitchens of most US homes in summer are actually close to ideal for basil, which is one reason summer is the season when most people successfully grow it outdoors.
Winter indoor challenge: In winter, maintaining 70 degrees in kitchens is standard but the cold air near windows creates temperature pockets that damage basil positioned close to the glass. Keep basil two to three inches from window glass in winter even in warm rooms, and increase grow light reliance as natural light drops.
Step 4: Water Consistently Without Overwatering
Basil is more moisture-sensitive than most other culinary herbs and shows both underwatering and overwatering rapidly with distinctive symptoms.
The correct approach: Water when the top inch of soil feels dry. In warm conditions near a south-facing window this typically means every three to five days. Under grow lights in warm rooms every two to four days. Check by inserting your finger one inch into the soil rather than following a fixed schedule.
Signs of underwatering: Basil droops dramatically and rapidly from drought, within hours of the soil becoming too dry. The entire plant wilts uniformly. Recovery is typically complete within an hour of watering if the drought was caught before leaf damage occurred.
Signs of overwatering: Yellow lower leaves. Soft, dark stem sections near soil level. The characteristic musty smell of anaerobic soil. Root rot progresses quickly in basil and often kills plants within days of advanced overwatering.
Water temperature: Use room temperature water. Basil roots are highly sensitive to cold water shock. Cold tap water poured directly onto basil roots causes immediate wilting similar to drought stress. Allow tap water to reach room temperature before use or use water from a kettle that has cooled to room temperature.
Step 5: Fertilize Lightly to Maintain Flavor
Like mint, basil produces its best flavor from moderate rather than heavy fertilizing. The essential oils responsible for basil’s distinctive flavor are diluted by rapid nitrogen-driven growth, making heavy fertilizing counterproductive for culinary purposes.
What works: A balanced liquid fertilizer at one-quarter to half the label rate every two to three weeks through the active growing season. This is significantly less frequent and less concentrated than most houseplant fertilizing recommendations.
The flavor trade-off: Heavily fertilized basil grows faster and looks more vigorous but produces leaves with noticeably less intense flavor than lightly fertilized basil. For purely ornamental indoor growing this distinction does not matter. For culinary use, light fertilizing is the approach that produces the most flavorful leaves.
Organic options: Worm casting tea applied every two to three weeks provides the gentle, balanced nutrition that maintains flavor quality better than synthetic fertilizers. The gradual nutrient release of organic sources suits basil’s production of aromatic compounds better than the sudden nitrogen flush of synthetic liquid fertilizers. For the complete guide to worm casting applications for indoor herbs, worm castings for indoor plants covers every method with specific timing guidance for culinary herbs.
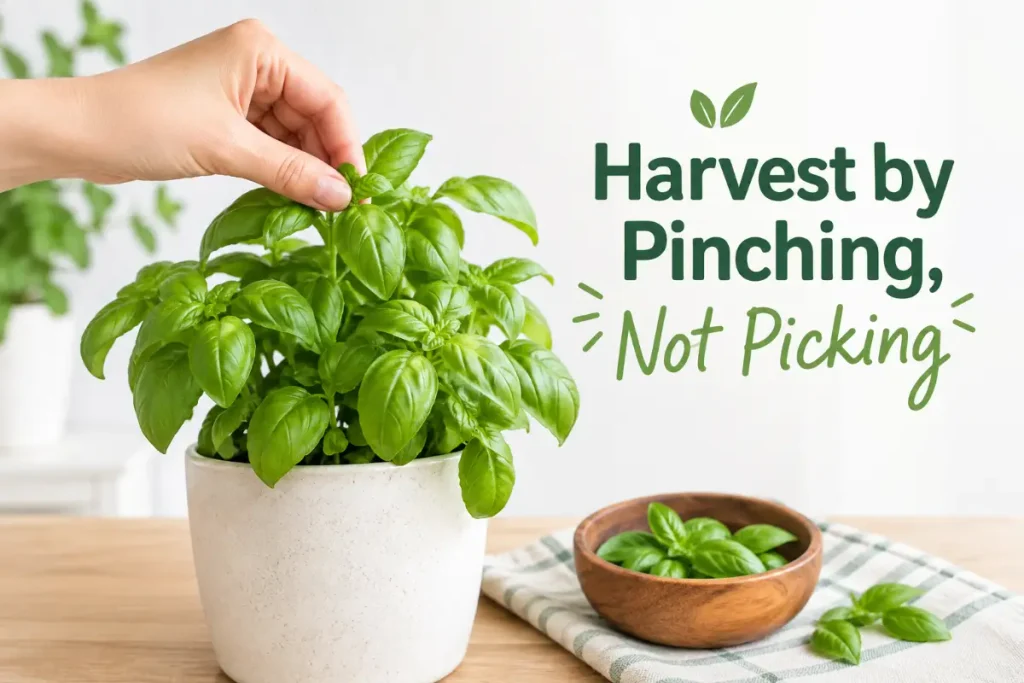
Step 6: Harvest by Pinching, Not Picking
This is the most important ongoing care practice for productive indoor basil and the technique that separates continuously productive basil plants from ones that flower and decline within weeks.
The correct technique: Using your thumb and forefinger or clean scissors, pinch or cut the stem just above the second or third set of leaves from the top of each stem. This removes the growing tip that would otherwise become a flower stalk and stimulates two new shoots to emerge from the leaf nodes below the cut.
What this accomplishes: Each pinching doubles the number of growing tips on that stem. After multiple pinching rounds over several weeks, a single basil plant that started with one main stem develops into a bushy plant with eight, sixteen, or more growing tips, all producing fresh leaves simultaneously and none developing flower stalks.
How often: Every one to two weeks through the growing season, whether you need the basil immediately or not. Pinching for plant management is as important as pinching for harvest. Letting stems grow without pinching for more than two weeks in warm, bright conditions allows flower buds to develop.
Using the pinched material: Stems pinched for plant management make excellent small-batch pesto, salad additions, or herb-infused oils. Nothing from a correctly managed basil plant needs to be wasted even when you are pinching for management rather than immediate use.
Step 7: Prevent and Manage Flowering
Basil that flowers enters a new developmental phase where it prioritizes seed production over leaf production, and the change in the plant’s chemistry makes the remaining leaves tough, bitter, and significantly less flavorful. Preventing flowering is the single most important practice for maintaining basil’s culinary quality over time.
Why basil flowers: Long days, heat, and plant maturity all trigger flowering. The consistent pinching described in Step 6 delays flowering significantly by continuously removing the growing tips that would develop into flower stalks. Adequate light and warm temperatures accelerate growth and can accelerate flowering even with regular pinching.
Catching flower buds early: Check plants weekly for the distinctive tight cluster of tiny buds at growing tips that indicates the plant is preparing to flower. These buds look different from leaf nodes: they are clustered together more tightly and appear as a compact group rather than the paired leaves of normal vegetative growth. Pinch these flower bud clusters immediately and entirely.
When the plant does flower: If flowering occurs despite regular pinching (which happens eventually in all basil plants), harvest all usable leaves immediately before the remaining leaves become fully bitter. Use the entire harvest at once in a large batch of pesto, herb oil, or dried basil preparation. Then start a new plant from the succession sowing described below.
Succession sowing for year-round basil: Start a new basil plant from seed or cutting every six to eight weeks. As one plant enters the end of its productive life and begins to flower despite regular pinching, the next plant is entering its peak productive period. This rolling succession maintains continuously productive fresh basil without gaps regardless of individual plant life cycles.
For the complete guide to starting basil from seed specifically for microgreen-stage harvest alongside the full-plant growing approach covered in this guide, how to grow microgreens indoors covers basil microgreens as the fastest way to get basil flavor from a sowing while the full-plant basil is establishing from the same seed packet.
Basil Varieties for Indoor Growing
Genovese basil: The classic Italian variety with large, flat, intensely aromatic leaves. The standard variety for pesto and most culinary applications. The most productive for kitchen use.
Thai basil: Smaller, more pointed leaves with a distinct anise-like flavor different from Genovese. More heat-tolerant and slower to bolt than Genovese. Excellent for Southeast Asian cooking.
Lemon basil: Bright, citrusy aroma alongside the standard basil flavor. Excellent in seafood dishes, summer salads, and dessert applications. Somewhat less productive than Genovese but more unique.
Purple basil: Deep purple leaves provide visual contrast in the kitchen and in salad applications. Slightly less flavorful than Genovese. The most ornamental of the standard basil varieties.
Compact varieties (Spicy Globe, Dwarf Italian): Naturally smaller plants with tiny, densely packed leaves and compact bushy form that needs less aggressive pinching than standard varieties. Excellent for windowsill growing where space is limited.
Common Indoor Basil Problems and Solutions
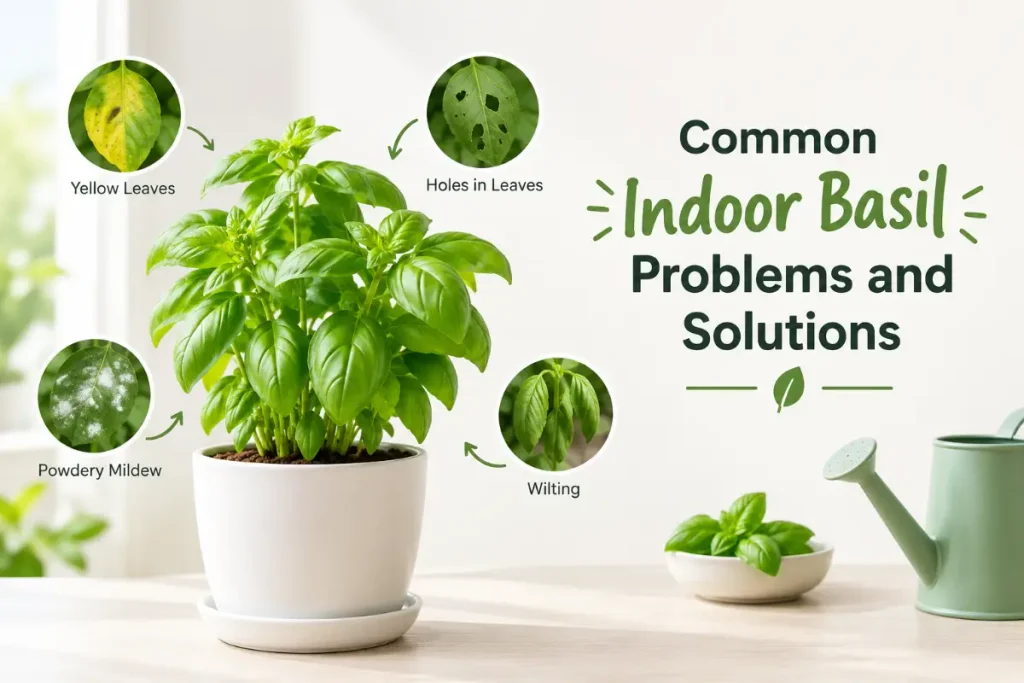
Drooping despite moist soil: Cold air exposure or root rot. Check temperature and proximity to cold windows or AC vents. If soil is consistently wet and plant remains drooped after moving to warmth, root rot may be the cause. Repot in fresh mix with improved drainage.
Black spots on leaves: Cold damage from cold air exposure or cold water on leaves. Keep away from cold drafts and windows. Use room temperature water.
Pale, leggy growth: Insufficient light. Move to maximum available south-facing sun or add grow light hours. This is the most common indoor basil problem.
White powdery coating on leaves: Powdery mildew from poor air circulation. Improve airflow. Remove affected leaves. Apply neem oil spray every seven days for three weeks.
Yellowing lower leaves: Normal aging of oldest leaves combined often with slightly heavy watering. Normal progression in well-managed plants. Remove yellow leaves cleanly and ensure consistent but not excessive moisture.
Conclusion
Growing basil indoors successfully comes down to three non-negotiable requirements: maximum available direct sun or grow light hours, warm temperatures consistently above 65 degrees, and correct harvesting by pinching stem tips above leaf nodes rather than pulling individual leaves. Get these three things right and basil becomes the most productive, most flavorful, and most continuously useful kitchen herb available from any indoor growing setup.
Succession sow every six to eight weeks to maintain continuous production as individual plants complete their productive cycle. Fertilize lightly to maximize flavor concentration. And never let flower buds develop past the first sign of their appearance at growing tips. Those practices together produce the abundantly productive, intensely flavorful indoor basil that makes fresh herbs from your own kitchen genuinely worth growing.
Frequently Asked Questions
How much light does indoor basil need?
Six or more hours of direct south-facing window sun daily, or a full-spectrum grow light running 14 to 16 hours daily positioned six to twelve inches above the plant. Basil has higher light requirements than most kitchen herbs. In insufficient light it becomes pale, leggy, weak-flavored, and flowers early. A grow light is the most practical solution for kitchens without south-facing windows.
Why does my grocery store basil keep dying?
Grocery store basil is a cluster of fifteen to thirty seedlings in a pot designed for short-term display, not sustainable growing. Divide the cluster into three to five groups immediately and repot each in a six-inch pot with fresh potting mix. Alternatively, treat grocery store basil as a cut herb to use within a week rather than a plant to maintain long-term. Start your own plants from seed for a genuinely sustainable indoor basil supply.
How do I stop my indoor basil from flowering?
Pinch or cut stem tips just above the second or third set of leaves from the top every one to two weeks. This removes the growing tips that would otherwise develop into flower stalks. Check weekly for the tight bud clusters that indicate the plant is preparing to flower and pinch these immediately. Providing adequate light reduces the stress-triggered early flowering that occurs in light-deficient plants.
Can basil grow indoors year-round?
Yes with grow lights. Basil grown under a full-spectrum LED grow light running 14 to 16 hours daily with warm temperatures produces year-round regardless of outdoor season. In south-facing window positions, basil produces well through spring, summer, and early fall but may struggle in winter as direct sun duration and intensity decrease. A grow light supplement maintains winter production in window-grown plants.
What is the best basil variety for indoor growing?
Genovese basil is the most productive and most flavorful variety for general indoor culinary use. Compact varieties like Spicy Globe and Dwarf Italian suit small windowsill spaces with their naturally bushy, less aggressively pinching-dependent growth habit. Thai basil is slightly more heat-tolerant and slower to bolt than Genovese, making it more forgiving in conditions where temperature control is imperfect.
Is it better to grow basil from seed or a cutting?
Cuttings root in water within seven to ten days and produce harvest-ready plants faster than seeds. Seeds take two to three weeks to germinate and another three to four weeks to reach harvest size. For speed, cuttings are more practical. For variety selection including varieties not available as cuttings from garden centers, seed starting is necessary. Both approaches produce identical plants once established.