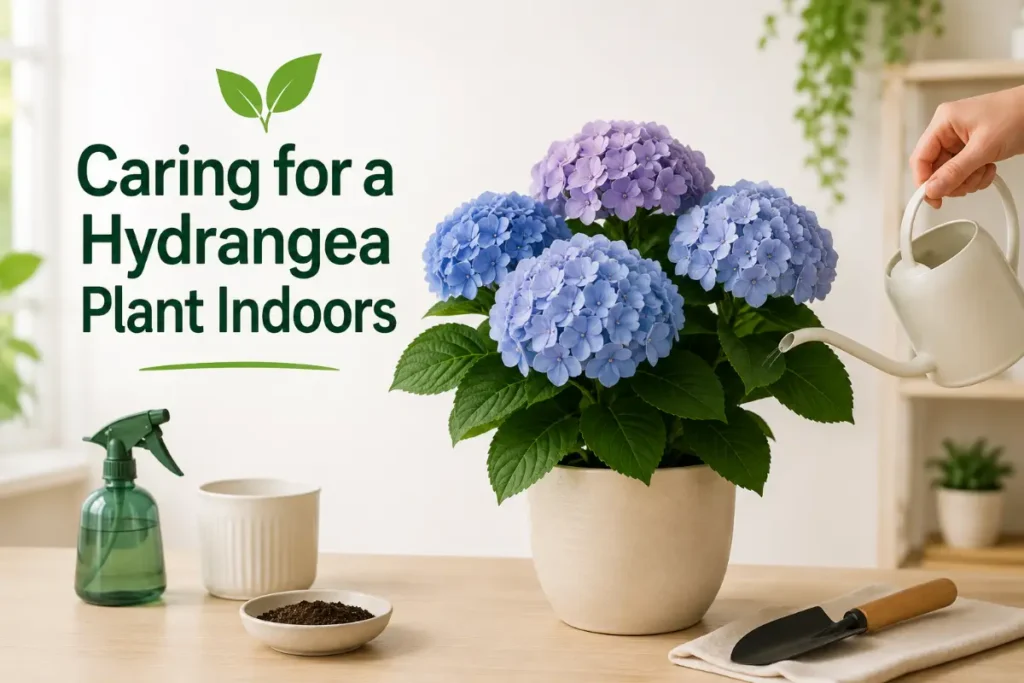
Caring for a hydrangea plant indoors successfully means accepting a fundamental truth about this plant early: hydrangeas are outdoor temperate garden shrubs that have been temporarily pressed into indoor service at peak bloom, and everything about caring for them well reflects that origin. The approach that extends the indoor bloom from two weeks to six and sets the plant up for decades of outdoor garden life is based on understanding what the plant actually is rather than treating it like a tropical houseplant.
This guide covers the complete caring-for-hydrangea-indoors journey from maximizing the current bloom to the outdoor transition that gives every indoor hydrangea its best long-term outcome.
Quick Answer
Caring for a hydrangea plant indoors requires cool temperatures between 50 and 65 degrees Fahrenheit, daily moisture checks with watering whenever the top half inch of soil dries, high humidity above 60%, bright indirect light without direct afternoon sun, prompt deadheading of spent flowers, no fertilizing during active bloom, and a planned outdoor garden transition after blooming ends. Temperature and moisture management are the two factors that most directly determine how long an indoor hydrangea stays beautiful.
Step 1: Find the Coolest Bright Spot in Your Home
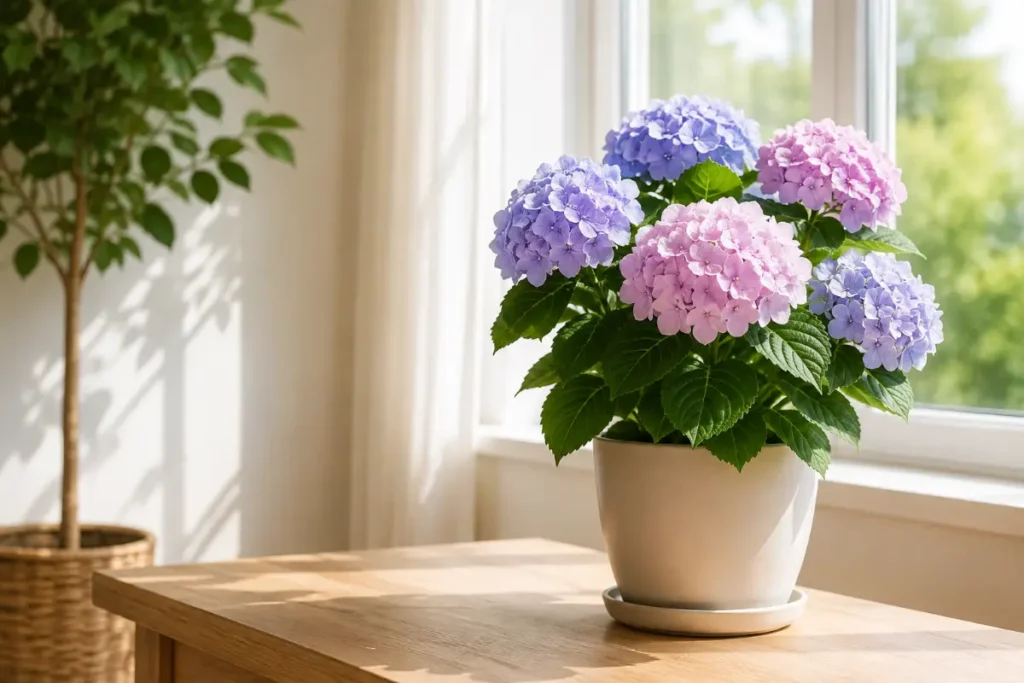
Every care decision for an indoor hydrangea flows from this first placement choice. Temperature is the primary determinant of bloom duration and a plant placed incorrectly from day one cannot be rescued by perfect management of every other factor.
The target: 50 to 65 degrees Fahrenheit throughout the day with cool nights between 45 and 55 degrees. This range extends individual flower head life from days to weeks and allows buds to open gradually in succession rather than all at once.
What warm temperatures do: A hydrangea in a 72-degree living room uses its remaining buds within days and existing flowers fade and brown rapidly. The same plant in a 60-degree spare room maintains its bloom for weeks longer with essentially identical care otherwise.
Where to look in your home: North-facing rooms that do not receive direct heating. Bright enclosed porches in mild climates. Cool hallways with adequate natural light from nearby windows. Sunrooms that stay cooler than heated living spaces. A position near a window that is away from heating vents and radiators.
What to avoid: Any position near forced air heating vents. Rooms with televisions and electronics that generate significant ambient heat. South-facing rooms that receive intense afternoon sun through glass. The warm humid kitchen despite how attractive a blooming hydrangea looks there.
Step 2: Water Daily and Never Let Soil Dry Out
Hydrangeas in active bloom are among the most water-demanding flowering plants available. Their large flower heads are composed of hundreds of individual florets each transpiring moisture continuously and their root systems cannot quickly compensate for soil moisture deficits the way drought-adapted plants can.
The daily check: Push your finger into the top half inch of soil every morning during the bloom period. If it feels dry, water immediately. In warm indoor conditions this check may reveal the need for watering every one to two days. In cool conditions every two to three days is more typical.
How to water: Water thoroughly until it flows from the drainage holes ensuring the entire root zone receives moisture. Empty the saucer within thirty minutes to prevent roots from sitting in standing water which causes root rot even in a plant that needs consistent moisture.
Emergency rescue for a wilted plant: A hydrangea that has wilted from water stress looks dramatically alarming. Leaves and flower heads droop completely. Move immediately to a cool position and water the soil thoroughly. Additionally, you can submerge the entire pot in a basin of water for twenty to thirty minutes allowing the root zone to absorb water through the drainage holes. Most wilted-from-drought hydrangeas recover to full upright posture within two to four hours of treatment.
What does not cause recovery: Misting the flower heads of a wilted plant does not address root-zone moisture deficiency. Water the soil as described above rather than spraying the plant surface.
Step 3: Raise Humidity to Protect Flower Quality
The large papery petals of hydrangea flower heads are vulnerable to the low humidity of typical indoor environments particularly in heated winter homes or air-conditioned summer spaces.
Target humidity: Above 60% for best flower condition and longest individual floret life. The brown petal edges that appear even on well-watered hydrangeas in most homes are primarily a humidity issue rather than a watering failure.
Effective approaches: A humidifier positioned within two to three feet of the plant provides the most significant and sustained humidity benefit. A large pebble tray filled with water beneath the pot creates modest local humidity increase through evaporation. Grouping with other large-leaved plants raises collective humidity through combined transpiration.
Protecting flowers from water contact: Despite needing high ambient humidity, hydrangea flowers are damaged by direct water contact from misting. The cool humid conditions they prefer are also ideal for botrytis grey mold which develops on wet flower surfaces rapidly. Keep humidity high through evaporation-based methods rather than misting.
Step 4: Light Management for Quality Blooms
Hydrangeas need good light to sustain the photosynthesis that powers their bloom production and to maintain the foliage health that keeps the plant looking full and attractive through the entire display period.
The right light: Bright indirect light from an east or north-facing window. Morning sun from an east-facing exposure is tolerated well. Filtered light through a sheer curtain from a south or west-facing window prevents the direct sun damage that collapses flowers in hours.
What direct afternoon sun does: Direct sun on hydrangea flower heads in the warm afternoon hours causes immediate wilting even when soil moisture is adequate. The large flower surface area cannot transpire fast enough to keep up with the moisture loss driven by direct sun exposure. Move immediately to indirect light if flowers are wilting on a well-watered plant.
Low light effects: Very low light stops new bud development even when existing flowers remain open. A plant that has been in low light for two weeks without producing new buds is exhausting its existing bud supply without replacement. Improve light to sustain continued flowering.
Step 5: Deadhead and Groom Throughout the Bloom Period
Active management of spent flowers and damaged foliage keeps the plant looking its best through the full bloom period and redirects energy from seed production to remaining buds.
Deadheading technique: Cut spent flower heads at the stem base just above the uppermost pair of healthy leaves below the flower. Use clean sharp scissors rather than pulling which damages stem tissue. A single flower head may contain hundreds of florets aging at different rates. Deadhead the head as a unit when the majority of florets have browned rather than trying to remove individual florets.
Foliage grooming: Remove any yellowed or spotted leaves promptly. These indicate stress (usually from overwatering or low humidity) and their removal improves air circulation around the plant and reduces the visual impact of decline.
Checking for pests during grooming: Weekly close inspection during the bloom period catches early-stage pest problems before they become severe. Check leaf undersides for spider mites (fine stippling and webbing) and stem junctions for mealybugs (white cottony clusters). Early intervention requires only targeted spot treatment rather than whole-plant application of pest control products.
Step 6: Prepare for the Post-Bloom Transition
The weeks immediately after all flowers have finished are when the decisions that determine long-term plant success are made. Two paths exist with significantly different management requirements.
The outdoor garden path:
This is the recommended outcome for most indoor hydrangeas and produces the most reliably rewarding long-term results. After all flowers have been removed, begin gradually acclimating the plant to outdoor conditions.
Start with a shaded outdoor position for the first week to avoid sun shock on foliage acclimated to indoor light levels. Over the following two weeks gradually increase light exposure. After last frost date for your area, plant in a prepared garden bed with consistently moist, well-draining, humus-rich soil amended with compost at a depth where the root ball sits at the same level as it was in the pot.
Water generously through the establishment period particularly during dry spells in the first summer. Mulch around the base with wood chips or compost to retain soil moisture and regulate temperature. The plant establishes through summer and fall and enters its first natural dormancy. The following spring it breaks dormancy and begins what will become a pattern of annual summer blooming that improves with each passing year.
The indoor dormancy path:
If outdoor planting is not possible, move the plant to a cool location between 35 and 45 degrees Fahrenheit after blooming ends. Reduce watering to occasional (every three to four weeks) just enough to prevent the root ball from desiccating completely. The plant drops its leaves and enters dormancy naturally in these cool conditions.
In late winter (February to March for most US regions) move to a slightly warmer position around 50 to 55 degrees and resume more regular watering. New growth buds break from the stems within two to four weeks. Once active growth is established, move to a bright position and begin light fertilizing every two weeks. The plant may produce bloom the following season depending on variety and the quality of dormancy management.
Step 7: Know the Signs of Trouble and Act Fast
Hydrangeas in indoor conditions communicate stress quickly and visibly. Knowing what each symptom indicates allows fast accurate response before problems become irreversible.
Dramatic wilting of flowers and leaves simultaneously: Immediate underwatering in most cases. Water thoroughly now and move to a cooler position. If the plant does not recover within three to four hours of thorough watering, check for root rot by examining roots for black mushy sections.
Flower heads browning from the edges inward: Low humidity is the primary cause. Increase humidity immediately with a pebble tray or humidifier. If humidity is already adequate, check for direct sun exposure on the flower heads.
Yellow leaves on lower sections: Overwatering in most cases. Allow the top inch of soil to dry slightly more before next watering. Check drainage holes are not blocked. Single lower leaf yellowing can also be natural aging of the oldest leaves.
White powdery coating on leaves: Powdery mildew from poor air circulation. Remove affected leaves, improve spacing between plants, and run a small fan nearby. Apply diluted neem oil spray every seven days for three weeks.
Brown spots with yellow halos on leaves: Bacterial leaf spot from water sitting on leaves during watering or high humidity with poor air circulation. Water at soil level only and improve air movement around the plant.
For the complete guide to identifying and treating the soil and foliage pests that occasionally affect hydrangeas alongside the flowering plant pest species most commonly encountered indoors, indoor plant spray for bugs covers every effective spray approach with specific guidance on timing and application for flowering plants where protecting blooms during treatment matters.
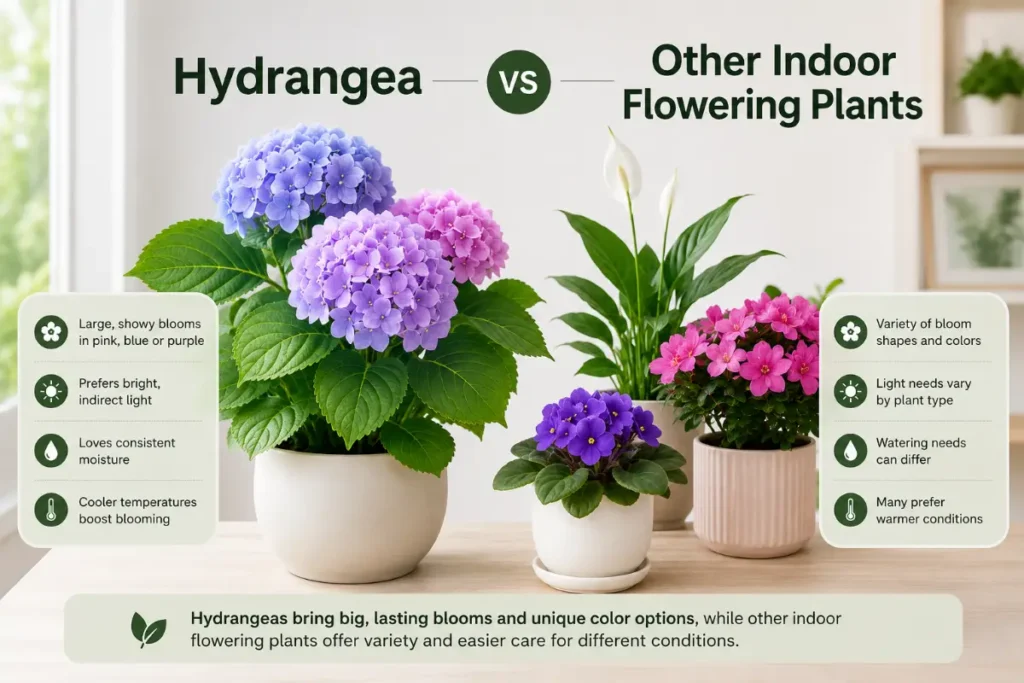
Hydrangea vs Other Indoor Flowering Plants
Understanding how hydrangea compares to other commonly available indoor flowering plants helps you choose the right plant for your specific conditions and goals.
Hydrangea vs peace lily: Peace lily is a genuine perennial indoor plant that blooms repeatedly without dormancy in typical home conditions. Hydrangea is a temporary indoor plant best transitioned to outdoor garden life. For homes without outdoor garden space or for permanent indoor flowering plants, peace lily is the more practical long-term choice. For spectacular seasonal displays and a permanent garden addition, hydrangea delivers an impact that peace lily cannot match.
Hydrangea vs cyclamen: Both are cool-temperature flowering plants with dramatically shorter indoor bloom periods in warm conditions. Cyclamen can be brought through summer dormancy and rebloomed indoors more reliably than hydrangea. For repeated indoor seasonal bloom without outdoor garden space, cyclamen is the more manageable choice.
Hydrangea vs azalea: Both are outdoor shrubs sold as temporary indoor bloomers. Azaleas rebloom in subsequent seasons with appropriate cool fall conditioning and summer outdoor care, similar to hydrangea. The choice between them for indoor bloom display is largely aesthetic since their care approaches and outdoor transition paths are closely parallel. For a detailed comparison of azalea indoor care, indoor azalea plant care covers every aspect of the azalea bloom cycle and outdoor transition strategy that parallels the hydrangea approach described here.
Hydrangea Types Sold as Indoor Plants
Not every hydrangea sold as a potted indoor plant performs the same way and knowing the differences helps set realistic expectations.
Hydrangea macrophylla (Bigleaf hydrangea) is by far the most common indoor gift plant hydrangea. It includes mophead varieties with large rounded flower clusters and lacecap varieties with flat-topped flowers with small central florets surrounded by larger showy florets. Most gift hydrangeas are mophead varieties bred for compact growth and abundant bloom.
Hydrangea arborescens (Smooth hydrangea) including the popular Annabelle variety occasionally appears as potted plants. This North American native is generally more cold-hardy and adaptable than macrophylla and transitions to outdoor gardens across a wider range of US climates.
Hydrangea paniculata varieties appear occasionally in the market. These bloom on new wood each season making pruning mistakes less damaging to bloom production and they are among the most cold-hardy hydrangeas for outdoor garden use after indoor bloom.
For most indoor buyers, the plant in hand is a macrophylla variety and the care described throughout this guide applies fully. If you are unsure of your variety, the care steps here are appropriate for all common retail hydrangea types.
Fertilizing After the Bloom Period
Once all flowers have been removed and the plant is being prepared for either outdoor transition or indoor dormancy, light fertilizing supports the root development and overall plant health that determines future performance.
For outdoor-transitioning plants: Begin a balanced liquid fertilizer at half rate every two weeks starting two weeks after all flowers are removed and new growth is visible. Continue through the outdoor transition period and into the first outdoor growing season. Switch to a slow release balanced fertilizer formulated for flowering shrubs once the plant is established in the garden.
For indoor dormancy management: A single application of balanced fertilizer at quarter rate in late winter when breaking dormancy supports the initial growth flush. Resume half rate biweekly feeding once active growth is established in the warmer position that breaks dormancy.
What fertilizer supports: The nutritional inputs during the post-bloom period build the root system and stem vigor that powers next season’s flowering. A well-fed plant entering dormancy or garden establishment produces stronger growth and more abundant bloom the following season than one that received no nutritional support after indoor blooming.
For the complete guide to natural and organic fertilizer approaches that work effectively for flowering shrubs through the transition period, natural fertilizer for indoor plants covers every gentle feeding approach appropriate for the sensitive root systems of recently bloomed and transitioning flowering plants.
Conclusion
Caring for a hydrangea plant indoors is most successful when you approach it as a two-phase project: an indoor bloom display and an outdoor garden investment. The indoor phase is about extending the spectacular bloom as long as possible through cool temperatures, consistent moisture, high humidity, and bright indirect light. The outdoor phase is about translating that investment into a permanent garden plant that returns more impressively every summer for decades.
The hydrangea bought impulsively in full bloom at a grocery store checkout becomes either another casualty of warm dry indoor conditions in two weeks or the foundation of a spectacular garden display in two years depending entirely on how you manage it through and after its indoor bloom period. The difference is understanding what this plant genuinely is and what it genuinely needs.
Frequently Asked Questions
How do I keep a hydrangea alive indoors?
Keep it in the coolest bright position available, ideally below 65 degrees Fahrenheit. Check soil moisture daily and water whenever the top half inch feels dry since hydrangeas wilt dramatically when soil dries during bloom. Maintain humidity above 60% with a pebble tray or humidifier. Deadhead spent flowers promptly. Do not fertilize during the bloom period. Plan for outdoor garden transition after blooming ends for the best long-term outcome.
Why is my indoor hydrangea wilting even though I just watered it?
Wilting after recent watering points to root rot from chronically overwatered, poorly draining soil rather than underwatering. Remove the plant from its pot and examine the roots. Healthy roots are white or tan and firm. Rotted roots are black, soft, and mushy. If rot is present, trim affected roots, repot into fresh well-draining soil, and reduce watering frequency significantly going forward. If roots look healthy, check for direct sun exposure on the plant which causes wilting even with adequate soil moisture.
Can a hydrangea plant survive indoors long term?
Hydrangeas are not adapted to permanent indoor growing. They require the natural cool winter dormancy that outdoor conditions provide to set flower buds for the following season. Without this dormancy, hydrangeas kept permanently indoors produce diminishing bloom over subsequent seasons and eventually fail to flower at all. Outdoor garden transition after the indoor bloom period is the most reliable path to long-term plant survival and repeated annual bloom.
How do I revive a wilting indoor hydrangea?
Water the soil thoroughly first to address the most common cause of wilting. For severe wilting, submerge the entire pot in a basin of water for twenty to thirty minutes to fully rehydrate the root zone. Move to a cool position out of direct sun while recovery occurs. Most drought-wilted hydrangeas recover to full posture within two to four hours of thorough watering in cool conditions.
When should I put my indoor hydrangea outside?
After all flowers have finished and after the last frost date for your area, typically late April through May for most US regions. Transition gradually over two weeks starting with a shaded outdoor position before increasing sun exposure. Plant in the garden bed after the transition period in well-prepared, consistently moist, humus-rich soil. In USDA zones 4 through 9, Hydrangea macrophylla naturalizes reliably and blooms annually with minimal management.
Do indoor hydrangeas change color?
Hydrangea macrophylla flower color responds to soil pH. Acidic soil below pH 6.0 produces blue flowers by making aluminum available to the plant. Alkaline soil above pH 7.0 produces pink flowers. For indoor potted plants the bloom cycle is too brief for pH adjustments to change current flower color. For outdoor-transitioned plants in subsequent seasons, adding aluminum sulfate acidifies soil for bluer flowers and garden lime raises pH for pinker flowers.