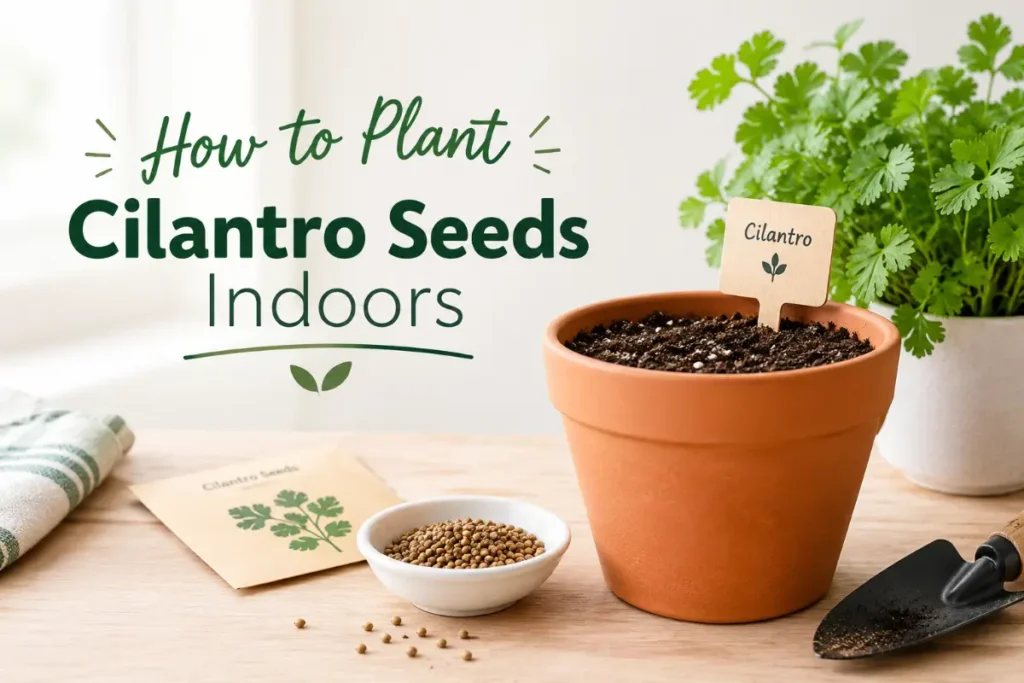
Knowing how to plant cilantro seeds indoors correctly makes the difference between a thriving cut-and-come-again herb and a plant that bolts within two weeks of sprouting. Cilantro has a reputation for being difficult to grow indoors, but that reputation is usually earned by skipping a few key steps. Get the container depth, soil, sowing technique, and light right from the start, and you can have fresh cilantro available year-round regardless of your climate.
This guide covers everything you need to know about planting cilantro seeds indoors, from preparing your container to harvesting your first stems.
Why Cilantro Is Worth Growing Indoors
Cilantro is one of the most used fresh herbs in American home cooking. It appears in Mexican, Indian, Thai, Vietnamese, and Middle Eastern dishes, and it is one of the few herbs where the dried version is considered a poor substitute for fresh. The flavor deteriorates quickly after cutting, and store-bought bunches are often wilted or partially yellowed by the time you use them.
Growing cilantro indoors puts fresh leaves within arm’s reach whenever a recipe calls for them. A well-maintained indoor container can provide harvests for six to eight weeks before the plant bolts, and succession planting — starting a new container every three to four weeks — creates an essentially continuous supply.
The challenges of indoor cilantro are real but manageable. Cilantro dislikes transplanting, bolts quickly in heat, and needs more light than most windowsill herbs get in winter. Understanding these tendencies before you start is how you work around them.
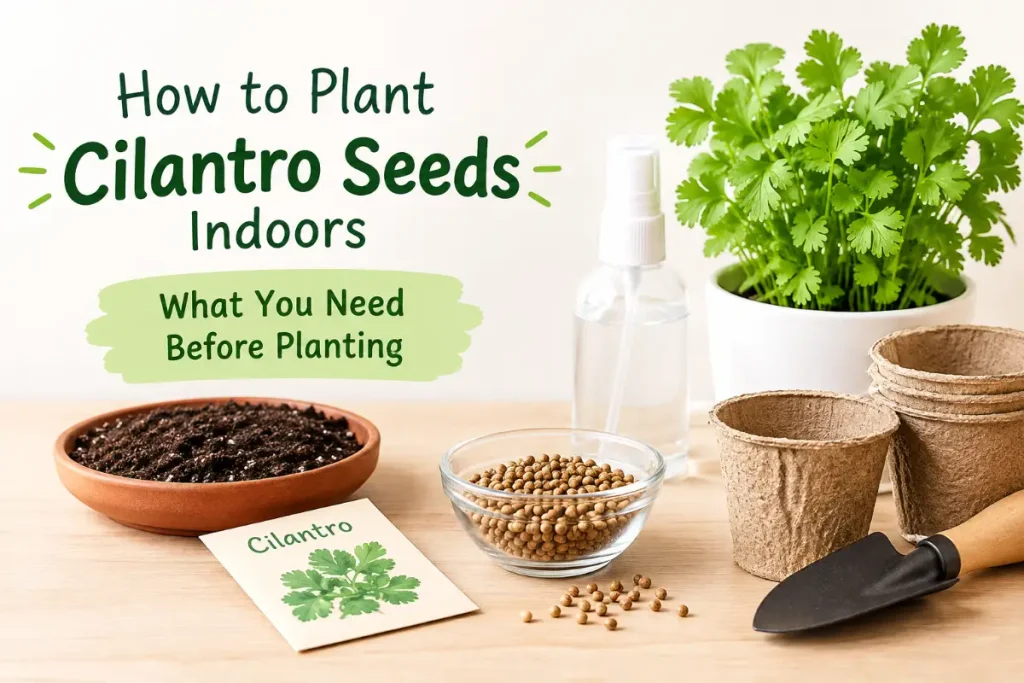
What You Need Before Planting
Seeds
Cilantro seeds are the round, tan seeds sold in the spice aisle or nursery. Each round seed is actually a pair of seeds enclosed in a papery husk. You can plant the seeds as-is, or lightly crush them to split the husk and encourage more even germination. Splitting is optional but speeds germination by a few days.
Fresh seeds germinate more reliably than old seeds. If your seeds are more than two years old, test germination by placing ten seeds on a damp paper towel for a week — fewer than five sprouting suggests low viability.
Coriander vs. cilantro seeds: Cilantro and coriander come from the same plant (Coriandrum sativum). The leaves are called cilantro; the seeds are called coriander. The seeds in your spice cabinet — whole coriander — are the same seeds you plant. However, whole coriander from the spice aisle has often been heat-treated or otherwise processed in ways that reduce or eliminate germination. Buy seeds specifically labeled for planting from a garden supplier.
Container
Container depth is the most commonly misunderstood aspect of indoor cilantro. Cilantro produces a long taproot that does not like to be disturbed or cramped. A shallow pot — under 8 inches deep — causes the plant to stress quickly and bolt early.
Use a container at least 8 to 12 inches deep. Width matters less than depth. A 6-inch-wide, 10-inch-deep pot is better than a 10-inch-wide, 4-inch-deep pot for cilantro.
Drainage holes are essential. Cilantro roots rot quickly in waterlogged soil.
Soil
Use a well-draining potting mix rather than garden soil. A standard indoor potting mix works well. Adding 20 to 25 percent perlite improves drainage and reduces the risk of waterlogging, which is the primary cause of root rot in indoor cilantro.
Avoid potting mixes formulated for cacti and succulents — these drain too quickly and do not retain enough moisture for cilantro’s needs.
Step-by-Step: How to Plant Cilantro Seeds Indoors
Step 1 — Prepare the Container
Fill the container with potting mix to within an inch of the rim. Moisten the mix thoroughly with water and allow it to drain. The soil should be evenly moist but not waterlogged before you sow.
If you are splitting the seeds, place them in a sealed bag and gently roll a rolling pin across them once. You want to crack the husk, not crush the seeds inside.
Step 2 — Sow the Seeds
Cilantro does not transplant well because of its taproot, so sow directly into the final container rather than starting seeds in seedling trays and transplanting later. Direct sowing is not optional — it is the reason indoor cilantro either succeeds or fails at the first step.
Sprinkle seeds across the surface of the moist soil at a density of roughly one seed per square inch. For a 6-inch-wide container, that is approximately 30 seeds. Cilantro is harvested by cutting stems near the base, so dense planting is productive rather than wasteful.
Press the seeds lightly into the surface — they should be in contact with the soil but not buried deeply. Cover with a thin layer of potting mix, about a quarter-inch deep.
Step 3 — Water Gently
Mist the surface with a spray bottle or water very gently to avoid displacing the seeds. The goal is to keep the surface consistently moist until germination without creating a flood that washes seeds to one side of the container.
Cover the container loosely with plastic wrap or place it inside a clear plastic bag to retain moisture during germination. This is not essential, but it reduces the frequency of surface watering needed during the germination period.
Step 4 — Provide Warmth for Germination
Cilantro germinates best between 65 and 75°F. Place the container on top of the refrigerator, near a heat vent, or on a seedling heat mat set to the low end of its range. Germination takes 7 to 14 days at optimal temperature, and up to three weeks in cooler conditions.
Once you see the first seedlings emerging, remove any covering and move the container to its permanent light source.
Step 5 — Position Under Light
Adequate light is the single most important factor in indoor cilantro success. Insufficient light causes weak, leggy seedlings that bolt prematurely.
Natural light: A south-facing window in winter provides the most light of any window orientation. East or west-facing windows work but produce slower growth. North-facing windows do not provide enough light for cilantro.
Grow lights: A full-spectrum LED grow light positioned 4 to 6 inches above the seedlings for 14 to 16 hours per day produces the most consistent indoor cilantro results regardless of window direction or season. This is the recommended approach for year-round production.
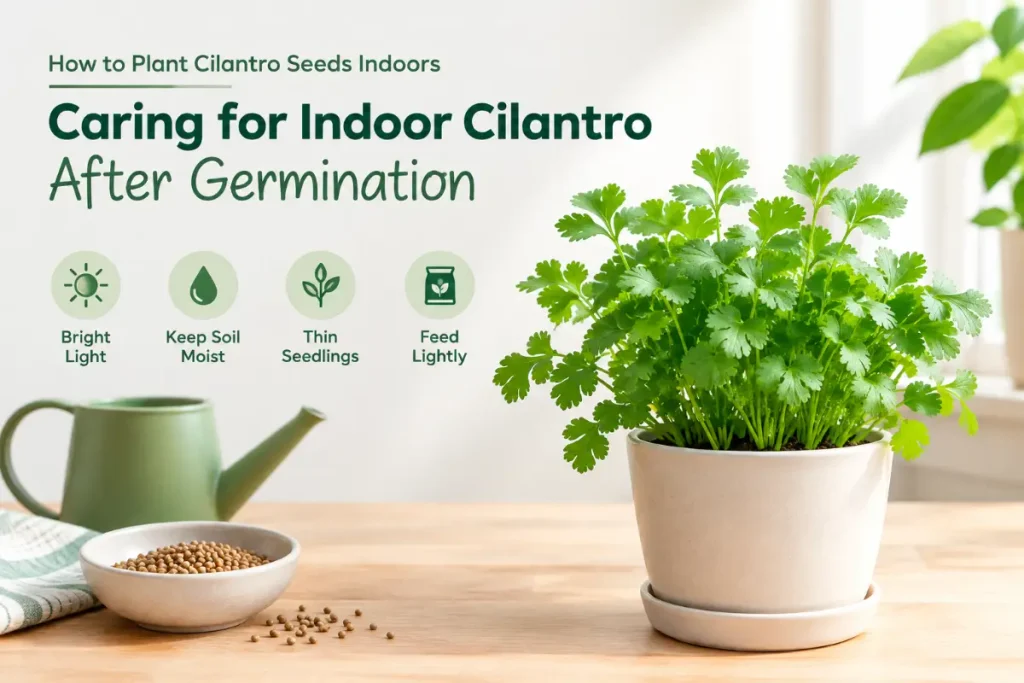
Caring for Indoor Cilantro After Germination
Watering
Water when the top half-inch of soil feels dry. This is more frequent than you might expect — every one to two days in warm, bright conditions. Use room-temperature water. Cold water can stress the roots.
Avoid allowing the soil to dry out completely, as this stresses cilantro and accelerates bolting. Equally, avoid keeping the soil constantly saturated.
Thinning
Once seedlings reach 2 inches tall, thin them to one plant every 2 to 3 inches. The thinned seedlings can be eaten as microgreens — they have the full cilantro flavor in miniature.
Thinning is worth doing even though it feels wasteful. Crowded cilantro plants compete for light and nutrients, produce smaller leaves, and bolt faster than plants with adequate spacing.
Temperature
Keep indoor cilantro between 60 and 75°F. Above 75°F, the plant experiences heat stress that accelerates bolting. Avoid placing cilantro near heat vents, on top of the refrigerator during the growing phase, or near radiators.
Cool night temperatures — dropping to 60 to 65°F — actually help slow bolting and extend the productive life of the plant.
Fertilizing
For short-term harvesting (6 to 8 weeks), fertilizing is optional if you started with a quality potting mix that contains fertilizer. For ongoing harvests beyond 8 weeks, apply a balanced liquid fertilizer at half the recommended strength every two weeks. Nitrogen encourages leaf production, which is what you want from cilantro.
Avoid high-phosphorus fertilizers (the second number in the NPK ratio), which encourage flowering — the opposite of what you want in a leaf herb.
Harvesting Indoor Cilantro
When to Harvest
Begin harvesting when the plant reaches 6 inches tall. Waiting until the plant is larger encourages stronger root development before you start cutting.
How to Harvest
Cut stems from the outer edge of the plant, leaving the center growing point intact. Remove no more than one-third of the plant at each harvest. This encourages the center to continue producing new growth.
Always cut above a leaf node — the point on the stem where a pair of leaves emerges. Cutting to bare stem prevents regrowth at that point.
Storing Harvested Cilantro
Fresh-cut cilantro keeps longest when stored upright in a glass of water in the refrigerator, loosely covered with a plastic bag. Change the water every two days. This method keeps cut cilantro fresh for one to two weeks — significantly longer than wrapping in a damp paper towel.
Managing Bolting
Bolting — the shift from leaf production to flower and seed production — is the main challenge of indoor cilantro. Once a plant bolts, the leaves become smaller, more feathery, and less flavorful. The plant is putting its energy into reproduction rather than foliage.
Signs of imminent bolting: The plant sends up a central tall stem. Leaves become more finely divided and lacy rather than broad and flat. Growth direction shifts noticeably upward.
Slowing bolting: Remove the central flowering stem as soon as you notice it emerging. This redirects the plant’s energy back to leaf production for a few more weeks. Keeping the plant cool (below 75°F) and consistently harvested also delays bolting.
Working with bolting: When cilantro bolts completely, let it finish. The flowers attract beneficial insects. The seeds that follow can be harvested as coriander for cooking, or saved to plant the next container.
Succession Planting for Continuous Harvest
One container of cilantro provides roughly six to eight weeks of harvest before bolting terminates production. For continuous cilantro availability, start a new container every three to four weeks.
Keep two or three containers in rotation — one ready to harvest, one just starting to establish, one newly seeded. When one container bolts, start the seeds for a replacement. This system provides cilantro year-round without gaps.
Stagger containers by four weeks for a two-container system, or by three weeks for a three-container system.
Common Problems With Indoor Cilantro
Leggy seedlings: Caused by insufficient light. The seedlings stretch toward the nearest light source. Move closer to a window or add a grow light. Leggy seedlings can be buried deeper at transplanting to compensate, but since cilantro should not be transplanted, prevention through adequate light is the only real solution.
Damping off: A fungal condition where seedlings collapse at the soil line, usually caused by overwatering combined with poor air circulation. Reduce watering frequency, improve drainage, and ensure some air movement around the seedlings.
Yellow leaves: Usually caused by overwatering and nitrogen deficiency. If the soil has been consistently wet and lower leaves are yellowing, reduce watering frequency and ensure the pot is draining properly. If the plant is otherwise healthy, a dose of nitrogen-rich fertilizer resolves yellowing.
Premature bolting: Caused by heat, insufficient light, or irregular watering. Ensure temperatures stay below 75°F, provide 14 hours of bright light daily, and water consistently.
Growing Cilantro From Seed vs. Buying Transplants
Garden centers occasionally sell cilantro as established transplants in small pots. These are convenient but usually produce short-lived results indoors because the transplanting process disturbs the taproot, causing the plant to bolt quickly as a stress response.
Seed-grown indoor cilantro consistently outperforms transplanted cilantro for this reason. Starting from seed in the final container eliminates root disturbance entirely. The extra week or two of germination time is worth the extended productive life of the plant that results.
If you do start with a transplant — for example, saving a grocery store bunch of cilantro with roots attached by placing it in water — expect the plant to bolt within two to four weeks regardless of care quality. The root disturbance during harvest, transport, and storage at the grocery store has already initiated the bolting process in most cases. Treat it as a temporary measure while your seeded container establishes rather than as a reliable long-term plant.
Best Cultivars of Cilantro for Indoor Growing
While most cilantro sold as seeds is the standard species (Coriandrum sativum), a few named cultivars are better suited to indoor conditions than the standard form.
‘Slow Bolt’ is the most useful cultivar for indoor growing. It is specifically bred to delay the transition to flowering, extending the leaf-production phase by two to four weeks compared to standard varieties. This is the cultivar to choose when succession planting gaps are not desirable, or when growing conditions are less than optimal.
‘Calypso’ is another slow-bolt variety with dense, flavorful foliage. It handles slightly higher temperatures than standard cilantro before bolting, making it more forgiving in warm indoor environments.
‘Santo’ is a standard variety with good flavor but no specific slow-bolt trait. It is widely available and performs well when growing conditions are ideal (cool temperatures and high light). It bolts faster than slow-bolt varieties in suboptimal conditions.
For indoor growing in the US, ‘Slow Bolt’ is the default recommendation. The difference in productive lifespan between standard and slow-bolt varieties is significant enough to make the slight effort of sourcing it worthwhile.
Companion Planting and Layout Ideas for Indoor Herb Gardens
Cilantro grows well alongside other cool-season herbs that share its preference for moderate temperatures and consistent moisture. Indoor herb garden arrangements that combine cilantro with compatible companions can share a grow light, similar watering frequency, and the same temperature range.
Compatible companions:
- Parsley prefers similar light and moisture conditions and has a comparable growth rate.
- Chives tolerate similar conditions and have a different growth habit (upright grass-like), which prevents competition for space.
- Dill has the same family membership as cilantro (Apiaceae) and nearly identical care needs, though it grows taller and may need its own container.
Incompatible companions:
- Basil requires significantly warmer temperatures than cilantro prefers, and the two plants rarely do well in the same growing environment.
- Mediterranean herbs like rosemary and thyme prefer drier soil and lower humidity than cilantro, and the watering regimes conflict.
A dedicated cool-herb container with cilantro, parsley, and chives works well under a single grow light. This arrangement allows one watering and fertilizing schedule for the entire group while providing multiple fresh herbs for cooking throughout the season.
Using a Grow Light for Indoor Cilantro: Setup and Timing
A grow light makes the biggest single difference in indoor cilantro success, particularly from October through March when natural light levels are lowest in most of the US.
Type of grow light: Full-spectrum LED grow lights are the most energy-efficient and effective option available today. Look for lights with a color temperature between 4000K and 6500K (cool white to daylight range), which supports vegetative leaf growth. Warm-white LEDs (below 3000K) are less suitable for herbs.
Distance from plants: Position the grow light 4 to 6 inches above the seedling tops. As plants grow, raise the light to maintain this distance. Too far causes stretching; too close causes heat stress or light burn.
Duration: Run the grow light for 14 to 16 hours per day. A simple outlet timer eliminates the need to manually switch the light on and off. Consistent day length is more important than perfect duration — variation of an hour or two does not significantly affect growth.
Placement: Place the grow light directly above the container rather than at an angle. Angled light causes uneven growth as plants lean toward the light source.
A basic single-bar LED grow light suitable for a 6-inch to 10-inch container costs $20 to $40 at most garden centers or online retailers. The investment pays for itself quickly compared to the ongoing cost of buying fresh cilantro bunches.
Harvesting Coriander Seeds From Indoor Cilantro
When a cilantro plant bolts and produces flowers, the flowers will eventually develop into green seed clusters that dry to tan coriander seeds. Allowing this full cycle indoors adds a second harvest from the same plant.
Once the flower clusters are dry and the seeds are fully tan, cut the entire flowering stem and place it upside down in a paper bag. Shake gently after a few days — seeds fall into the bag as they dry further and detach from the plant naturally.
The harvested seeds can be used directly in cooking as whole coriander, ground in a spice grinder for ground coriander, or saved for replanting. Seeds saved for replanting should be stored in a cool, dry location in a sealed container and used within one to two growing seasons.
This two-harvest approach — first for leaves, then for seeds — makes a bolting cilantro plant feel less like a failure and more like a productive completion of a natural cycle. The seeds produced from one container are often sufficient to plant the next two or three containers, creating a self-sustaining loop once established.
Conclusion
Learning how to plant cilantro seeds indoors is simple when you provide the right container, well-draining soil, consistent moisture, and plenty of light. Start seeds directly in a deep pot, maintain temperatures between 60 and 75°F, and use a grow light when natural sunlight is insufficient. These steps help reduce transplant stress, encourage healthy leaf growth, and delay premature bolting.
For a continuous supply of fresh cilantro, sow a new container every three to four weeks and harvest the outer stems as the plants mature. With the right care and a little planning, you can enjoy fresh cilantro leaves for your favorite meals throughout the year, even without an outdoor garden.
FAQs
Frequently Asked Questions About How to Plant Cilantro Seeds Indoors
How long does cilantro take to germinate indoors?
Cilantro seeds germinate in 7 to 14 days at 65 to 75°F. Cooler temperatures slow germination to two to three weeks. Crushing the seed husk lightly before planting speeds germination by allowing moisture to reach the seed more quickly.
Can I use coriander seeds from the grocery store to grow cilantro?
Whole coriander from the spice aisle can germinate, but germination rates are often low because processing may have damaged viability. Seeds sold specifically for planting from a garden supplier are more reliable. If using grocery store coriander, plant at higher density to compensate for lower germination rates.
Why does my cilantro keep dying after a few weeks?
The most common causes are bolting from heat or insufficient light, root rot from overwatering in a poorly draining container, or a container that is too shallow for the taproot. Ensure the container is at least 8 to 10 inches deep, has drainage holes, uses well-draining mix, receives 14 hours of bright light daily, and stays below 75°F.
Can cilantro grow in a window box?
Yes, if the window box is deep enough. Many window boxes are only 4 to 6 inches deep, which is insufficient for cilantro’s taproot. Look for window boxes with at least 8 inches of depth, or use a deeper rectangular planter instead.
Should I soak cilantro seeds before planting?
Soaking for 24 to 48 hours in room-temperature water can soften the seed husk and improve germination rates, particularly for uncracked seeds. This is optional but can be helpful for older seeds or seeds with particularly hard husks.