The Norfolk Island pine indoor plant is one of the most commonly purchased and most commonly killed houseplants in the country, particularly around the holiday season when it is sold by the millions as a small, living Christmas tree alternative. Most of them are dead within a year, and the reason is almost universally the same: people treat it like a true pine tree or a typical tropical houseplant when it is neither.
Norfolk Island pine (Araucaria heterophylla) is a tropical plant native to Norfolk Island in the South Pacific, not a cold-hardy pine from the northern hemisphere. It grows naturally in warm, humid, coastal conditions with intense light. The soft, feathery needles and layered branching that make it attractive as an indoor plant require specific conditions to maintain, and without those conditions the lower branches drop progressively until the plant becomes a thin, top-heavy stick with a tuft of green at the top.
This guide covers the 8 most important care steps that keep a Norfolk Island pine genuinely thriving indoors rather than slowly declining toward that fate.
Quick Answer
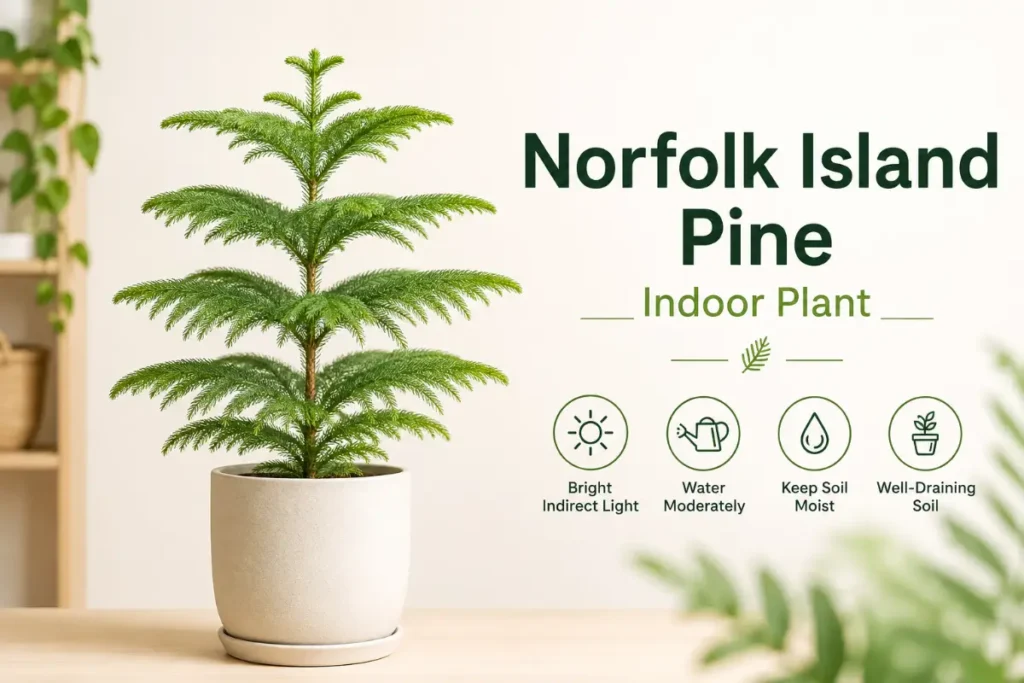
Norfolk Island pine indoor plant care requires the brightest light available, ideally direct sun through a south-facing window for four to six hours daily, consistent moisture without waterlogging, high humidity above 50%, temperatures between 60 and 85 degrees Fahrenheit, fertilizing every two to four weeks through spring and summer, rotating the plant regularly to prevent one-sided growth, and avoiding the dry heat of forced-air heating systems that is the primary driver of branch drop indoors.
Understanding Norfolk Island Pine
Araucaria heterophylla grows naturally on Norfolk Island, a small Australian territory in the South Pacific, where it reaches 200 feet tall in warm, humid, subtropical conditions with intense natural light and consistent coastal moisture in the air.
The plant sold as an indoor Christmas tree alternative is a juvenile version of this forest giant that can be kept compact through pot restriction and appropriate indoor conditions. Without ever reaching its full size potential, it maintains the symmetrical layered branching and soft needle texture that make it attractive for decades with correct care.
The key misconception is the name. Norfolk Island pine is not botanically a true pine (Pinus species). It is an araucaria, more closely related to the ancient Monkey puzzle tree than to northern hemisphere pines. Unlike true pines, it has no adaptation to cold winters, dry air, or the seasonal temperature cycles of temperate climates. Treating it as a cold-tolerant pine creates every problem that kills these plants indoors.
Step 1: Provide Maximum Available Light
Light is the factor that most directly determines whether a Norfolk Island pine thrives or slowly drops its lower branches indoors. This is one of the most light-hungry houseplants commonly sold in the US and the gap between what it needs and what most indoor positions provide is substantial.
What it needs: Direct sunlight for at least four to six hours daily through a south or west-facing window. More is better. A sunroom, conservatory, or south-facing window that receives direct sun from mid-morning through afternoon produces the best growth.
What happens in insufficient light: Lower branches drop progressively. This is the most visible and most irreversible sign of chronic light deficiency. Once a branch drops from a Norfolk Island pine it does not regenerate. The plant becomes progressively more bare at the base and more concentrated at the top over months and years of insufficient light.
What happens in good light: Uniform growth across all branch levels. New growth from the apex and from existing branch tips. Maintained horizontal branch angle rather than downward droop. Rich, deep green needle color rather than pale yellowish green.
Grow lights: A high-output LED grow light positioned close to the plant and running fourteen hours daily supplements natural light effectively in spaces without adequate direct sun. This is the practical solution for apartments and north-facing homes where direct sun is unavailable.
Step 2: Water Consistently Without Overwatering
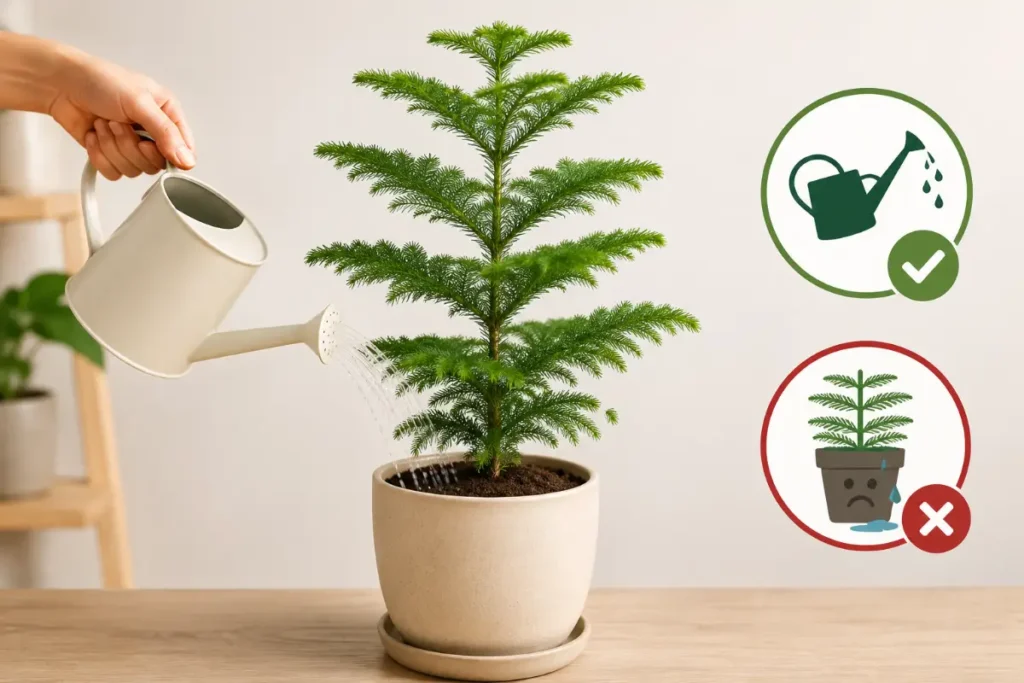
Norfolk Island pine prefers consistently moist soil but is susceptible to root rot in chronically wet conditions. The watering balance is similar to peace lily: consistent moisture with good drainage rather than complete drying between waterings or constant saturation.
The correct approach: Water when the top inch of soil feels dry. This typically means every seven to ten days in a bright sunny position during summer and every ten to fourteen days in lower light or winter.
Water quality: Norfolk Island pine is somewhat sensitive to fluoride and salt accumulation from tap water. Brown needle tips that appear despite adequate humidity often trace to tap water mineral accumulation rather than any other care issue. Using filtered or distilled water, or allowing tap water to sit overnight before use, reduces this problem.
Drainage: Always use a pot with drainage holes. Norfolk Island pine in a pot without drainage develops root rot within months regardless of watering care. Empty saucers after watering to prevent roots from sitting in standing water.
Signs of overwatering: Yellowing needles throughout the plant rather than just at the base. Soft, mushy areas at the trunk base near the soil. Soil staying wet for more than ten days. Root rot in Norfolk Island pine progresses quickly and is often fatal once it becomes visible above ground.
Signs of underwatering: Needles turning pale then brown from the tips inward. Soil pulling away from pot sides. The plant feeling lighter than usual when lifted.
Step 3: Maintain High Humidity
This is the care factor most commonly responsible for branch drop and needle browning in indoor Norfolk Island pines, and it is the factor most homes fail to provide adequately during the winter heating season.
Norfolk Island pine comes from a coastal subtropical island where humidity stays high year-round. Indoor heated air in winter commonly drops to 20 to 30% relative humidity, which is dramatically lower than the 50 to 70% humidity the plant prefers.
Signs of inadequate humidity: Brown needle tips spreading inward from the tips. Lower branch drop even when light is adequate. An overall dry, crispy texture to the needles rather than soft and flexible.
Effective solutions: A humidifier positioned nearby is the most effective approach for a plant with significant needle surface area. The needles lose moisture to the air continuously and a local humidifier replaces that moisture loss more effectively than any other method. A large pebble tray with water beneath the pot provides modest local humidity increase. Grouping with other tropical plants raises collective humidity through combined transpiration.
Misting: Misting provides humidity for only a few minutes before evaporating and is not sufficiently sustained for a plant this sensitive to humidity. It is also ineffective for a plant with fine needle foliage where water droplets do not stay in contact with the surface long enough to provide meaningful moisture. Use a humidifier rather than misting for reliable humidity maintenance.
Step 4: Keep It Away From Heat Sources
The combination of dry heat from forced-air heating vents and radiators alongside low humidity creates the worst possible indoor conditions for Norfolk Island pine. Yet the plant is commonly placed near windows that are also near heating vents in exactly the configurations that kill it fastest.
Forced air heat blowing directly onto a Norfolk Island pine desiccates needles rapidly, drives up the local air temperature above comfortable range, and creates the constantly dry air that causes progressive branch drop even when other care conditions are adequate.
Practical positioning: Check that the chosen window position does not have a heating vent nearby that blows warm air toward the plant. If the best available window position has a nearby vent, use a vent deflector to redirect airflow away from the plant rather than abandoning the window position for a dimmer one.
Air conditioning in summer: Cold air from air conditioning vents causes similar damage to warm air from heating vents. Rapid temperature changes and dry air from any HVAC source stress Norfolk Island pine. Position the plant where air from vents does not blow directly onto the foliage.
Step 5: Maintain Appropriate Temperature
Norfolk Island pine is tropical and cold-sensitive despite its pine-like appearance.
Ideal range: 60 to 85 degrees Fahrenheit covers the temperatures where Norfolk Island pine grows actively and stays healthy indoors. This aligns well with typical US home temperatures making temperature management straightforward in most situations.
Cold sensitivity: Temperatures below 50 degrees cause progressive needle browning and branch damage. Cold drafts from exterior doors and windows in winter cause rapid damage to the nearest branches even when average room temperature is adequate.
Heat tolerance: Norfolk Island pine handles warmth reasonably well as long as humidity is maintained. It is the combination of heat and low humidity rather than heat alone that creates the most damaging indoor conditions.
Step 6: Fertilize Through the Growing Season
Norfolk Island pine benefits from regular fertilizing through spring and summer to support the active growth that maintains its symmetrical layered appearance.
Through spring and summer: Feed every two to four weeks with a balanced liquid fertilizer at half the label rate. A formula that includes micronutrients suits Norfolk Island pine well since it grows slowly and consistently depletes trace minerals from its limited pot soil volume over time.
Organic options: Worm casting top dresses every six to eight weeks provide gentle, burn-safe nutrition alongside soil biology benefits. For the complete guide to organic fertilizer options for large houseplants, natural fertilizer for indoor plants covers every effective approach with timing guidance for seasonal plants.
Fall and winter: Reduce to monthly feeding or stop entirely during the darkest months when growth slows significantly.
What not to do: High-nitrogen synthetic fertilizers at full label rates drive soft, weak new growth that is more susceptible to environmental stress than growth produced under normal nutritional conditions. Half rate or lower produces more balanced growth.
Step 7: Rotate Regularly for Symmetrical Growth
Norfolk Island pine grows toward its primary light source, which in most indoor positions means it leans toward the nearest window over time. Without regular rotation, one side of the plant develops more strongly than the other, destroying the symmetrical layered appearance that makes this plant attractive.
How to rotate: Turn the plant one-quarter turn every two to four weeks. This ensures each side receives approximately equal light exposure over time, producing balanced growth across all branch levels.
Why this matters more for Norfolk Island pine than most plants: The layered horizontal branching structure of this plant makes asymmetrical development much more visually obvious than in leafier plants where some one-sidedness can be masked by foliage density. A Norfolk Island pine that has been growing toward one window for six months shows clear asymmetry that takes months of rotation to correct if it can be corrected at all.
Simple tracking system: Place a small piece of tape on the pot rim at a reference point, or keep it against the wall on a particular side, and rotate the same direction each time on a consistent schedule.
Step 8: Understand Branch Drop and Manage It
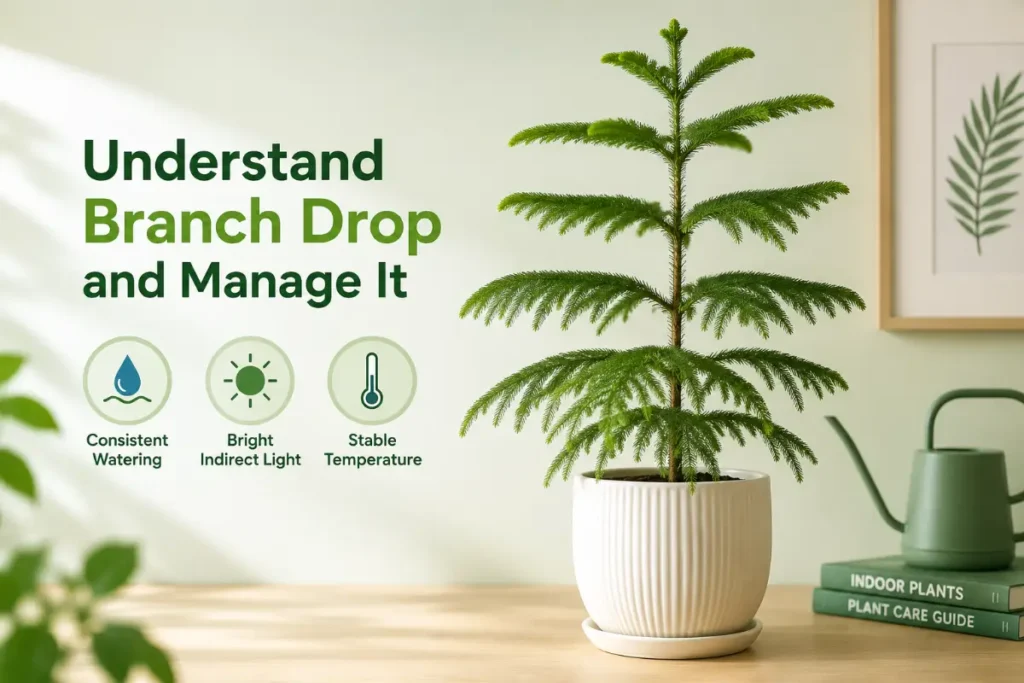
Branch drop is the progressive loss of lower branches that is the most common and most visible sign of decline in indoor Norfolk Island pine. Understanding what causes it and what can be done about it prevents the slow decline toward a bare-stemmed plant with only top growth remaining.
Causes of branch drop: Insufficient light is the primary cause. Low humidity is the secondary cause. Cold drafts, proximity to heat sources, and chronic overwatering each contribute. Branch drop is almost always a symptom of one or more of these conditions rather than an independent problem.
What cannot be reversed: Once a branch drops from a Norfolk Island pine, it does not regenerate. The dropped branch location remains permanently bare. This is why catching and correcting the underlying cause early matters significantly. A plant that has lost its lowest one or two branch levels can still be attractive. A plant that has lost half its branches cannot be recovered to its original appearance.
Managing an already-dropped plant: If lower branches have already dropped before the cause was identified and corrected, focus on stabilizing what remains rather than attempting recovery of lost branches. Correct the light, humidity, and heat exposure conditions. The remaining branches should stabilize and continue healthy growth once the cause of drop is addressed. A plant that continues growing from the apex and existing branches despite past branch loss is a plant worth keeping.
For context on how other moisture and humidity-sensitive tropical plants respond to the same dry indoor air that causes Norfolk Island pine branch drop, areca palm indoor plant care covers the humidity management approaches that apply across all tropical plants with high humidity requirements.
Decorating a Norfolk Island Pine Without Harming It
The holiday season is when most Norfolk Island pines are purchased, and the temptation to decorate them as miniature Christmas trees is understandable given their appearance. Decorating is possible but a few specific practices protect the plant while allowing the decorative use.
Lights: LED lights produce significantly less heat than traditional incandescent strings and are safe to use on Norfolk Island pine for limited periods. Wrap loosely without bending branches and remove after the holiday season rather than leaving lights on the plant for months. Incandescent lights produce heat that desiccates needles and should be avoided entirely.
Ornaments: Lightweight ornaments hung from branch tips are fine as long as the weight does not pull branches downward beyond their natural angle. The horizontal branching structure of Norfolk Island pine is specific to the plant’s growth pattern and branches bent significantly downward by heavy ornaments may not recover their natural angle after decoration is removed.
Tinsel and garland: Avoid tinsel and metallic garland that can restrict needle growth and trap moisture against branches if left on for extended periods. Paper or fabric garland removed promptly after use causes no harm.
After the holiday season: Resume normal care immediately after decorations are removed. The combination of indoor heating season, dry holiday home conditions, and potential light restrictions from being placed in a decorative location rather than the plant’s optimal light position makes the post-holiday period a vulnerable one for these plants. Return to the best available light position and resume humidity maintenance as the priority.
Norfolk Island Pine and Air Quality
Like other large-needled and leafy plants, Norfolk Island pine contributes to indoor air quality through both oxygen production during photosynthesis and modest VOC absorption through its needle surface area. The total needle surface area of a mature Norfolk Island pine is substantial despite the fine individual needle size, and this combined surface area contributes meaningfully to the passive air filtration that houseplants provide in enclosed indoor environments.
The transpiration benefit of Norfolk Island pine is less significant than that of broad-leaved tropical plants like peace lilies and elephant ears since needles have much smaller individual surface area than large tropical leaves. The air quality contribution is real but secondary to the visual and psychological benefits of keeping a large, structurally interesting plant in the living space.
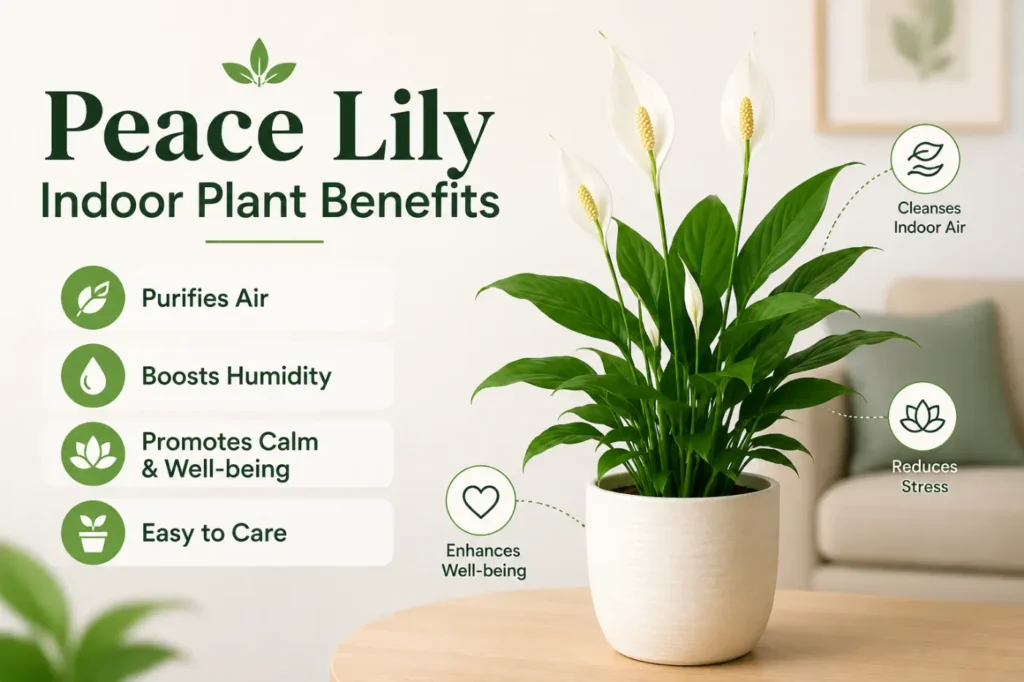
For the complete breakdown of which houseplants deliver the most documented air purification benefits and the research behind each claim, peace lily indoor plant benefits covers the NASA-documented air purification abilities of peace lily alongside the broader context of how indoor plants contribute to air quality improvement.
Holiday Decoration and Year-Round Care
Norfolk Island pine is most commonly purchased as a small decorated Christmas tree alternative, which creates a specific care challenge. Holiday decorations including tinsel, lights, and ornaments affect the plant in ways worth knowing before decorating.
Safe decorating: Lightweight ornaments hung from branches with minimal weight are generally safe for short periods. Paper decorations, small lightweight baubles, and non-constricting ribbon cause minimal lasting harm if removed promptly after the holiday season.
What causes damage: Heavy ornaments that weigh branches downward permanently change their angle. Wire hangers constricting around branches cause scarring and vascular damage that shows up as dead sections months after the wire is removed. Incandescent light strings generate heat that desiccates nearby needles. LED light strings are significantly safer since they generate minimal heat.
After the holidays: Remove all decorations promptly after the holiday season rather than leaving them in place. Return the plant to its best available light position. Resume consistent watering and humidity management. Apply a balanced fertilizer in early spring when growth resumes.
The good news is that a well-cared-for Norfolk Island pine used as a holiday tree alternative becomes more impressive each year as it grows larger and develops more branch layers. A plant purchased at eight to twelve inches tall and cared for correctly for five years becomes a three to four foot symmetrical layered specimen that serves as a more impressive holiday display than it did at purchase, year after year.
Repotting Norfolk Island Pine
Norfolk Island pine is slow-growing and prefers being slightly pot-bound. It needs repotting less frequently than most tropical houseplants and responds poorly to very large pot jumps that create excess soil volume.
When to repot: Every two to three years for young actively growing plants. Every three to five years for mature established specimens. When roots emerge clearly from drainage holes in quantity or when the plant dries out within two to three days of thorough watering.
Best timing: Spring when the plant is entering its most active growth phase. Avoid repotting in fall or winter when growth is slow and root establishment takes significantly longer.
Pot size: Choose a container only two inches larger in diameter than the current one. Larger jumps create excess soil volume that stays wet longer than Norfolk Island pine roots tolerate, increasing root rot risk.
Soil: A well-draining mix of standard potting soil with 20 to 25% perlite provides the moisture retention and drainage balance Norfolk Island pine needs. Avoid heavy, moisture-retaining mixes. For the complete guide to building appropriate soil mixes for tropical plants with drainage requirements, soil mixture for indoor plants covers every component and ratio.
After repotting: Wait four to six weeks before fertilizing. Provide the best available light and maintain humidity carefully during the establishment period since the plant is more sensitive to environmental stress immediately after repotting than during stable growing conditions.
Conclusion
The Norfolk Island pine indoor plant is genuinely beautiful and long-lived when its specific needs are met. Maximum available direct sunlight. Consistent moisture without waterlogging. High humidity maintained with a humidifier rather than misting. Temperatures above 60 degrees away from HVAC vents. Regular fertilizing through the growing season. Consistent rotation for symmetrical growth.
The plants that end up as bare-stemmed sticks within two years of purchase are not victims of an inherently difficult plant. They are tropical plants kept in insufficient light with dry forced-air heat blowing on them while being watered with fluoride-heavy tap water on a fixed calendar schedule. Address those specific conditions and Norfolk Island pine becomes a rewarding long-term houseplant that maintains its distinctive layered appearance for decades.
Frequently Asked Questions
Why are the lower branches falling off my Norfolk Island pine?
Lower branch drop is almost always caused by insufficient light, low humidity, or both combined with proximity to forced-air heating vents. Norfolk Island pine requires bright direct sun for at least four to six hours daily and humidity above 50%. In typical warm, dry, dimly lit indoor positions the lower branches drop progressively and do not regenerate. Move to the brightest available position, add a humidifier, and redirect any heating vents blowing toward the plant.
Can Norfolk Island pine survive in low light indoors?
It survives briefly but declines progressively in low light. Lower branches drop, needle color fades from deep green to pale yellowish green, and growth stalls. Without correction, low-light decline is irreversible since dropped branches do not regenerate. If no adequate natural light position is available, a high-output LED grow light running fourteen hours daily is the practical solution for maintaining this plant in dimmer spaces.
How often should I water a Norfolk Island pine indoors?
Water when the top inch of soil feels dry, typically every seven to ten days in a bright sunny position during summer and every ten to fourteen days in winter or lower light. Norfolk Island pine prefers consistent moisture without waterlogging. Using filtered or distilled water reduces the fluoride and mineral accumulation that causes brown needle tips in hard water areas.
Can I put my Norfolk Island pine outside in summer?
Yes, in USDA zones 9 and above where temperatures stay above 50 degrees at night. Moving Norfolk Island pine outdoors for summer provides the intense light, natural humidity, and air circulation that produces the best growth. Transition gradually from indoor to outdoor light over two weeks to prevent sun scorch on foliage acclimatized to indoor conditions. In zones below 9, outdoor placement is risky if summer nights drop below 50 degrees.
Is Norfolk Island pine toxic to pets?
Norfolk Island pine is considered mildly toxic to cats and dogs. Ingestion may cause vomiting, depression, and loss of appetite. It is not severely toxic but pet owners should keep the plant out of reach of animals that chew on plants as a precaution.
How tall does Norfolk Island pine grow indoors?
Indoor Norfolk Island pine typically reaches three to six feet in standard pot conditions over many years. In very large containers with excellent light it can reach eight to ten feet over a decade or more. Growth rate indoors is slow compared to outdoor specimens in appropriate climates where the tree eventually reaches 200 feet. Pot restriction, indoor light limitations, and reduced humidity all contribute to the significantly slower indoor growth rate.