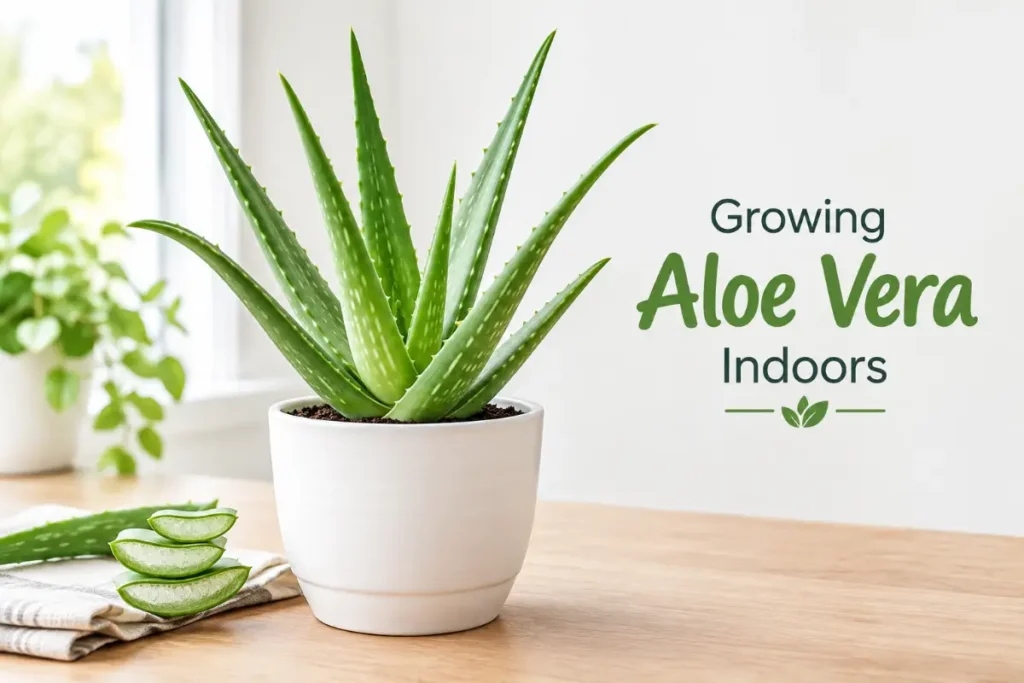
Growing aloe vera indoors is one of the most practical indoor plant projects because aloe produces a genuinely useful first-aid product alongside its visual appeal. The gel within aloe leaves soothes minor burns, sunburn, skin irritation, and insect bites more effectively than many commercial skin products, and having a healthy aloe plant in the kitchen or bathroom means that remedy is always immediately available.
Despite its reputation as an easy plant, aloe vera does fail in one consistent and very specific way in most homes: overwatering. The single greatest challenge in indoor aloe growing is resisting the urge to water a plant that looks like it should need water when it actually does not. Understanding why aloe is so different from the tropical houseplants that make up most indoor collections immediately explains every care decision in this guide.
Quick Answer
Growing aloe vera indoors requires bright indirect to direct south-facing window light, fast-draining cactus or succulent potting mix with at least 30 to 50% coarse perlite, watering only when the soil is completely dry two to three inches down (typically every two to four weeks), temperatures between 55 and 80 degrees Fahrenheit, terracotta pots that allow moisture to evaporate through the walls, minimal fertilizing once or twice per year, and removing offset pups when they reach four to six inches to prevent overcrowding.
Understanding Aloe Vera as a Plant
Aloe vera (Aloe barbadensis miller) is a succulent plant native to the Arabian Peninsula and North Africa where it grows in dry, rocky, nutrient-poor soils in full desert sun with seasonal rainfall rather than year-round consistent moisture. This origin explains every aspect of its care requirements and why most houseplant care habits destroy it.
The thick, fleshy leaves that make aloe visually distinctive store significant quantities of water as the gel-like mucilage that gives the plant its medicinal utility. This water storage allows aloe to survive extended drought periods that would kill most other plants. It also means that adding water to an already-hydrated plant simply creates the waterlogged soil conditions that the root system cannot handle.
Aloe roots are adapted to dry, well-draining rocky desert soil. They perform gas exchange (oxygen and carbon dioxide) through their surfaces, which requires air pockets in the soil. Waterlogged soil eliminates these air pockets, creating anaerobic conditions in which aloe roots die within days to weeks.
The useful product indoors: The gel within aloe leaves contains multiple compounds with documented skin benefit including acemannan (a polysaccharide with anti-inflammatory properties), anthraquinones with antimicrobial activity, and vitamins C and E with antioxidant properties. Fresh aloe gel applied to minor burns, sunburn, or skin irritation provides genuine soothing and healing benefit. The plant’s availability indoors makes this remedy immediately accessible for everyday minor injuries.
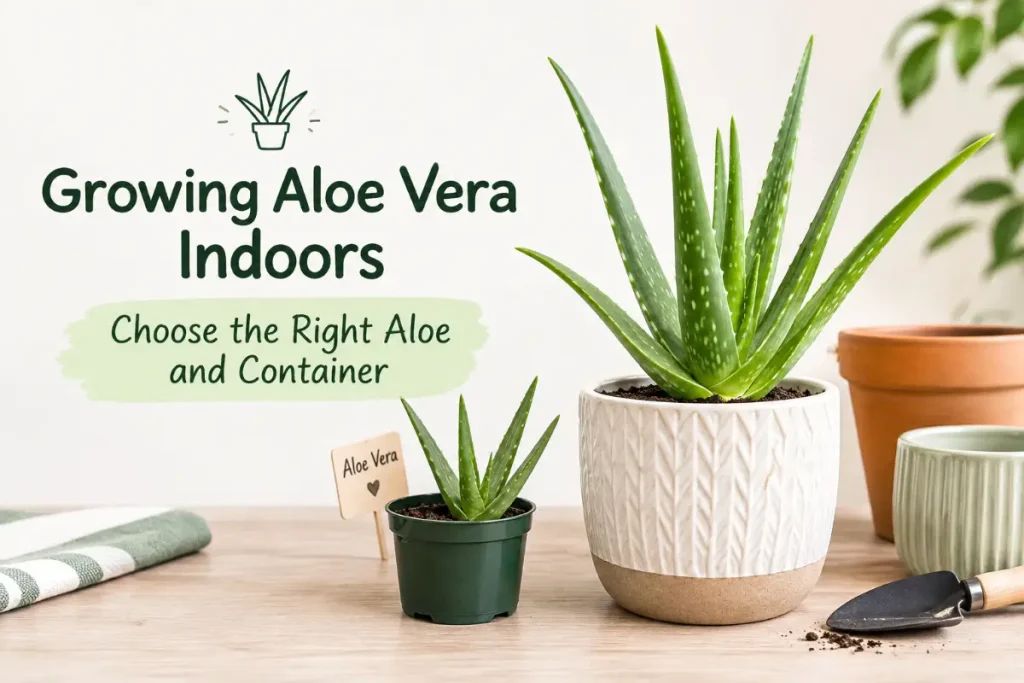
Step 1: Choose the Right Aloe and Container
Which aloe to grow: Aloe barbadensis miller (standard aloe vera) is the most widely available and most medicinally useful species for indoor growing. Dozens of other aloe species are available with different leaf colors, patterns, and sizes, but standard aloe vera provides the most useful gel and the most consistent indoor performance. Look for plants that are firm and upright with fleshy, thick leaves. Avoid plants with soft, translucent, or yellowing leaves which indicate existing overwatering damage.
Container selection: Terracotta is the ideal container material for indoor aloe. The porous clay walls allow moisture to evaporate from all surfaces rather than only from drainage holes and the soil surface, significantly accelerating the dry-down between waterings that aloe requires. The same plant in a plastic pot stays moist significantly longer, increasing overwatering risk.
Container size: Slightly larger than the root ball, with one to two inches of space around the roots. Aloe in an oversized container has surrounding soil that stays moist long after the root zone has dried, creating the wet conditions in unused soil that encourage root rot even when the roots themselves have dried appropriately.
Drainage holes: Non-negotiable. A single small hole is inadequate for an aloe plant. Multiple drainage holes allow rapid complete drainage after watering. Decorative containers without holes are not appropriate for aloe regardless of how they look aesthetically. If you want the aesthetic of a particular decorative container, use a correctly-holed terracotta pot inside it and remove the terracotta pot to water at a sink before returning it.
Step 2: Use the Correct Soil
Standard potting mix holds moisture for three to seven days after watering in typical indoor conditions. Aloe roots in this environment begin developing rot within weeks to months. The correct soil for indoor aloe provides the drainage that converts a three-to-seven-day moist period to a one-to-two-day moist period followed by the extended dry period that aloe evolved in.
The right mix: Commercial cactus and succulent potting mix is the most convenient starting point. This mix is specifically formulated for high drainage and provides appropriate conditions for aloe without requiring individual component mixing. Alternatively mix standard potting mix 50/50 with coarse perlite for a similar drainage profile.
Testing drainage: After potting, water the container thoroughly and observe drainage. Water should flow freely from the holes within thirty seconds of watering and should essentially stop flowing within five minutes. Soil that remains visibly wet on the surface for more than thirty minutes indicates insufficient drainage and needs more perlite added.
Soil pH: Standard cactus mix and perlite amendments produce a slightly alkaline to neutral pH that suits aloe well. No pH adjustment is needed for aloe unlike the acid-specific requirements of blueberries and lemon trees discussed earlier in this cluster.
Step 3: Position in Maximum Available Light
Aloe vera performs best in the most direct, intense light available in your home. Its desert origin means it treats south-facing window direct sun as comfortable and appropriate rather than extreme.
The ideal position: Direct south-facing window sun for four to six or more hours daily. In this position aloe maintains the upright, compact rosette form with thick, fleshy leaves that indicates optimal growing conditions.
What happens in insufficient light: Aloe in medium indirect or low light grows slowly but its leaves become thinner, more widely spaced, and begin leaning toward the light source. The distinctive upright, compact rosette form that characterizes well-lit aloe gradually transforms into a sprawling, floppy plant with leaves that cannot hold their own weight. This is not a health emergency but represents a plant growing in conditions well below its preferred environment.
The CAM photosynthesis advantage at night: Aloe uses Crassulacean Acid Metabolism (CAM) photosynthesis, which opens its stomata at night rather than during the hot day to minimize water loss. This means aloe actively processes carbon dioxide and releases oxygen at night, making it genuinely beneficial in bedroom positions where nighttime air quality is most relevant. For the complete guide to bedroom plants and the specific plants that contribute to nighttime air quality, indoor plants in the bedroom covers aloe’s CAM oxygen production alongside the other bedroom-appropriate plants and their specific benefits.
The sun-stress coloring: Aloe in good direct sun develops a warm, slightly pink or orange tinge at leaf margins and tips. This is normal and desirable sun-stress coloring rather than a sign of damage. Aloe that maintains uniformly bright green coloration without any warm toning may be receiving insufficient light for its best performance.
Step 4: Water Infrequently and Completely
This step contains the most important single practice for successful indoor aloe growing. The watering approach for aloe is the opposite of what most houseplant experience suggests.
The correct check: Push your finger two to three full inches into the soil. Water only when that depth feels completely dry with no hint of moisture or coolness. This is not a one-inch check as for moisture-preferring plants — it is a deep check that ensures the full root zone has dried appropriately.
The schedule (as a guideline only): In a south-facing window during summer, completely dry at two to three inches typically happens every fourteen to twenty-one days. In winter or lower light every twenty-eight to forty-two days. Many indoor aloe plants are watered perfectly well on a monthly schedule in winter. These intervals feel inadequate compared to the every-five-to-seven-day schedules appropriate for moisture-preferring plants, but they reflect aloe’s genuine biological needs rather than neglect.
Thorough watering when you do water: When the soil is completely dry and you water, water thoroughly until it flows from all drainage holes. This ensures the entire root zone is moistened rather than only the surface. Then allow it to dry completely before the next watering. The complete saturation followed by complete drying mimics the occasional heavy rainfall followed by extended dry periods of aloe’s natural desert habitat.
What overwatering looks like: The early signs are subtle. Leaves become slightly translucent and soft at their bases before becoming yellow. The very base of the leaves where they attach to the central stem may feel slightly mushy. A musty smell from the soil. These early signs precede the dramatic collapse that occurs when root rot has destroyed the entire root system.
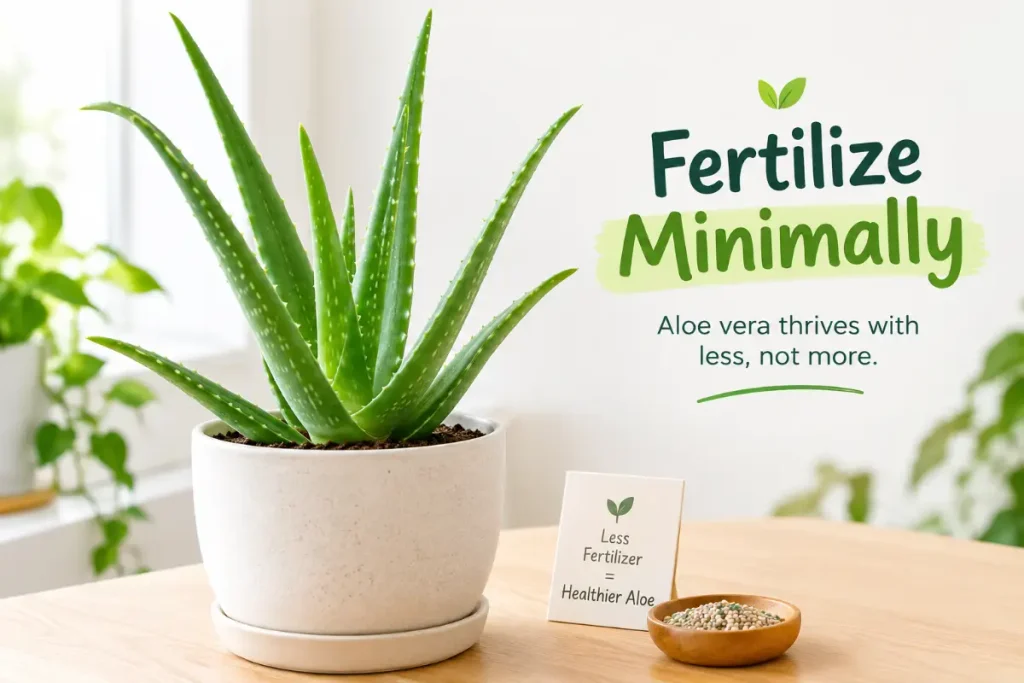
Step 5: Fertilize Minimally
Aloe evolved in nutrient-poor desert soils and does not need or benefit from the regular fertilizing appropriate for heavy-feeding tropical houseplants or fruiting food crops.
The correct approach: A diluted balanced liquid fertilizer at one-quarter the label rate once or twice per year: once in spring at the start of active growth and optionally once in midsummer. That is the complete annual fertilizing program for indoor aloe.
What too much fertilizer produces: Soft, rapidly growing leaves with reduced gel concentration and reduced structural integrity. Fertilizer salt accumulation in the container soil over time causes the root tip damage that mimics drought stress. Heavy fertilizing of aloe produces a visually impressive but structurally weaker, less medicinally useful plant.
The soil flush: Every six to twelve months, water the pot with three times the normal water volume to flush accumulated fertilizer salts and any mineral buildup from the soil. Allow to drain completely and then follow the normal dry cycle before the next watering.
Step 6: Harvest Gel Correctly
The most important practical skill for medicinal aloe use is harvesting gel without damaging the plant or producing gel that oxidizes quickly before use.
Which leaves to cut: Always cut from the outermost leaves, which are the oldest and most mature. These contain the most gel and their removal stimulates new leaf production from the center. Never cut from the innermost leaves or the central growing point.
How to cut: Use a clean, sharp knife to cut the leaf as close to the stem as practical without cutting into the stem itself. A slanted cut minimizes the wound surface.
Extracting gel: Rinse the cut leaf. Slice along the flat edge to open the leaf like a book. Use a spoon to scoop the clear gel from the inner leaf tissue. Avoid the yellow latex layer (aloin) immediately under the green outer skin, which has strong laxative properties and can irritate skin in sensitive individuals. The clear interior gel is the portion used for topical skin applications.
Freshness: Fresh aloe gel oxidizes and loses potency relatively quickly, particularly when exposed to air and light. Use immediately for the most effective application. Small quantities remaining after immediate use can be stored in a clean airtight container in the refrigerator for up to one week.
Step 7: Manage Offsets for Plant Health
Mature aloe vera plants produce offset pups — small new plants that emerge from the root system at the base of the parent plant. Left unmanaged, these offsets eventually crowd the parent plant and reduce everyone’s growth, but managed appropriately they provide free new plants for expanding your collection or sharing.
When to remove offsets: When the pup has developed to four to six inches tall and has its own visible root system. Removing very small offsets before they have established roots reduces the propagation success rate significantly.
How to remove: Gently loosen the soil around the offset and trace its connection to the parent plant’s root system. Cut the connection with a clean knife, ensuring the offset takes some of its own roots. Allow the cut surface to callus over in a dry location for twenty-four to forty-eight hours before potting in its own container with cactus mix.
After potting an offset: Treat it as a newly established plant. Do not water for the first one to two weeks to allow any root damage from removal to heal before introducing moisture. Then water sparingly using the same deeply-then-dry approach as the parent plant. New offsets may look slightly stressed for two to four weeks before resuming active growth.
How many offsets to keep: Remove offsets from the parent container when they begin to visibly crowd the parent plant. Keeping one or two small offsets in the same container as the parent plant is acceptable while they are still small. A container packed with multiple large aloe plants of different sizes is over-crowded and benefits from division and repotting into individual containers.
For the complete guide to using aloe vera indoors specifically in bedroom positions where its CAM oxygen production and immediate first-aid utility are most practically valuable alongside its care requirements as a direct-sun plant, indoor plants that like direct sunlight covers aloe alongside the other high-light plants that complement it in the sunniest indoor positions.
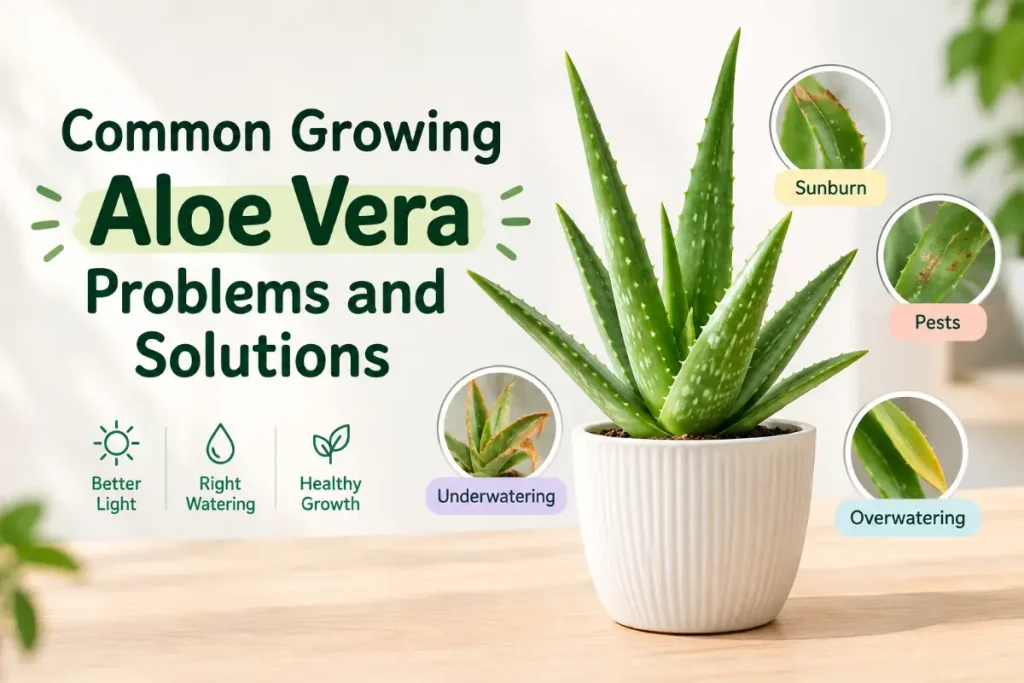
Common Growing Aloe Vera Problems and Solutions
Soft, translucent, yellowing leaves: Overwatering causing root damage. Remove from pot, inspect roots, trim all dark mushy roots with clean scissors, allow to dry for twenty-four hours, repot in fresh cactus mix, and do not water for one to two weeks.
Brown, dry leaf tips: Low humidity, fluoride accumulation from tap water, or mild underwatering. Switch to filtered water. Increase ambient humidity slightly. Check if the soil is actually too dry at the two-to-three-inch level.
Flat, floppy leaves leaning toward the window: Insufficient light. Move to a brighter south-facing position or supplement with grow light hours.
Aloe pups appearing rapidly in large numbers: Mature, healthy parent plant redirecting energy into reproduction. Normal and healthy. Remove pups at four to six inches and pot individually.
No new leaf growth for months: Normal winter behavior in reduced light. Also occurs in heavily shaded positions year-round. Improve light and resume growth-season fertilizing in spring. If no growth occurs through spring and summer in good light, root health may be compromised — remove from pot and inspect.
Conclusion
Growing aloe vera indoors produces a low-maintenance, long-lived, genuinely useful plant when two specific practices are consistently applied: watering only when completely dry at two to three inches, and providing maximum available direct sun. Every other care step serves these two foundations. Fast-draining soil ensures that thorough watering dries appropriately between waterings. Terracotta pots accelerate that drying. Minimal fertilizing avoids the soft growth that makes aloe less useful medicinally. Offset management keeps the parent plant productive and healthy through its long indoor lifespan.
A well-maintained indoor aloe lives for years and decades, growing progressively larger, producing increasingly plentiful offsets for propagation, and remaining immediately available for the minor skin complaints that make a bedside or kitchen aloe plant one of the most genuinely useful living objects in any home.
Frequently Asked Questions
How often should I water indoor aloe vera?
Water only when the soil feels completely dry at two to three inches below the surface. In a bright south-facing window during summer this typically means every fourteen to twenty-one days. In winter or lower light every twenty-eight to forty-two days. Many healthy aloe plants are watered perfectly well on a monthly schedule in winter. Overwatering is the most common cause of indoor aloe death — when in doubt, wait one more week before watering.
Why is my aloe vera turning yellow indoors?
Yellow aloe vera leaves almost always indicate overwatering causing root damage. Remove from the pot and inspect roots — healthy roots are white or tan and firm, damaged roots are dark brown or black and mushy. Trim all damaged roots, allow the plant to dry for twenty-four hours, repot in fresh cactus and perlite mix, and wait one to two weeks before the first post-repotting watering. Adjust the watering interval significantly longer going forward.
How do I harvest aloe gel at home?
Cut an outer leaf as close to the stem as possible using a clean sharp knife. Rinse the leaf. Slice along one flat edge to open it. Scoop the clear inner gel with a spoon, avoiding the thin yellow layer immediately under the green outer skin (this is aloin, which can irritate skin). Apply the clear gel directly to minor burns, sunburn, or skin irritation. Use immediately for best efficacy or store in an airtight container in the refrigerator for up to one week.
Can aloe vera grow in low light indoors?
Aloe survives in medium indirect light but declines in quality over months as leaves become thinner, more floppy, and less upright than the compact rosette form that characterizes well-lit specimens. For the best plant health and the highest gel concentration, maximum available direct south-facing window sun is the appropriate light level. Aloe in consistently low light is not in danger of immediate death but is not thriving at its natural performance level.
How do I propagate aloe vera from pups?
When pups at the base of the parent plant reach four to six inches and have developed their own visible root system, gently loosen the surrounding soil and cut the connection to the parent plant’s roots. Allow the cut end to callus over for twenty-four to forty-eight hours in a dry location. Pot in a container appropriate to the pup’s size with fresh cactus mix. Do not water for the first one to two weeks. Water sparingly thereafter using the same deeply-then-dry approach as the parent plant.
Is aloe vera safe for pets?
Aloe vera is toxic to cats and dogs. The aloin (a yellow latex compound in the outer leaf layer) causes vomiting, diarrhea, and gastrointestinal symptoms when ingested. The clear inner gel used topically by humans can cause similar symptoms if cats or dogs consume it in quantity. Keep aloe plants out of reach of pets that chew on houseplants. The plant’s succulent leaf texture makes it occasionally attractive to curious pets.